
Fixing the pilot light on a furnace can seem tricky. But don’t worry, it’s simpler than you think.
Knowing how to fix it can save you time and money. A furnace’s pilot light is crucial. It ignites the burners, providing heat to your home. When it goes out, your furnace won’t work properly. This can leave you cold and frustrated.
But with a little guidance, you can fix it yourself. This guide will walk you through the steps. You’ll learn how to relight the pilot light safely and effectively. By the end, you’ll feel confident handling this common furnace issue. So, let’s get started and bring warmth back to your home!
Credit: www.youtube.com
Safety Precautions
Fixing the pilot light on a furnace can be tricky. Ensuring safety is paramount. Before starting any repairs, follow these critical safety precautions. Protect yourself and your home.
Turn Off Gas Supply
Begin by turning off the gas supply. Locate the gas valve near the furnace. Turn the valve to the “off” position. This prevents gas leaks and reduces the risk of fire.
Wait a few minutes to ensure all gas has dissipated. A strong smell of gas indicates a leak. If you smell gas, evacuate the area. Contact a professional immediately.
Ventilation Tips
Proper ventilation is crucial while working on your furnace. Open windows and doors in the work area. This allows any lingering gas to escape.
Avoid using electrical appliances near the furnace. Sparks can ignite gas fumes. Ensure the area is well-ventilated before proceeding with repairs.
Consider using a fan to increase airflow. This helps disperse any residual gas. Safety first!

Credit: www.supertechhvac.com
Tools Needed
Fixing the pilot light on a furnace may seem daunting. But with the right tools, it becomes easier. Gather your tools before you start. This ensures a smooth repair process. Below is a list of tools needed.
Basic Tools
Start with basic tools. These are likely already in your home. They include:
- Screwdrivers: Both flathead and Phillips are useful.
- Adjustable Wrench: For loosening and tightening nuts.
- Flashlight: To see clearly in dark areas.
- Multimeter: To check electrical connections.
Having these tools ready will save time. It also makes the repair process smoother.
Specialized Equipment
Some fixes need specialized equipment. These tools might not be in every household. They include:
- Thermocouple: Checks if the pilot light is functioning.
- Manometer: Measures gas pressure.
- Pipe Wrench: For larger pipe fittings.
- Compressed Air: To clean out debris.
These specialized tools ensure a thorough repair. They also help diagnose deeper issues.
Preparing the right tools makes fixing the pilot light easier. It saves time and reduces stress.
Locating The Pilot Light
Fixing the pilot light on a furnace can seem complicated. But, it starts with locating the pilot light. This step-by-step guide makes it simple. Follow along to find the pilot light and solve the problem.
Finding The Furnace Manual
The first step is finding the furnace manual. This booklet contains vital information. It helps you understand the parts and functions. Look for it in these places:
- Near the furnace
- With other appliance manuals
- Online on the manufacturer’s website
Having the manual on hand is crucial. It provides diagrams and instructions. This makes the process easier and safer.
Identifying The Pilot Assembly
Next, identify the pilot assembly. This is where the pilot light is located. Look for these key parts:
- Gas valve: Usually a small knob or switch
- Burner: Where the flame comes out
- Pilot tube: A small tube leading to the burner
Once you find these, you are close. The pilot light is at the end of the pilot tube. You may need to crouch or use a flashlight. This helps you see the parts clearly.
By following these steps, you can easily locate the pilot light. This is the first step to fixing it. Stay tuned for more tips in the next sections.
Cleaning The Pilot Light
If your furnace’s pilot light is flickering or won’t stay lit, it may need cleaning. Dirt and debris can block the pilot light and cause issues. Cleaning it can help your furnace run smoothly.
Removing Debris
First, turn off the furnace and let it cool. Safety comes first. Locate the pilot light assembly. It’s usually near the bottom of the furnace. You may need a flashlight. Look for any visible debris around the pilot light.
Use a soft brush or a can of compressed air. Gently remove dirt and debris. Be careful not to damage any parts. Wipe the area with a clean cloth. Ensure the pilot light opening is clear.
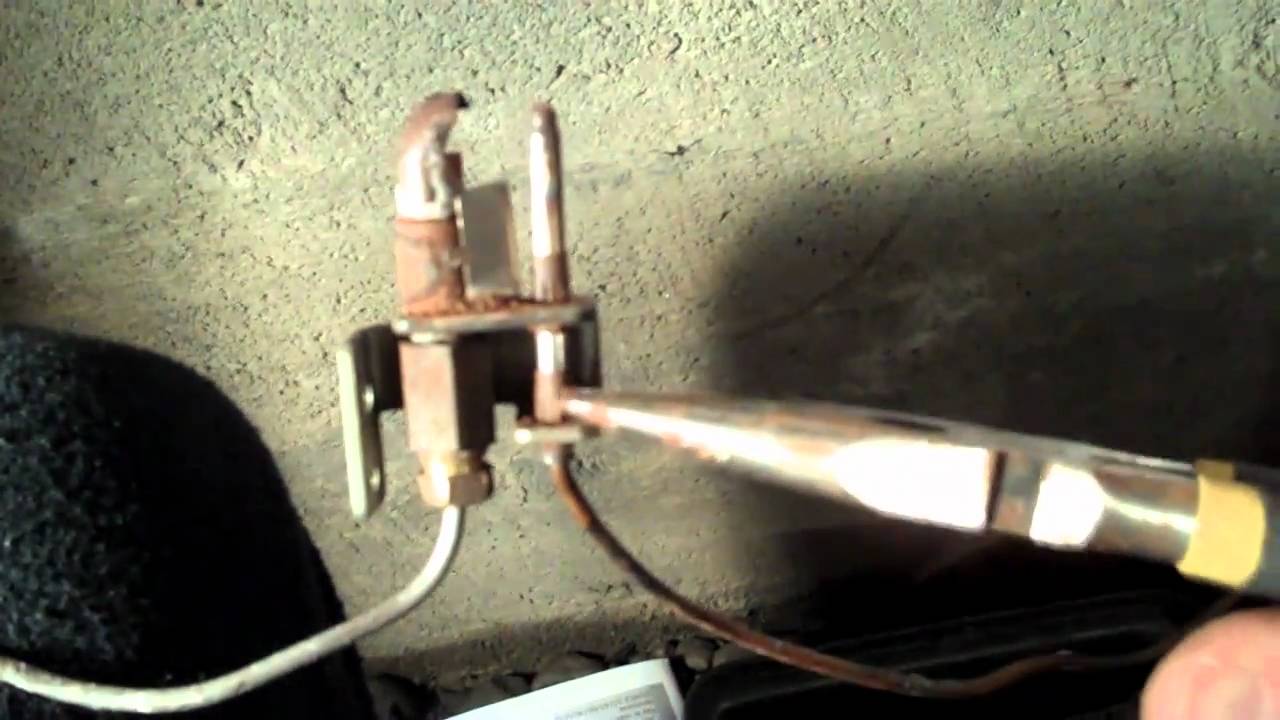
Cleaning The Thermocouple
The thermocouple is a safety device. It senses the pilot light and controls the gas flow. A dirty thermocouple can cause the pilot light to go out.
Use a wrench to loosen the thermocouple nut. Remove the thermocouple from the pilot light assembly. Use a fine-grit sandpaper or steel wool. Gently clean the tip of the thermocouple. Remove any soot or dirt.
Reattach the thermocouple and tighten the nut. Ensure it is secure but not too tight. Turn the furnace back on and light the pilot. Observe the pilot light. It should be steady and blue.
Lighting The Pilot Light
Sometimes, your furnace’s pilot light goes out. It’s a common issue. But it can be fixed easily. Follow these steps to light the pilot light safely.
Step-by-step Instructions
First, turn off the gas valve. Let the gas clear for a few minutes. Then, find the pilot light assembly. It’s usually near the bottom of the furnace. Turn the valve to “pilot” and hold down the reset button. While holding the button, use a lighter to ignite the pilot. Keep the button pressed for 30 seconds. This helps the pilot light stay lit. Release the button and turn the valve to “on”. Your furnace should now have a lit pilot light.
Troubleshooting Tips
If the pilot light doesn’t stay lit, there could be other issues. Check if the thermocouple is dirty or faulty. Clean it gently with sandpaper. Also, ensure there’s no debris blocking the pilot light opening. If these steps don’t work, the thermocouple might need replacement. It’s best to consult a professional for this.
Maintaining The Pilot Light
Maintaining the pilot light on your furnace is crucial for its efficiency. Regular upkeep ensures your furnace runs smoothly and safely. By following a few simple steps, you can avoid costly repairs and ensure a warm home.
Regular Inspections
Conduct regular inspections to keep the pilot light in good condition. Check the flame’s color and size. A healthy flame is blue with a yellow tip. If the flame is yellow or flickering, it needs attention. Inspect the area around the pilot light for dust and debris. Clear any blockages that might affect the flame.
Preventive Measures
Taking preventive measures can extend the life of your pilot light. Keep the furnace area clean. Dust and dirt can clog the pilot light. Schedule annual maintenance with a professional. They can check for issues you might miss. Replace worn-out parts before they cause problems. A well-maintained furnace is less likely to break down.
When To Call A Professional
Fixing the pilot light on a furnace can be a simple task. But sometimes, it’s best to call a professional. Knowing when to seek expert help can save time and ensure safety. Here, we discuss situations that require professional intervention.
Identifying Complex Issues
Some furnace issues are hard to diagnose. If you can’t find the problem, call a professional. They have the tools and knowledge to identify complex issues. A professional can spot hidden problems that you might miss.
Strange noises or smells from your furnace are red flags. These could signal serious issues. Don’t ignore them. A certified technician can diagnose and fix these problems safely.
Cost Considerations
DIY repairs can sometimes cost more in the long run. Mistakes can lead to expensive damage. Professional repairs might seem costly, but they can save money. They ensure the job is done right the first time.
Check if your furnace is still under warranty. Some warranties require professional service. This can save money on repair costs. Always read the fine print.

Credit: www.supertechhvac.com
Frequently Asked Questions
What Causes A Furnace Pilot Light To Go Out?
A furnace pilot light can go out due to drafts, dirt buildup, or a faulty thermocouple. Regular maintenance helps prevent these issues.
How Can I Relight My Furnace Pilot Light?
To relight your furnace pilot light, follow the manufacturer’s instructions. Usually, this involves turning off the gas, waiting a few minutes, and then lighting the pilot.
Why Is My Pilot Light Yellow Instead Of Blue?
A yellow pilot light indicates improper combustion, possibly due to dirt or insufficient oxygen. Clean the pilot light or call a professional.
Is It Safe To Fix The Pilot Light Myself?
Fixing the pilot light yourself is generally safe if you follow instructions carefully. However, consult a professional for complex issues.
Conclusion
Fixing your furnace’s pilot light can be simple. Follow the steps carefully. Safety comes first. Always turn off the gas before starting. Use a flashlight to see clearly. Clean any dirt around the pilot light. Relight the pilot using a match or lighter.
If problems persist, call a professional. Regular maintenance prevents issues. Stay warm and safe during winter. Your furnace should now work efficiently. Thanks for reading and happy fixing!


