
Fixing the light chain on a ceiling fan can be simple. A broken light chain can cause frustration.
It stops the fan light from working properly. Many people experience this issue. They often think it’s a complex fix. But, with the right steps, you can fix it quickly. This guide will help you. It explains the process in easy steps.
You don’t need to be an expert. Basic tools and a little patience are enough. Read on to learn how to restore your ceiling fan light chain.
Safety First
Ensure the power is off before fixing the light chain on a ceiling fan. Use a ladder to reach the chain safely.
Before fixing the light chain on a ceiling fan, prioritize safety. A few steps can help ensure your safety.Turn Off The Power
Always turn off the power before working on the ceiling fan. Find the circuit breaker in your electrical panel. Flip the switch that controls the fan. Double-check by trying to turn the fan on. This ensures no electricity flows to the fan.Use A Sturdy Ladder
Use a sturdy ladder to reach the ceiling fan. Ensure the ladder is on a flat, stable surface. This prevents accidents while you work. Never use a wobbly or broken ladder. Safety comes first. “`Identify The Problem
Before you can fix the light chain on your ceiling fan, you need to identify the problem. This is the first crucial step. By knowing what’s wrong, you can find the right solution.
There are a few common issues. The chain might be broken. The switch could be faulty. Or, the chain might be stuck. Let’s look at these problems more closely.
Check The Chain
Start by checking the chain. Is it broken or stuck? Pull the chain gently. If it doesn’t move, it might be tangled. If the chain is broken, you will need a replacement. A visual inspection can help. Look for any visible damage or knots.
Inspect The Switch
Next, inspect the switch. Turn off the power to the fan. Remove the fan’s light cover. Check the switch where the chain connects. Look for any signs of damage. The switch might be worn out. If it looks damaged, consider replacing it.
If the switch appears fine, the issue might be with the internal mechanism. A faulty switch can stop the chain from working properly. A quick inspection can save you time and effort.
Remove The Light Fixture
To fix the light chain on a ceiling fan, removing the light fixture is crucial. This step will give you access to the internal parts. Follow these instructions to ensure a smooth process.
Unscrew The Bulb
First, turn off the power at the circuit breaker. This ensures your safety. Next, stand on a sturdy ladder. Reach for the light bulb and turn it counterclockwise. Keep turning until the bulb comes out. Place the bulb in a safe spot.
Detach The Fixture
Look for the screws holding the light fixture in place. Use a screwdriver to remove these screws. Hold the fixture with one hand to prevent it from falling. Once the screws are out, gently pull the fixture down. You will see wires connecting the fixture to the ceiling fan.
Carefully disconnect the wires. Note the wire connections for reassembly later. Place the fixture aside. Now, you have full access to the light chain mechanism.
Access The Light Switch
Fixing the light chain on a ceiling fan requires a few simple steps. One key step is accessing the light switch. This can seem tricky if you’re new to it. But with the right guidance, you can do it easily. Let’s start by locating the switch housing and then opening it.
Locate The Switch Housing
First, identify the switch housing on your ceiling fan. It’s usually near the center. Look for a small dome or box. This is where the light switch is housed. Make sure the fan is turned off. Safety first!
Open The Housing
Next, you need to open the switch housing. Use a screwdriver for this step. Carefully unscrew the screws holding the housing. Keep the screws safe, you will need them later. Gently remove the cover. Now you can see the light switch inside. You are ready for the next steps in fixing the light chain.
Replace The Pull Chain
Ceiling fans with pull chains can wear out over time. Replacing the pull chain is a simple task. Follow these easy steps to replace the chain and get your fan working again.
Remove The Old Chain
First, turn off the power to the ceiling fan. Use a ladder to reach the fan. Locate the pull chain mechanism. Use a screwdriver to remove the screws holding the chain mechanism cover.
Gently pull off the cover. You will see the old pull chain inside. Carefully detach the chain from the mechanism. Dispose of the old chain properly.
Install The New Chain
Take the new pull chain. Insert it into the mechanism where the old chain was. Make sure it fits securely. Replace the cover over the mechanism. Tighten the screws to hold the cover in place.
Turn on the power. Test the new pull chain to ensure it works correctly. Your ceiling fan should now be working smoothly with the new chain.

Credit: www.reddit.com
Reassemble The Fixture
After replacing the light chain, it’s time to reassemble the fixture. This step ensures the fan works properly. Follow these simple steps to secure everything back in place. This process may seem tricky, but with patience, you can do it.
Secure The Light Fixture
First, hold the light fixture close to the fan base. Align the screws with the holes on the fixture. Insert the screws into the holes. Tighten each screw using a screwdriver. Make sure the fixture is secure. It should not wobble or move.
Test The New Chain
With the fixture in place, pull the new chain gently. The light should turn on and off. If the light works, the chain is installed correctly. If not, check the connections. Ensure all wires are connected properly. Adjust as needed.
Final Checks
After fixing the light chain on your ceiling fan, it is important to perform final checks. These checks ensure everything is working correctly. They also help you avoid any potential issues. Follow these steps to complete your final checks.
Restore Power
First, restore power to the ceiling fan. Go to your breaker panel and switch the power back on. Be careful while doing this. Make sure no one is touching the fan or the light switch. Once the power is restored, return to the room with the ceiling fan.
Ensure Proper Function
Now, test the light chain. Pull the chain gently to turn the light on. If the light does not come on, check the bulb. It might be loose or burnt out. Replace the bulb if needed. Once the light is on, pull the chain again to turn it off. Repeat this a few times to make sure it works smoothly.
Next, test the ceiling fan. Turn on the fan using its switch or remote. Make sure it operates at different speeds. Listen for any unusual noises. If everything seems fine, your repair is successful. Your ceiling fan and light should now work properly.
:max_bytes(150000):strip_icc()/broken-fan-pull-chain-switch-4775179-03-bf1256bf568946a5b3cd3d4bdc943d6b.jpg)
Credit: www.thespruce.com
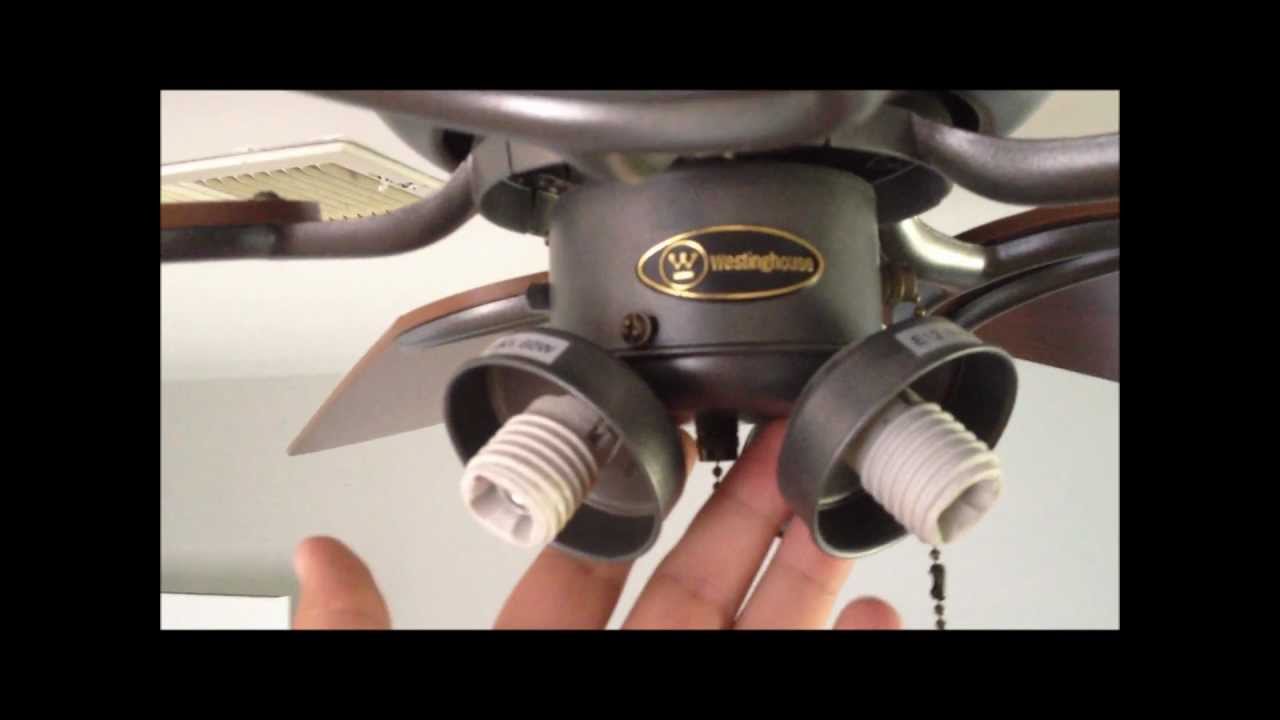
Credit: www.youtube.com
Frequently Asked Questions
How Do I Replace A Ceiling Fan Light Chain?
To replace a ceiling fan light chain, first turn off the power. Next, remove the fan housing. Replace the broken chain with a new one. Reassemble the fan and restore power.
What Tools Do I Need To Fix A Ceiling Fan Light Chain?
You will need a screwdriver, pliers, and a replacement light chain. Having a voltage tester is also recommended for safety.
Why Is My Ceiling Fan Light Chain Stuck?
A stuck light chain may be due to dirt or a worn-out mechanism. Cleaning or replacing the chain can resolve the issue.
Can I Fix The Light Chain Myself?
Yes, you can fix the light chain yourself with basic tools and safety precautions. Follow step-by-step instructions for guidance.
Conclusion
Fixing the light chain on your ceiling fan is simple. Follow the steps carefully. Gather your tools first. Turn off the power for safety. Remove the fan’s housing. Locate the chain mechanism. Replace or fix the chain as needed. Reassemble the housing.
Turn the power back on. Test the light chain. Enjoy your working ceiling fan again. With patience, you can handle this task easily. Maintain your ceiling fan regularly. This ensures it works smoothly. Happy fixing!


