
Seeing a DRAM light on your motherboard can be frustrating. It often signals an issue with your memory modules.
Fixing it is usually straightforward with the right steps. Motherboards are essential components of a computer. They connect all parts, including the CPU, RAM, and storage. The DRAM light indicates a problem with the RAM. This can cause your computer to fail to boot up.
There are several reasons this light might come on. It could be due to improperly seated RAM, incompatible memory, or a faulty module. Understanding these potential issues is crucial. It helps in diagnosing and fixing the problem efficiently. In this guide, we’ll explore the steps to identify and resolve the issue, ensuring your computer runs smoothly again.
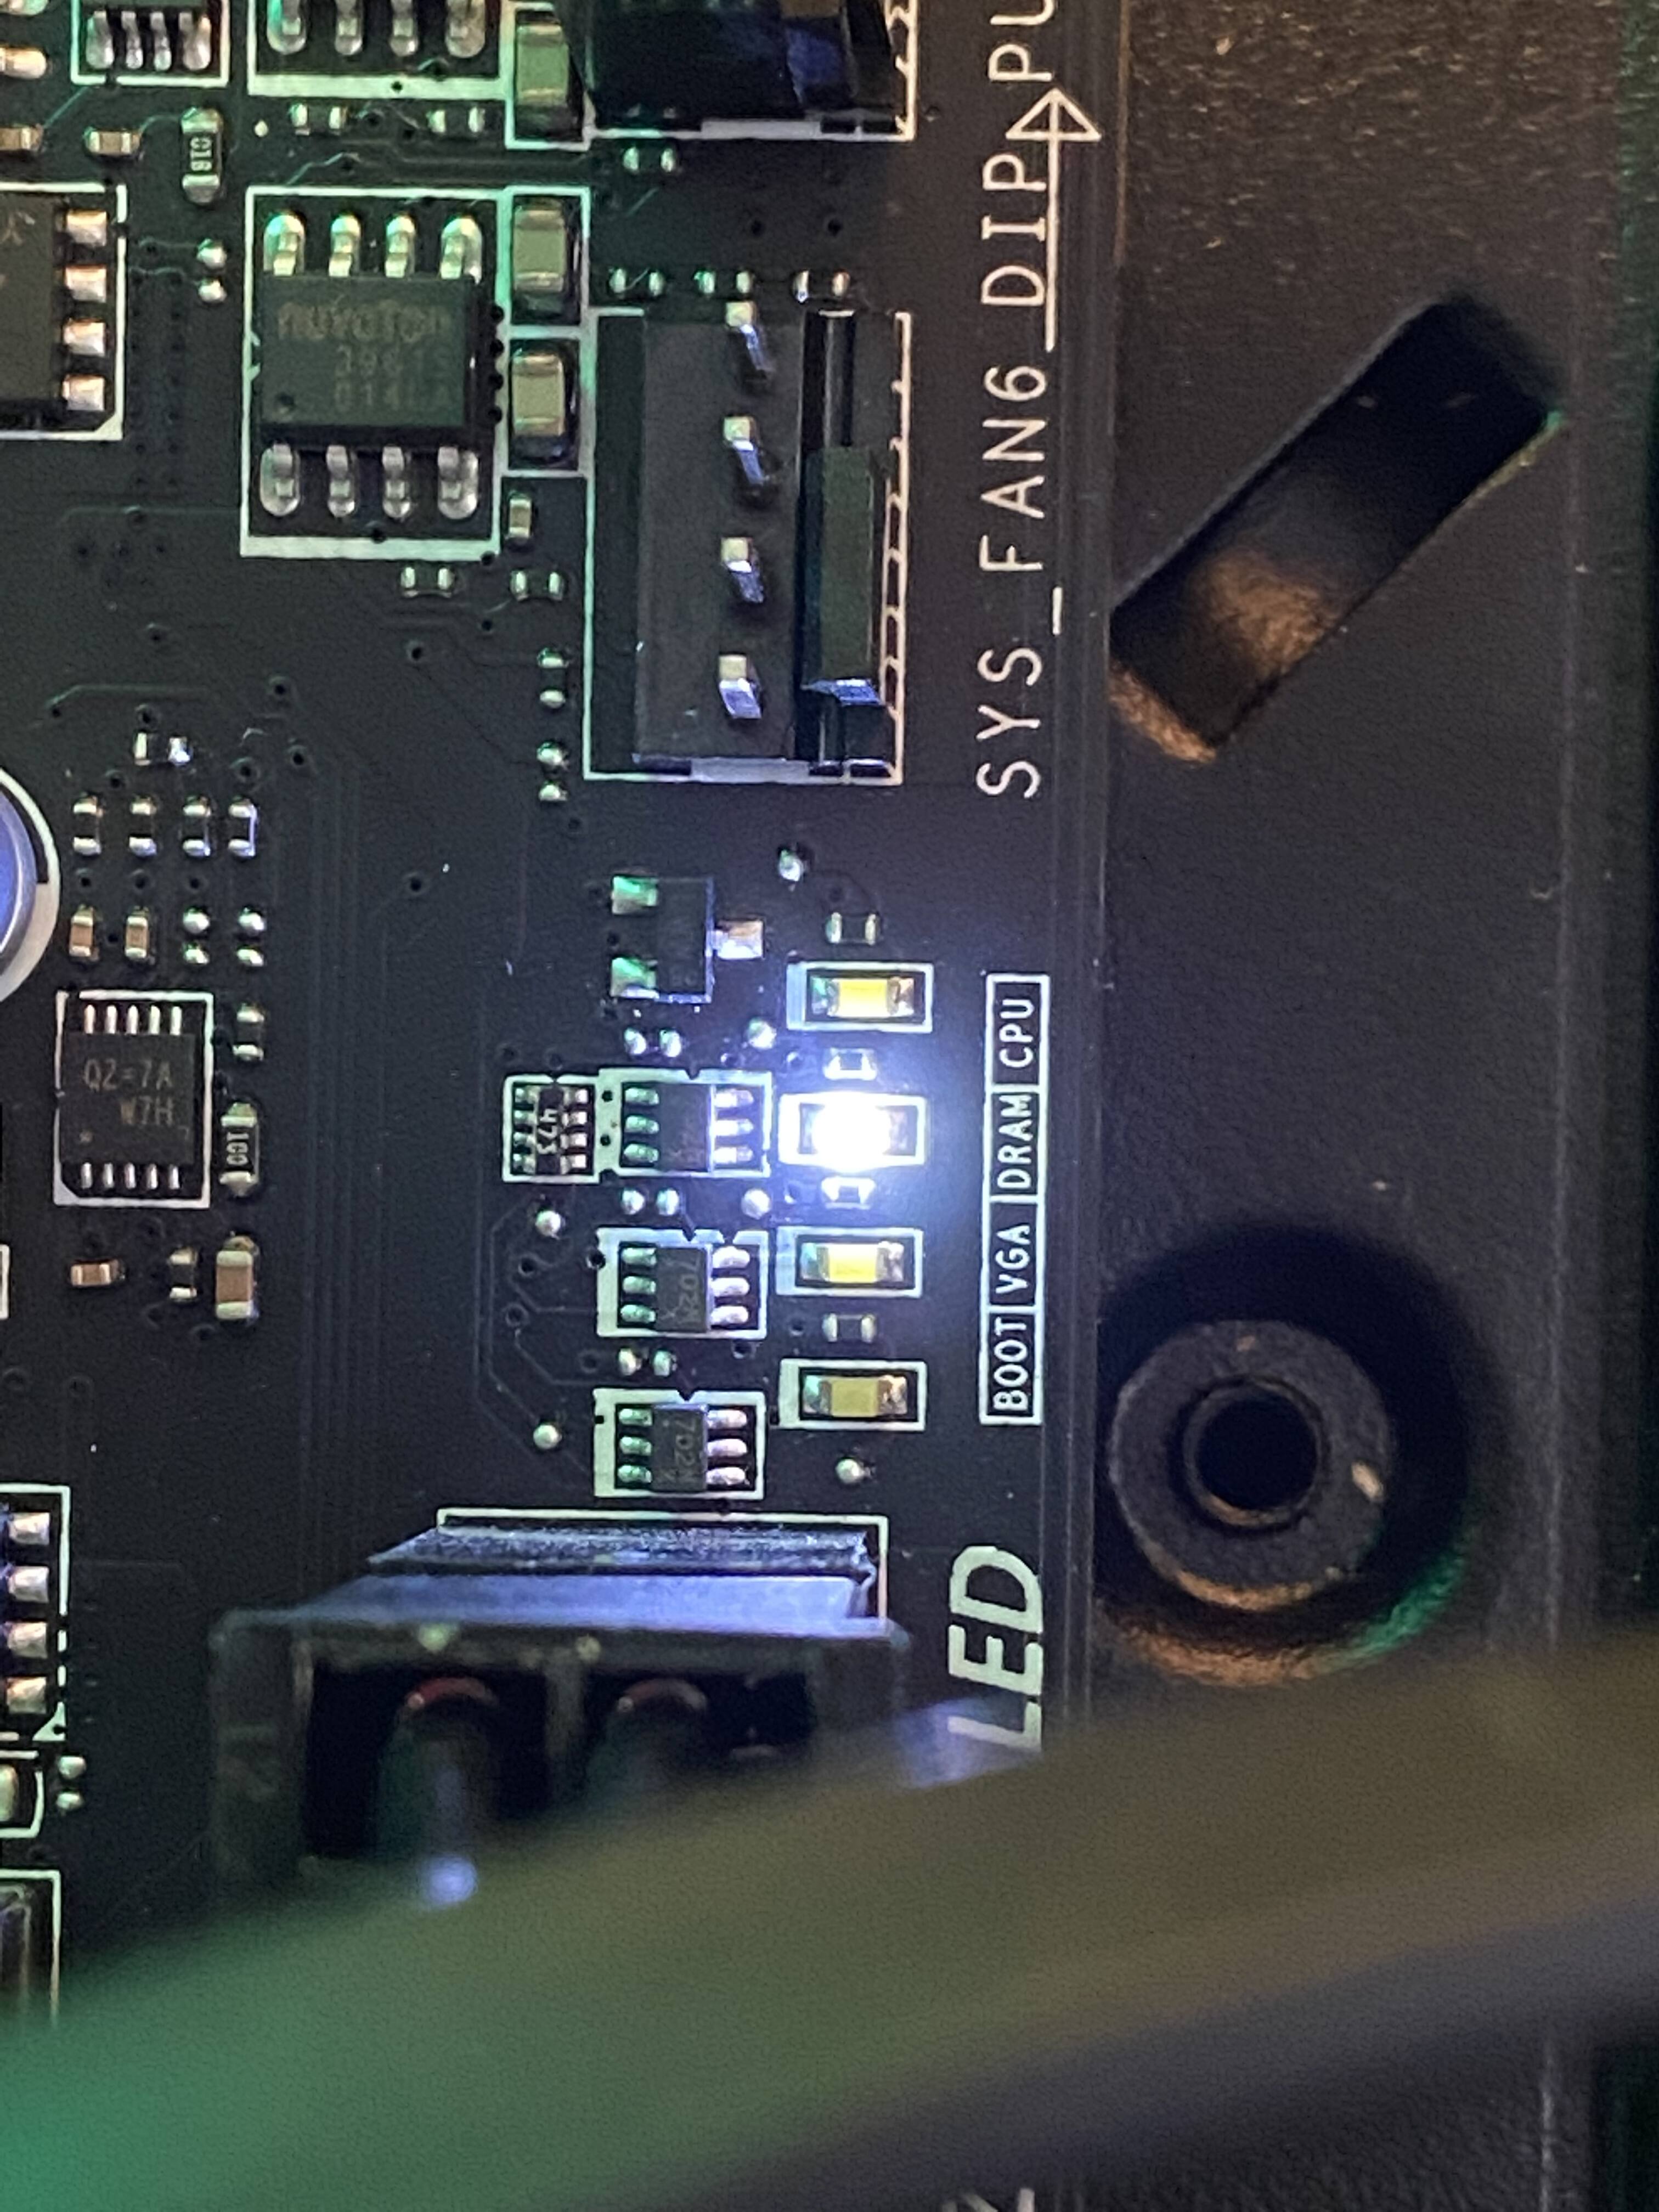
Credit: linustechtips.com
Introduction To Dram Light Issue
Experiencing a DRAM light on your motherboard can be frustrating. This issue signals a problem with your computer’s memory. Understanding the cause and how to fix it is crucial for smooth performance.
What Is Dram Light?
The DRAM light is an indicator found on motherboards. It alerts you to issues related to Dynamic Random-Access Memory (DRAM). When this light is on, it means there is a problem with the memory module.
Common Causes
Several factors can trigger the DRAM light on your motherboard. Below are some common causes:
- Improperly seated memory modules: Ensure the RAM sticks are properly installed in the slots.
- Faulty RAM: A defective memory module can cause the DRAM light to turn on.
- Incompatible RAM: Using memory that is not compatible with your motherboard can lead to issues.
- BIOS settings: Incorrect BIOS settings can also trigger the DRAM light.
By understanding these causes, you can troubleshoot and fix the DRAM light issue effectively.
Initial Troubleshooting Steps
Seeing the DRAM light on your motherboard can be frustrating. But don’t worry. Follow these initial troubleshooting steps to resolve the issue. We have broken down the process into two main parts: Power Cycle Your PC and Check Connections.
Power Cycle Your Pc
Power cycling your PC can often fix many issues. This simple step can reset your system and clear minor glitches.
- Turn off your computer and unplug the power cable.
- Press and hold the power button for 15-20 seconds. This drains any residual power.
- Plug the power cable back in and turn on your computer.
Check if the DRAM light is still on. If it persists, proceed to the next step.
Check Connections
Loose or improper connections can cause the DRAM light to stay on. Follow these steps to check and secure connections.
- Ensure the RAM modules are properly seated in their slots. Push down firmly until you hear a click.
- Check if the power cables are securely connected to the motherboard.
- Inspect the RAM modules for any visible damage. Replace any damaged RAM.
Make sure all connections are tight and secure. If the DRAM light is still on, you may need to test each RAM stick individually.
| Step | Action |
|---|---|
| 1 | Power cycle your PC |
| 2 | Check RAM and power connections |
These initial steps can help in identifying and fixing the DRAM light issue. Stay calm and follow each step carefully. If the problem persists, further troubleshooting may be required.
Inspecting Ram Modules
Dealing with a DRAM light on your motherboard can be frustrating. It often signals a problem with the RAM modules. Before you panic, inspect your RAM modules. This process can help resolve the issue without much hassle.
Reseat Ram Modules
Start by reseating your RAM modules. Sometimes, they can become loose or improperly seated. Follow these steps:
- Turn off your computer and unplug it.
- Open the computer case to access the motherboard.
- Locate the RAM modules. They are in the RAM slots next to the CPU.
- Press the clips on each side of the RAM slot to release the module.
- Remove the RAM module carefully.
- Reinsert the RAM module firmly until the clips snap back into place.
Ensuring the RAM modules are seated correctly can often resolve the DRAM light issue.
Clean Ram Slots
Dust and debris in the RAM slots can cause poor connections. Cleaning the RAM slots can help. Here’s how:
- After removing the RAM modules, use a can of compressed air.
- Blow out any dust or debris from the RAM slots.
- Avoid using a vacuum as it can generate static electricity.
Make sure the slots are clean and dry before reinserting the RAM modules. This can improve the connection and fix the DRAM light issue.
Credit: www.reddit.com
Updating Bios
Updating the BIOS on your motherboard can resolve many issues, including the DRAM light problem. The BIOS (Basic Input/Output System) ensures all hardware components communicate effectively. A BIOS update can improve compatibility and stability, making it a crucial step in troubleshooting.
Accessing Bios
To update the BIOS, you must first access it. Follow these steps:
- Restart your computer.
- During startup, press the Delete or F2 key to enter BIOS.
- Refer to your motherboard manual if unsure of the correct key.
Once in the BIOS, navigate using the arrow keys. Look for the Update or EZ Flash option.
Updating Procedure
Before updating, ensure you have the latest BIOS file. Visit the motherboard manufacturer’s website to download it. Follow these steps:
- Save the BIOS file to a USB drive.
- Insert the USB drive into the computer.
- In the BIOS, select the Update option.
- Choose the BIOS file from the USB drive.
- Confirm the update and wait for the process to complete.
Do not turn off your computer during the update. Once done, the computer will restart. Check if the DRAM light issue is resolved.
Testing With Alternative Ram
One of the most common issues with DRAM lights on motherboards is faulty RAM. Testing with alternative RAM can quickly identify the root of the problem. This process helps to rule out whether the issue lies with the RAM itself or another component. Below are two methods to test with alternative RAM.
Using Spare Ram
If you have spare RAM available, start by turning off your computer. Open the case and locate the RAM slots on your motherboard. Carefully remove the existing RAM sticks. Take your spare RAM sticks and insert them into the same slots. Make sure they click into place securely. Close the case and power on your computer. Check if the DRAM light has turned off. If the light is off, the problem was with your original RAM.
Borrowing From Another System
Another method involves borrowing RAM from another system. This is helpful if you don’t have spare RAM. Find another computer that uses compatible RAM. Turn off both systems and remove the RAM from the working computer. Insert the borrowed RAM into your system’s RAM slots. Ensure they are properly seated and secured. Power on your computer and observe the DRAM light. If the light goes off, your original RAM is the likely culprit.
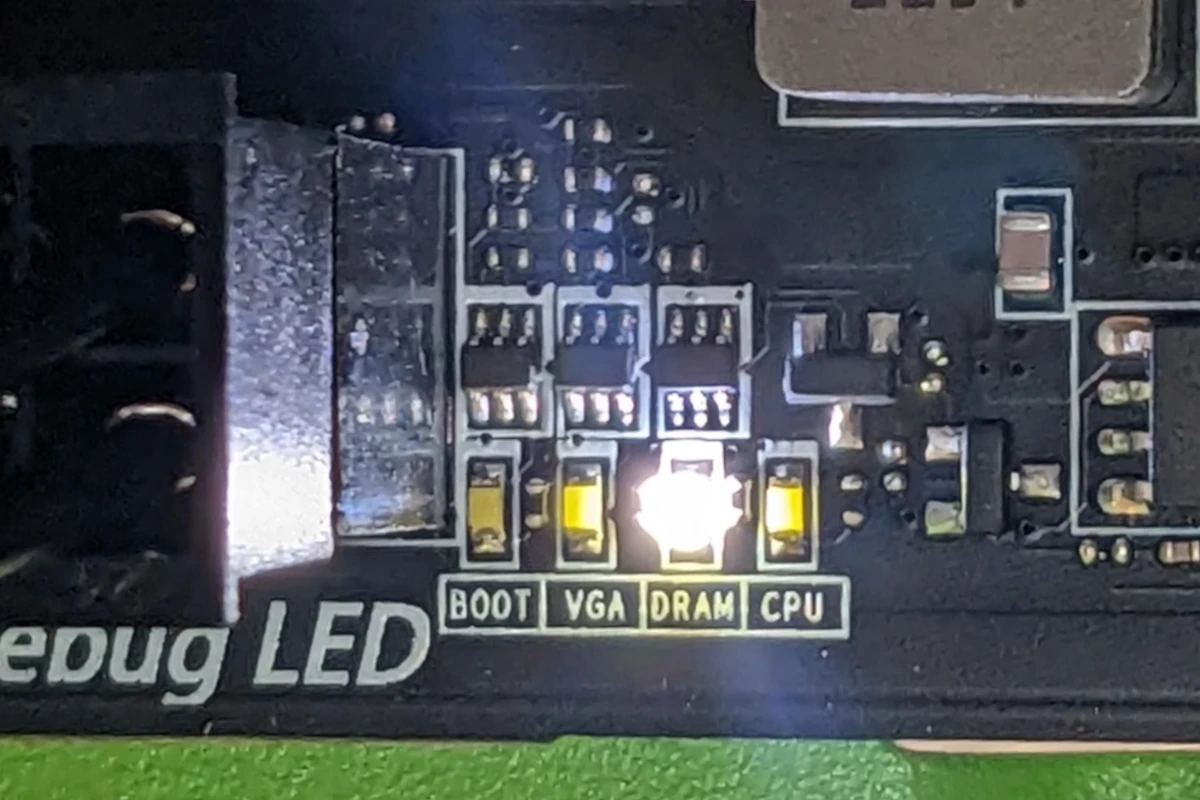
Credit: computercity.com
Checking For Hardware Incompatibility
When your motherboard’s DRAM light stays on, it often points to a hardware incompatibility issue. This can be due to a variety of reasons, but often, it relates to your RAM. Let’s dive into some steps to ensure your components are compatible and solve this issue.
Consult Motherboard Manual
Your motherboard manual is a crucial resource. It contains detailed information about compatible hardware. Check the memory support list provided. This will show which RAM modules work best with your motherboard.
Ensure you have the correct RAM type. For instance, DDR4 RAM will not work in a DDR3 slot. Also, look for information about RAM capacity. Some motherboards have limits on how much RAM you can install.
Refer to the manual for proper RAM installation. Ensure your RAM is seated correctly in the slots. Incorrect installation can cause the DRAM light to stay on.
Cross-check Ram Specifications
After consulting the manual, verify your RAM specifications. Use the table below to ensure your RAM matches the motherboard’s requirements.
| Specification | Check |
|---|---|
| RAM Type | DDR3, DDR4, etc. |
| RAM Speed | 2133 MHz, 2400 MHz, etc. |
| RAM Capacity | 8GB, 16GB, etc. |
| Number of Modules | Single, Dual, etc. |
Ensure your RAM speed matches the supported speeds listed in the manual. High-speed RAM may need manual adjustments in the BIOS. Check the number of RAM modules. Some motherboards work better with specific module configurations.
If all specifications match, but the DRAM light persists, consider testing the RAM in another system. This helps determine if the issue is with the RAM or the motherboard.
Seeking Professional Help
Experiencing a DRAM light on your motherboard can be frustrating. Sometimes, the issue may be complex. In such cases, seeking professional help is wise. Here, we discuss when to consult a technician and the costs involved.
When To Consult A Technician
If basic troubleshooting fails, it’s time for a technician. Strange noises from your computer signal deeper issues. Frequent crashes or unresponsive systems also indicate serious problems. A technician can diagnose these issues better.
Another reason to consult a technician is warranty. If your computer is under warranty, let a professional handle it. This prevents voiding the warranty. Attempting complex repairs might cause more damage. Technicians have the right tools and experience.
Costs And Considerations
Professional help comes with costs. Basic diagnostics may range from $50 to $100. Complex repairs can be more expensive. Parts replacement adds to the cost. It’s important to get a detailed quote before proceeding.
Consider the technician’s reputation too. Look for reviews and testimonials. Reliable technicians offer warranties on their work. This ensures peace of mind. Weigh the costs against the benefits. Sometimes, professional help saves money in the long run.
Preventive Measures
Regularly check and reseat RAM modules to fix the DRAM light on the motherboard. Ensure all connections are secure. Update the BIOS to the latest version for better compatibility.
Preventive measures play a crucial role in maintaining a healthy motherboard. By taking simple steps, you can avoid the dreaded DRAM light issue. Let’s explore some key practices to keep your motherboard in top condition.Regular Maintenance
Regular maintenance is vital for the longevity of your computer. Clean your motherboard and its components regularly. Dust can cause overheating and damage. Use compressed air to blow out dust. Make sure to turn off the computer before cleaning. Check for loose cables and connections. Ensure everything is securely plugged in. This prevents unexpected errors and issues.Proper Handling Of Components
Proper handling of components is essential. Always ground yourself before touching any parts. Static electricity can damage sensitive parts. Use an anti-static wrist strap. Handle components by their edges. Avoid touching the circuitry. Store components in anti-static bags. This prevents static buildup. Be gentle when installing or removing parts. Forceful handling can cause physical damage.Following these preventive measures can help you maintain a functional motherboard. With regular care, you can avoid the DRAM light issue and ensure smooth performance. “`Frequently Asked Questions
What Causes The Dram Light On The Motherboard?
The DRAM light on the motherboard usually indicates a memory issue. It could be due to improperly seated RAM, faulty RAM modules, or compatibility issues.
How Do I Fix The Dram Light Issue?
To fix the DRAM light issue, reseat the RAM modules. Ensure they are properly installed. If the problem persists, try using different RAM sticks or slots.
Can Updating Bios Fix Dram Light Issues?
Yes, updating the BIOS can sometimes fix DRAM light issues. An updated BIOS can improve compatibility with your RAM and resolve related problems.
Is It Safe To Reset Cmos To Fix Dram Light?
Yes, resetting the CMOS can help fix the DRAM light issue. It restores default settings and can resolve conflicts causing the light to turn on.
Conclusion
Fixing the DRAM light on your motherboard can seem challenging. Follow these steps. Check connections. Ensure RAM modules are seated properly. Reset BIOS settings. Update motherboard firmware. Test with different RAM sticks. Each step helps identify and solve the issue.
Patience and careful handling are key. Troubleshooting hardware takes time. Stay calm and methodical. Your motherboard will function well again. Happy computing!


