
Does your ceiling fan light stay off because the pull chain is broken? Don’t worry, fixing it is easier than you think.
In this guide, we’ll show you how to fix a ceiling fan pull chain for the light step by step. Ceiling fan pull chains can get stuck or break over time. This problem can leave you in the dark, literally.
The good news is that you don’t need an electrician to solve this issue. With a few tools and some patience, you can repair or replace the pull chain yourself. This guide will walk you through the process, ensuring your fan light works perfectly again. Let’s get started on fixing that pull chain and bringing light back into your room.
Tools And Materials Needed
Fixing the ceiling fan pull chain for light can be a simple task. However, having the right tools and materials will make the process much easier. In this section, we’ll outline the essential tools and required materials for the job.
Essential Tools
To fix a ceiling fan pull chain, you need a few basic tools. These tools will help you remove and replace the pull chain efficiently.
- Screwdriver: Both flathead and Phillips are useful.
- Needle-nose pliers: For gripping and pulling small parts.
- Wire stripper: To remove insulation from wires.
- Multimeter: For checking electrical connections.
Required Materials
Besides tools, you will need some materials to replace the pull chain. These materials are readily available and inexpensive.
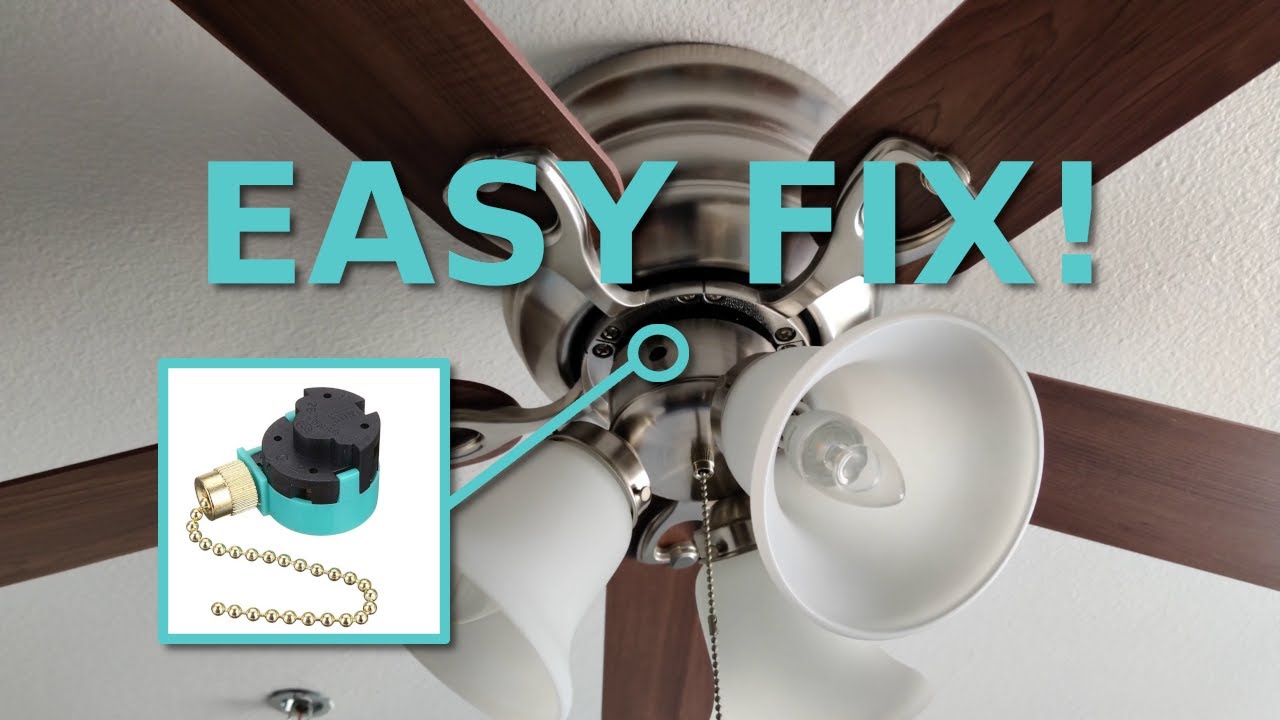
- Replacement pull chain switch: Ensure it matches your fan model.
- Electrical tape: For securing wire connections.
- Wire nuts: To connect wires safely.
Gathering these tools and materials will prepare you for the task. Ready to fix your ceiling fan pull chain? Let’s get started!
Safety Precautions
Fixing a ceiling fan pull chain for light can be tricky. Safety should always be your top priority. Taking the right precautions can prevent injuries and accidents. Let’s explore some crucial safety steps.
Turn Off Power
Before starting, turn off the power to the fan. Locate the circuit breaker in your home. Switch off the breaker that controls the ceiling fan. This step is vital to avoid electric shocks.
Verify that the power is off. Try turning on the fan using the wall switch. If it does not work, you can safely proceed. Ensuring the power is off protects you from harm.
Use Safety Gear
Wear safety gear while fixing the pull chain. Safety glasses protect your eyes from dust and debris. Gloves safeguard your hands from sharp edges and electrical components.
Use a sturdy ladder to reach the fan. A stable ladder reduces the risk of falls. Having a helper nearby can provide extra safety and support. These precautions ensure a safer repair process.
Identifying The Problem
Fixing a ceiling fan pull chain for light starts with identifying the problem. This step is crucial to determine the right solution. Without knowing the issue, fixing the pull chain may become a guessing game. Let’s dive into the common issues and how to diagnose them.
Common Issues
Several problems can affect a ceiling fan pull chain. Here are the most common ones:
- Chain is stuck: The pull chain does not move or is hard to pull.
- Chain is broken: The chain has snapped or disconnected.
- Switch is faulty: The internal switch might be damaged.
- Loose connections: Wires inside the switch are not connected properly.
Diagnosing The Problem
To diagnose the problem, follow these steps:
- Inspect the chain: Check if the chain is stuck or broken. A stuck chain may need lubrication, while a broken chain needs replacement.
- Check the switch: Listen for a clicking sound when pulling the chain. If there is no click, the switch might be faulty.
- Examine connections: Turn off the power and open the fan housing. Look for loose or disconnected wires.
- Test the light: Ensure the light bulb is not burnt out. Replace if necessary.
Use a multimeter to test the switch. This tool checks if the switch is conducting electricity. If it is not, the switch needs replacement.

Credit: www.doityourself.com
Removing The Ceiling Fan Cover
Knowing how to fix a ceiling fan pull chain starts with removing the fan cover. This step can seem daunting, but it is straightforward with the right guidance. This section will walk you through the process of removing the ceiling fan cover, ensuring you can access the internal components easily.
Unscrewing The Cover
First, locate the screws holding the fan cover. These screws are usually on the sides or the top of the fan. Use a screwdriver that fits the screw heads perfectly. Turn the screws counterclockwise to loosen them. Place the screws in a safe spot to avoid losing them.
Once the screws are removed, gently pull down the cover. Be careful not to force it. It should come off easily. If it feels stuck, check for any hidden screws or clips. Removing the cover exposes the internal parts, including the light fixture and the pull chain mechanism.
Handling Delicate Parts
After removing the cover, you will see several delicate parts. These include wires, connectors, and the light socket. Avoid pulling or tugging on the wires. They can be fragile and may break if handled roughly. Use your fingers to carefully move any components if needed.
If you see any dust or debris, gently clean it with a soft cloth. Avoid using water or cleaning agents. This can damage the electrical components. Now you are ready to fix the pull chain. Ensure everything is in place before proceeding to the next step.
Replacing The Pull Chain Switch
Replacing the pull chain switch of your ceiling fan light can seem daunting. But with the right steps, it becomes a manageable task. This guide will walk you through removing the old switch and installing the new one. You will need a screwdriver, wire strippers, and a new pull chain switch.
Removing The Old Switch
First, turn off the power to the ceiling fan at the breaker. Safety first. Then, remove the light fixture cover to access the switch. Use a screwdriver to detach the cover plate. Gently pull the old switch out. You will see wires connected to it. Note their positions or take a photo. Carefully disconnect the wires using wire strippers.
Installing The New Switch
Take your new pull chain switch. Connect the wires to the same positions as the old switch. Twist the wire ends together and use wire nuts to secure them. Push the new switch back into the housing. Reattach the cover plate with the screwdriver. Finally, replace the light fixture cover.
Turn the power back on at the breaker. Test the new pull chain switch. Your ceiling fan light should now work perfectly. If it does not, double-check your wire connections. Make sure everything is secure.
Credit: www.youtube.com
Reassembling The Fan
Once you have fixed the pull chain, it’s time to reassemble the fan. This step ensures the fan looks good and works properly. Follow these easy steps to get it done right.
Reattaching The Cover
First, you need to reattach the fan cover. Align the cover with the screw holes. Hold it in place with one hand. Use your other hand to insert and tighten the screws.
Make sure the cover is secure. It should not wobble. A loose cover can cause noise and imbalance. It’s important to get it right.
Securing All Screws
Next, check all screws on the fan. Tighten each one using a screwdriver. Loose screws can cause the fan to wobble. This can lead to damage over time.
Ensure every screw is tight. This will keep the fan stable. It also helps in reducing noise. A well-secured fan runs smoothly and quietly.
Testing The Repair
After fixing your ceiling fan pull chain for the light, it is crucial to ensure everything works perfectly. Testing the repair will help you confirm that the issue is resolved and the ceiling fan functions correctly. Follow these steps to restore power and check the functionality of your ceiling fan light.
Restoring Power
First, restore power to the ceiling fan. Go to your circuit breaker panel and switch on the breaker that controls the fan. Ensure the switch is in the “on” position.
Next, use a voltage tester to double-check if the power is back on. This step is essential for safety. You do not want to work with live wires.
Checking Functionality
Now that the power is back on, it’s time to test the ceiling fan light. Gently pull the chain to turn on the light. Observe if the light comes on without any flickering or delay.
- If the light turns on smoothly, your repair is successful.
- If the light does not turn on, recheck the wiring connections.
Also, pull the chain multiple times to switch the light off and on. Ensure the pull chain operates smoothly without any resistance or sticking.
It is also helpful to check the fan’s speed settings to ensure they are not affected by the repair. Turn on the fan and cycle through the speeds using the pull chain. Confirm that each speed setting works correctly.
By following these steps, you can be confident that your ceiling fan pull chain repair was successful.
Troubleshooting Tips
Having a ceiling fan with a pull chain for the light is convenient. But what if the pull chain stops working? Let’s explore some troubleshooting tips to fix the issue.
Persistent Issues
Do you face repeated problems with the pull chain? Here are some common reasons:
- Chain is stuck or broken: Check for a jammed or broken chain.
- Connection issues: Loose wiring can cause the pull chain to malfunction.
- Worn-out switch: The internal switch might wear out over time.
Inspect these areas first. These are easy to fix.
When To Seek Professional Help
If the troubleshooting steps do not work, it might be time to call a professional. Here are some scenarios:
- Complex electrical work: If you are not comfortable with electrical tasks, get a professional.
- Fan motor issues: Problems with the motor may need expert attention.
- Safety concerns: If you notice sparks, burning smells, or unusual noises, seek help immediately.
Remember, safety is paramount. Do not attempt repairs you are unsure about.

Credit: www.reddit.com
Frequently Asked Questions
How Do I Fix A Broken Pull Chain?
To fix a broken pull chain, first, turn off the power. Then, open the fan housing and replace the chain.
Why Is My Ceiling Fan Pull Chain Not Working?
A ceiling fan pull chain may not work due to a broken chain, damaged switch, or internal wiring issues.
Can I Replace A Ceiling Fan Pull Chain Switch?
Yes, you can replace a ceiling fan pull chain switch. Turn off the power, open the fan housing, and install a new switch.
How Do I Reattach A Ceiling Fan Pull Chain?
To reattach a pull chain, turn off the power, open the fan housing, and reattach or replace the broken chain.
Conclusion
Fixing a ceiling fan pull chain for light is simple. Gather your tools. Follow the step-by-step guide. Ensure safety first. Double-check connections before testing. Replace any damaged parts. Regular maintenance can prevent future issues. With these tips, you can enjoy a well-lit room again.
Happy repairing!


