
Fixing a broken LED light strip can seem daunting. But with the right steps, it’s manageable.
LED light strips are popular for their versatility and energy efficiency. They illuminate spaces beautifully, but sometimes, they stop working. Whether it’s a loose connection, a faulty strip, or power issues, knowing how to troubleshoot and fix these problems is essential.
This guide will walk you through the process of fixing a broken LED light strip. You’ll learn how to identify common issues and repair them with ease. By the end, you’ll have your LED lights shining bright again, enhancing your space just like before. Let’s get started on fixing that broken LED light strip!

Credit: www.youtube.com
Identifying The Problem
Identifying the problem with your broken LED light strip is the first step to fixing it. This involves checking for common issues that could be affecting its performance. Understanding what tools you will need can also streamline the process, making it easier to get your light strip working again.
Common Issues
Several common issues can cause your LED light strip to malfunction. These include:
- Loose connections
- Burnt-out LEDs
- Faulty power supply
- Damaged strip
Check each of these areas carefully. Loose connections are often the easiest to fix. Simply ensure that all plugs and connectors are secure. If an LED is burnt out, you may need to replace that section of the strip. A faulty power supply could mean the strip isn’t getting enough power. Lastly, inspect the strip for any visible damage or breaks.
Tools Needed
Having the right tools on hand will make the repair process smoother. Here are some essential tools:
- Multimeter
- Soldering iron and solder
- Wire cutters
- Electrical tape
- Replacement LEDs or strips
A multimeter helps you check for continuity and voltage issues. A soldering iron is useful for fixing broken connections. Wire cutters can trim any damaged sections. Electrical tape helps secure connections. Replacement LEDs or strips are essential for replacing any damaged parts.
Safety Precautions
Before attempting to fix a broken LED light strip, it’s crucial to take some safety precautions. Ensuring your safety can prevent accidents and damage to the light strip. Below are essential steps to follow.
Power Off
Always begin by turning off the power. This step is vital to avoid electrical shocks. Locate the power source and disconnect it. If the light strip is connected to a wall outlet, unplug it. If it’s wired directly, switch off the circuit breaker. Make sure the power is completely off before proceeding.
Proper Handling
Handling the LED light strip correctly is essential. Use insulated tools if possible. This reduces the risk of electric shocks. Avoid touching any exposed wires or metal parts. Wear rubber gloves for extra protection. Keep the work area dry to prevent any electrical hazards.
| Safety Tips | Description |
|---|---|
| Turn Off Power | Ensure the power is off before starting any repairs. |
| Use Insulated Tools | Reduce the risk of electric shocks. |
| Wear Rubber Gloves | Extra protection from electrical hazards. |
| Keep Area Dry | Prevents electrical accidents. |
Following these precautions can help you fix your broken LED light strip safely and efficiently. Remember, safety first!
Checking Power Supply
One of the common reasons for a broken LED light strip is a faulty power supply. Ensuring your LED strip has a stable power source is crucial. This section will guide you through checking the voltage and the power adapter to fix your broken LED light strip.
Voltage Check
First, you need to check the voltage of your LED light strip. Most LED strips operate at 12V or 24V. Use a multimeter to measure the voltage. Follow these steps:
- Turn off the power supply.
- Connect the multimeter probes to the power input of the LED strip.
- Turn on the power supply.
- Read the voltage on the multimeter.
If the voltage reading is lower than expected, your LED strip may not receive enough power. This could be the reason it is not working.
Power Adapter
Another critical component to check is the power adapter. A faulty adapter can cause the LED strip to malfunction. Here’s how to check it:
- Inspect the adapter for physical damage.
- Ensure the adapter output matches the voltage requirement of your LED strip.
- Use a multimeter to measure the output voltage of the adapter.
If the adapter output is incorrect, replace the adapter with a new one. Make sure the new adapter has the same voltage and current ratings as the original.
| Voltage | Status |
|---|---|
| 12V | Normal for most strips |
| 24V | Normal for some strips |
| Lower than rated | Insufficient power |
By ensuring the power supply is stable and matches the required specifications, you can often fix a broken LED light strip.

Credit: www.ifixit.com
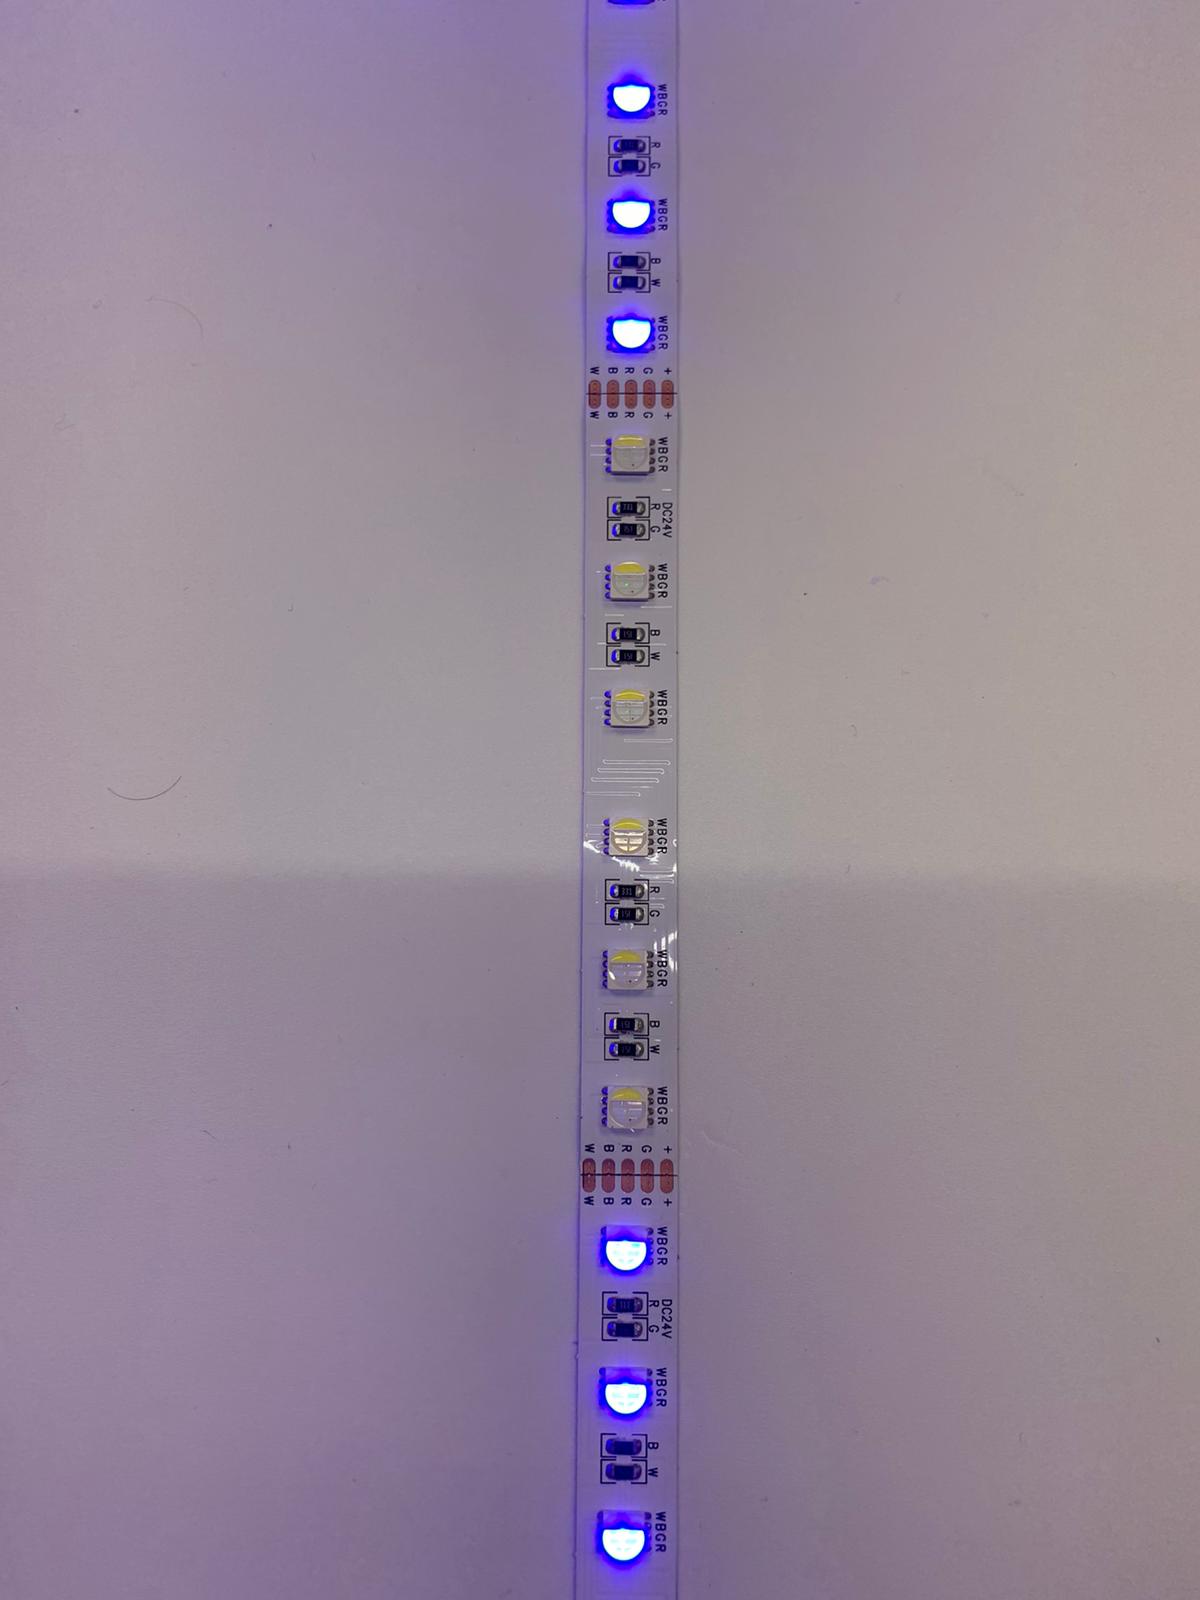
Inspecting Connections
Inspecting the connections in your LED light strip is essential. Faulty connections can cause the strip to malfunction. This section will cover checking for loose wires and connector issues. Follow these steps to ensure your LED light strip functions properly.
Loose Wires
Loose wires are a common problem with LED light strips. To inspect for loose wires, follow these steps:
- Turn off the power supply to the LED strip.
- Gently tug on each wire connected to the strip.
- If a wire comes loose, reattach it securely.
- Check if the wire insulation is damaged. If so, replace the wire.
Ensure that all wires are firmly connected. Proper connections prevent flickering or dimming lights.
Connector Issues
Connector issues can also cause problems. Inspect the connectors by following these steps:
- Disconnect the LED strip from the power source.
- Examine the connectors for any signs of damage.
- If a connector is broken, replace it with a new one.
- Ensure the connectors are firmly attached to the LED strip.
Using quality connectors is crucial. Poor connectors can lead to intermittent lighting problems. Always use connectors that match your LED strip specifications.
| Problem | Solution |
|---|---|
| Flickering lights | Check for loose wires |
| Intermittent lighting | Inspect connector issues |
| Dim lights | Ensure secure connections |
By thoroughly inspecting the connections, you can fix most issues with your LED light strip. Keep all connections secure and in good condition.
Repairing Damaged Sections
LED light strips are popular for home decor and lighting projects. Sometimes, these strips can get damaged. Fixing a broken LED light strip is not as hard as it seems. This section will guide you on how to repair damaged sections of your LED light strip.
Cutting Damaged Parts
First, identify the damaged section of the LED light strip. Use a pair of scissors to cut out the broken part. Make sure to cut along the marked lines on the strip. These lines are usually indicated by a small scissor icon. Cutting on these lines ensures you do not damage the LEDs.
Once the damaged part is removed, you will have two separate pieces of the strip. Each piece should have clean, straight edges. This makes it easier to reconnect them later. Ensure there are no loose wires or exposed circuits.
Reconnecting Strips
Now, it’s time to reconnect the two parts. Use a connector clip to join the strips. These clips are available in hardware stores or online. They are easy to use and do not require soldering. Open the clip and place the ends of the strips inside. Ensure the copper pads on the strips align with the metal contacts in the clip.
Close the clip to secure the connection. Once connected, test the LED strip to see if it works. If the lights do not turn on, check the alignment of the copper pads. Adjust if needed and test again.
In some cases, you might need to solder the strips. This requires a soldering iron and some basic skills. Apply a small amount of solder to connect the copper pads. This creates a stable and lasting connection.
By following these steps, you can easily fix broken LED light strips. This can save you time and money, and keep your home looking great.
Replacing Faulty Leds
Replacing faulty LEDs can seem daunting. But with the right steps, it becomes manageable. This guide will help you replace bad LEDs in your light strip. Let’s start with identifying bad LEDs and then move to soldering new ones.
Identifying Bad Leds
First, you need to find the faulty LED. Turn on your light strip and observe. Look for LEDs that are dim or not lighting up. These are your bad LEDs. Mark them for replacement.
Soldering New Leds
Now, gather your tools. You need a soldering iron, solder, and new LEDs. Heat the soldering iron. Carefully remove the faulty LED. Be gentle to avoid damaging the strip. Place the new LED in the same spot. Solder it in place. Ensure connections are secure. Repeat for each bad LED. Test the strip to see your success.
Testing The Light Strip
Testing the light strip is a crucial step in fixing broken LED light strips. This process helps identify the problem. It can be a faulty connection, a dead LED, or a power issue. Follow these steps to ensure the light strip works correctly.
Power On
First, plug the LED strip into a power source. Ensure that the power supply is working. Check for any damage to the power cord. If the strip does not light up, the problem might be with the power supply.
Checking Functionality
Once the strip powers on, observe the LEDs closely. Look for any sections that do not light up. These dark sections indicate faulty LEDs. Move the strip to ensure all sections receive power. This movement helps identify loose connections.
Next, use a multimeter to test the voltage across the strip. This tool helps pinpoint the exact problem. If the voltage is consistent, the issue is with the LEDs. If the voltage fluctuates, check the power supply and connections.
By following these steps, you can identify the issue with your LED strip. This process ensures that you can fix the strip efficiently. Happy testing!
Preventing Future Damage
Preventing future damage to your LED light strip can save you time and money. It ensures your lighting remains bright and functional. By following a few simple steps, you can keep your LED light strip in good condition for a long time.
Proper Installation
Installing your LED light strip correctly is key. First, choose a clean, dry surface. This helps the adhesive stick well. Clean the surface with rubbing alcohol to remove dust and grease.
- Measure the length of the area before cutting the strip.
- Use connectors for corners and turns.
- Press the strip firmly on the surface to ensure it sticks well.
Be gentle when handling the strip to avoid damage. Avoid bending the strip too sharply. Sharp bends can break the internal wiring.
Regular Maintenance
Regular maintenance can extend the life of your LED light strip. Clean the strip with a soft cloth to remove dust. Avoid using water or harsh chemicals.
- Check the connections regularly to ensure they are secure.
- Inspect the strip for any signs of wear or damage.
- Replace any damaged sections immediately.
Ensure the power supply is working properly. An unstable power supply can damage the strip. If you notice any flickering, check the power source and connections.
By following these steps, you can prevent future damage to your LED light strip. Proper installation and regular maintenance are key to keeping your lighting bright and functional.
Credit: www.instyleled.co.uk
Frequently Asked Questions
How To Identify A Broken Led Light Strip?
Check for dark spots, flickering sections, or unresponsive segments. Use a multimeter to test continuity.
Can I Fix A Broken Led Strip Myself?
Yes, you can. Identify the issue, cut out the damaged section, and reconnect using connectors or soldering.
What Tools Are Needed To Fix An Led Strip?
You’ll need scissors, connectors, soldering iron, multimeter, and replacement LED strip sections.
Why Is My Led Light Strip Flickering?
Flickering can be caused by loose connections, faulty power supply, or damaged LEDs. Check each component.
Conclusion
Fixing a broken LED light strip can be simple. Follow the steps carefully. Check for loose connections first. Replace any damaged sections. Ensure the power supply is working correctly. Use a multimeter for testing. Always handle with care to avoid further damage.
Regular maintenance helps in avoiding issues. With these tips, your LED light strip should work perfectly again. Enjoy the bright and colorful lights once more!


