
Seeing a brake light on your dashboard can be alarming. It often signals a problem that needs quick attention.
Fixing this issue isn’t always as hard as it seems. The brake light on your dashboard serves as an alert. It can indicate various issues, from simple to serious. Understanding what triggers this light is crucial. It helps you address the problem without unnecessary stress.
This guide will explain common causes and fixes for the brake light. You’ll learn simple steps to identify the issue. Whether it’s a minor glitch or a significant fault, you’ll know what to do. Read on to ensure your vehicle stays safe on the road.
Credit: www.powerstop.com
Common Causes Of Brake Light Warning
The brake light warning on your dashboard can be alarming. It usually means something is wrong with your brake system. Understanding the common causes can help you fix the problem quickly.
Low Brake Fluid
One of the most common reasons for a brake light warning is low brake fluid. Brake fluid is essential for your car’s braking system. It helps transfer the force from your foot on the pedal to the brakes themselves.
- Check the brake fluid reservoir under the hood.
- Ensure the fluid level is between the minimum and maximum marks.
- Top up if necessary, but don’t overfill.
If the fluid is consistently low, there might be a leak in the system. Look for wet spots under your car or near the wheels. A visit to a mechanic may be needed for a thorough inspection.
Worn Brake Pads
Worn brake pads can also trigger the brake light warning. Brake pads wear out over time and need to be replaced regularly to maintain braking efficiency.
- Listen for a squealing or grinding noise when braking.
- Inspect the brake pads through the wheel spokes.
- If they look thin, it’s time to replace them.
Replacing brake pads is often a straightforward task. But if you’re unsure, consult a professional mechanic.
Faulty Sensors
Sometimes, the brake light warning is due to faulty sensors. Modern cars have various sensors that monitor the brake system. If one of these sensors malfunctions, it can cause the brake light to illuminate.
- Check the car’s manual to locate the sensors.
- Inspect for any visible damage or loose connections.
- Use a diagnostic tool to read any error codes.
Faulty sensors might require replacement. An experienced mechanic can help diagnose and fix sensor issues effectively.

Credit: www.youtube.com
Initial Safety Precautions
Before fixing the brake light on the dashboard, ensure the car is parked securely. Use wheel chocks to prevent any movement. Wear gloves and safety glasses for protection.
Before fixing the brake light on your dashboard, it’s crucial to follow initial safety precautions. Proper safety measures ensure you remain safe and avoid any accidents. Here are the essential steps you should take:Park On A Level Surface
First, find a level surface to park your car. A flat area prevents the car from rolling. It also makes it easier to work on your vehicle. Make sure the ground is stable. Avoid slopes or uneven surfaces.Turn Off Engine
Next, turn off your car’s engine. This step is critical for safety. An active engine can be dangerous. Ensure the key is out of the ignition. Wait for the engine to cool down if needed.Use Parking Brake
Finally, engage the parking brake. The parking brake keeps your car stable. It’s a backup safety measure. Pull the brake lever or press the button. Double-check to confirm it’s engaged. “`Checking Brake Fluid Levels
One of the main reasons the brake light on your dashboard might be on is due to low brake fluid levels. Checking and maintaining the brake fluid is crucial for the safety and performance of your vehicle. This section will guide you through the process of checking your brake fluid levels and refilling it if necessary.
Locate Brake Fluid Reservoir
First, open the hood of your car. The brake fluid reservoir is usually located near the back of the engine bay, on the driver’s side. It is a small, translucent container with a screw cap. Look for the label that says “brake fluid” or consult your car’s manual.
Check Fluid Level
Once you have located the brake fluid reservoir, check the fluid level. The reservoir has markings on the side indicating the “Min” and “Max” levels. The fluid should be closer to the “Max” mark. If it is below the “Min” mark, you need to add more fluid.
Refill If Necessary
If the brake fluid level is low, you need to refill it. First, clean the area around the reservoir cap to prevent dirt from entering. Then, unscrew the cap. Pour the brake fluid slowly into the reservoir until it reaches the “Max” mark. Use the recommended type of brake fluid for your vehicle, which you can find in the owner’s manual.
After refilling, replace the cap securely and close the hood. Check the brake light on your dashboard. If the light is still on, there may be other issues that need attention.
Inspecting Brake Pads
Inspecting brake pads is a vital part of fixing the brake light issue on the dashboard. Brake pads wear down over time. Regular checks can prevent bigger problems. Follow these steps to inspect your brake pads.
Remove Wheel
First, ensure the car is on a flat surface. Use a jack to lift the vehicle. Remove the wheel bolts using a wrench. Carefully take off the wheel to expose the brake assembly.
Check Pad Thickness
With the wheel removed, look at the brake pads. They sit inside the caliper. Check the thickness of the pads. New pads are about 1/2 inch thick. If they are less than 1/4 inch, they need replacement.
Replace Worn Pads
Worn pads must be replaced to ensure safety. Remove the caliper by unscrewing the bolts. Slide out the old brake pads. Insert the new pads in their place. Reattach the caliper and ensure it is secure.
Put the wheel back on and tighten the bolts. Lower the vehicle and test the brakes. Your brake light issue should be resolved.
Testing Brake Sensors
Testing brake sensors is crucial when you see the brake light on your dashboard. Faulty sensors may cause the light to stay on, even if the brakes are working fine. Follow these steps to test your brake sensors and fix the issue.
Locate Sensors
First, find the brake sensors in your vehicle. They are usually near the brake pedals or wheels. Check your car’s manual for the exact location. Knowing where they are makes the next steps easier.
Clean Connections
Next, inspect the sensor connections. Dirt and rust can cause poor connections. Use a soft brush to clean the sensors and their connectors. Ensure there is no debris left behind. Clean connections improve sensor performance.
Test With Multimeter
Finally, test the sensors with a multimeter. Set the multimeter to the resistance setting. Connect the multimeter probes to the sensor terminals. Check the reading on the multimeter. It should match the value specified in the car’s manual. A different reading means the sensor is faulty.
Resetting The Brake Light
Resetting the brake light on your dashboard can seem complicated. But with the right steps, it’s manageable. Sometimes, the brake light stays on even after fixing the issue. Resetting it can solve the problem. Here are three methods to try.
Turn Ignition On And Off
Start by sitting in the driver’s seat. Insert the key into the ignition. Turn it to the “On” position. Wait a few seconds. Then, turn it off. Repeat this step a few times. This simple action can reset the brake light. If it doesn’t work, move on to the next step.
Disconnect Battery
First, open the hood of your car. Find the battery. Use a wrench to loosen the negative terminal. Remove the cable and wait for 15 minutes. Reconnect the cable and tighten it. This can reset the car’s computer and the brake light. If the light is still on, check the manual.
Consult Manual
Every car has a user manual. Find it in the glove box. Look for the section on brake lights. Follow the steps provided. The manual offers specific instructions for your car model. It can guide you through the reset process. If all else fails, a professional can help.
When To Seek Professional Help
Brake light issues on the dashboard can be tricky. Seek professional help if the light persists after checking bulbs and fuses. Expert mechanics can diagnose and fix complex electrical problems safely.
When your brake light warning stays on, you might wonder if you should handle it yourself or seek professional help. While some issues can be fixed at home, others require expert attention. Let’s explore when it’s best to consult a professional.Persistent Warning Light
A brake warning light that won’t turn off could indicate a deeper issue. It may signal a problem with the brake system. It could also mean a sensor malfunction. Only a professional can diagnose it accurately. Don’t ignore this warning. It’s crucial to address it promptly.Complex Repairs
Some brake issues involve complex repairs. These include problems with the ABS system. Another example is the master cylinder. These parts are critical for safe braking. A professional mechanic has the right tools and knowledge. They can fix these components correctly.Safety Concerns
Brakes are vital for your safety. If you’re unsure about any brake issue, it’s best to seek help. A professional can ensure everything is in perfect working order. This guarantees your vehicle remains safe to drive. Don’t take risks with your brakes. Always prioritize safety.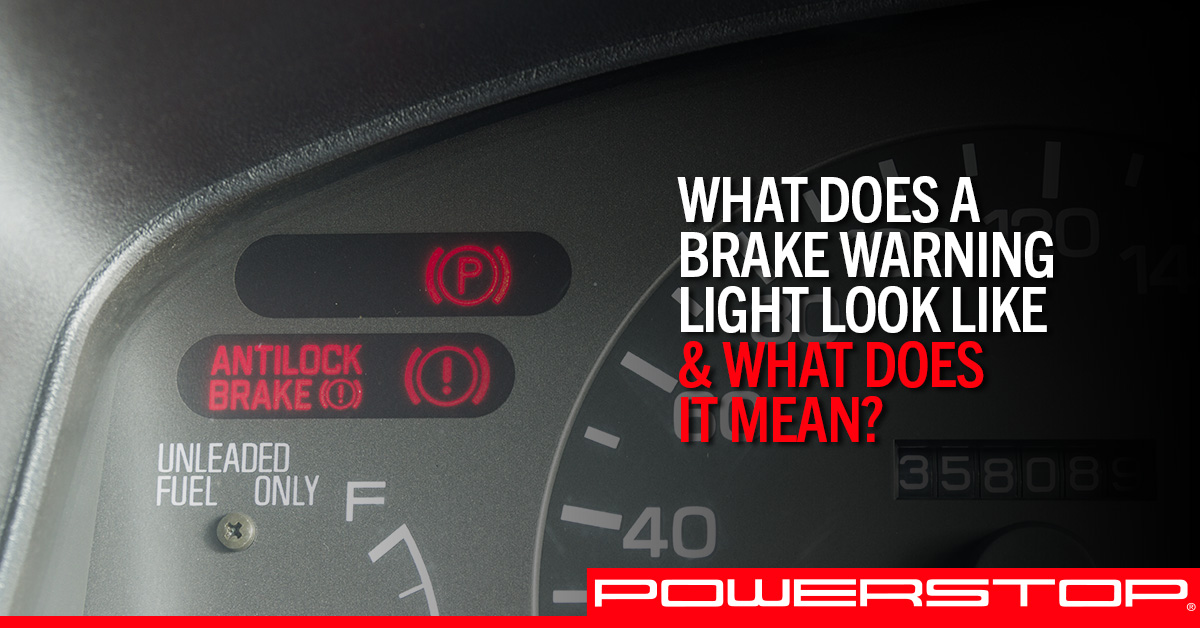
Credit: www.powerstop.com
Preventive Maintenance Tips
Proper maintenance keeps your brake lights working. It saves you from accidents and costly repairs. Simple checks and routine servicing ensure everything runs smoothly. Here are some tips.
Regular Fluid Checks
Check brake fluid levels often. Low fluid can trigger the brake light. Use the recommended fluid type. Clean the cap before opening the reservoir. This keeps dirt out.
Brake Pad Inspections
Inspect brake pads for wear. Thin pads reduce braking power. They can also cause the brake light to come on. Replace them when they get too thin. This prevents damage to other parts.
Scheduled Servicing
Follow your car’s service schedule. Regular servicing keeps the brake system in good shape. Professionals can spot issues early. This saves you from bigger problems later.
Frequently Asked Questions
How To Identify A Faulty Brake Light?
To identify a faulty brake light, check if the brake lights illuminate when you press the brake pedal. If they don’t, the brake light may be faulty.
What Causes Brake Light Warnings On The Dashboard?
Brake light warnings can be caused by burnt-out bulbs, faulty wiring, or sensor issues. Regular maintenance helps prevent these problems.
Can I Drive With A Brake Light Warning?
Driving with a brake light warning is not advisable. It can be dangerous and may result in a traffic violation.
How Do I Replace A Brake Light Bulb?
To replace a brake light bulb, locate the faulty bulb, remove it, and insert a new one. Always consult your vehicle’s manual.
Conclusion
Fixing a brake light on your dashboard is essential for safety. Follow the steps outlined carefully. Check the brake fluid level. Replace any faulty bulbs. Ensure all connections are secure. Regular maintenance helps avoid future issues. Always prioritize safety when dealing with car problems.
Remember, a well-maintained car keeps you and others safe. Stay proactive with your vehicle care. Happy driving and stay safe!


