
Fixing the light on your Mazda 3 can seem tricky. But, it’s simpler than you think.
Many Mazda 3 owners face this common issue. Whether it’s a headlight, brake light, or interior light, a quick fix can save time and money. Understanding how to fix a light on your Mazda 3 ensures safety and avoids costly repairs.
This guide will walk you through the basic steps. You don’t need to be a car expert. Just follow these simple instructions to get your Mazda 3 lights working again. Stay tuned and learn how to handle this common car problem with ease.
Tools And Materials Needed
Fixing a light on your Mazda 3 requires a few essential tools and materials. Having the right items on hand makes the process smoother and more efficient. Below, you’ll find a detailed list of what you need. This will ensure you’re well-prepared for the job.
Essential Tools
- Screwdrivers: Both flathead and Phillips are necessary for removing screws.
- Socket Set: A basic socket set will help in loosening and tightening bolts.
- Pliers: Useful for gripping and twisting wires.
- Work Gloves: Protect your hands from cuts and scratches.
- Flashlight: Helps you see clearly in tight or dark spaces.
Required Materials
- Replacement Bulb: Ensure you have the correct bulb for your Mazda 3 model.
- Electrical Tape: Useful for securing wires if needed.
- Cleaning Cloth: Keeps the light housing clean before installation.
| Tool | Purpose |
|---|---|
| Screwdrivers | Removing screws |
| Socket Set | Loosening bolts |
| Pliers | Gripping wires |
| Work Gloves | Protecting hands |
| Flashlight | Lighting dark areas |

Credit: www.cargurus.com
Preparation Steps
Preparation is key to fixing a light on your Mazda 3. Before starting, follow these steps to ensure a smooth process. These steps help you stay safe and get the job done right.
Ensure Safety
Park your Mazda 3 in a safe, flat area. Turn off the engine and remove the key from the ignition. Allow the car to cool down if it has been running. Wear gloves to protect your hands from sharp edges and hot surfaces. Keep a fire extinguisher nearby in case of emergencies.
Locate The Fuse Box
Open the hood of your Mazda 3. Look for the fuse box, usually near the battery or on the driver’s side. Refer to your car’s manual if you have trouble finding it. Open the fuse box cover carefully. Inside, you will see a diagram showing the fuse locations.
Removing The Old Light
Removing the old light from your Mazda 3 is a straightforward process. You need to follow a few simple steps. This guide will help you get the job done quickly. Let’s start with accessing the light housing and disconnecting the wiring.
Access The Light Housing
First, open the hood of your Mazda 3. Locate the back of the headlight assembly. You might need to remove some screws or clips. Use a screwdriver or pliers. Carefully pull the housing cover away. Now, you have access to the light bulb inside.
Disconnect The Wiring
The next step is to disconnect the wiring. Find the connector at the back of the light bulb. Press down on the tab to release it. Gently pull the connector away from the bulb. Be careful not to damage the wires. The old light is now free to be removed.

Credit: www.youtube.com
Choosing The Right Replacement Light
Choosing the right replacement light for your Mazda 3 is crucial. The right light ensures safety and optimal performance. It also helps in avoiding potential damage to your car’s electrical system. Let’s look into the details of compatible bulbs and the differences between LED and halogen lights.
Compatible Bulbs
First, identify the type of bulb your Mazda 3 uses. Check your owner’s manual or the existing bulb. Common types include H11, 9005, and 9006. Make sure to get the correct size. Incorrect bulbs can cause fitment issues or electrical problems. Always use high-quality bulbs from reputable brands.
Led Vs. Halogen
LED and halogen lights serve different purposes. LED lights are energy-efficient and last longer. They provide brighter light and consume less power. Halogen lights are cheaper and easier to replace. They are widely available and provide adequate lighting. Consider your budget and needs before choosing.
LED lights are great for long-term use. Halogen lights are ideal for quick replacements. Both types have their advantages. The choice depends on your preference and driving conditions.
Installing The New Light
Installing a new light on your Mazda 3 can seem daunting. But with a little patience and the right steps, it can be simple. This section will guide you through installing the new light. Follow these steps to ensure everything works correctly.
Position The New Bulb
First, take the new bulb out of its packaging. Make sure not to touch the glass part. Oils from your fingers can damage it. Next, align the bulb with the socket in the light assembly. Gently insert the bulb into the socket. Ensure it fits snugly but do not force it. The bulb should sit securely in place.
Reconnect The Wiring
Now, reconnect the wiring to the new bulb. Locate the connector you removed earlier. Attach it to the base of the new bulb. Ensure the connection is tight. A loose connection can cause the light not to work. Double-check that the wiring is secure. This will help avoid any future issues.
Testing The New Light
After replacing the light on your Mazda 3, it’s essential to test the new light. Ensuring the light works correctly will help you avoid issues while driving. Follow these steps to test the new light efficiently.
Turn On The Lights
First, start your Mazda 3 and turn on the lights. Check both the low beam and high beam settings. Make sure the new light turns on without flickering. Confirm that the brightness matches your expectations.
Check Beam Alignment
Proper beam alignment is crucial for safe driving. Park your car on a flat surface facing a wall or garage door. Turn on the new light and observe the beam pattern on the wall. The beam should be level and not point too high or low. Adjust the alignment if necessary using the adjustment screws on the headlight assembly.
Troubleshooting Common Issues
Fixing the light on a Mazda 3 often involves checking the bulb and fuses. Ensure all connections are secure. Replace any damaged parts promptly.
Owning a Mazda 3 comes with its share of maintenance tasks. Light problems can be common but easy to fix. Let’s explore troubleshooting steps for common light issues. This guide will help you fix your Mazda 3 lights efficiently.Light Not Working
First, check the bulb. Bulbs can burn out over time. Replace the bulb if it looks dark or broken. Use the correct type for your Mazda 3. Next, inspect the fuse. A blown fuse can cause light failures. Locate the fuse box in your Mazda 3. Check the manual for the correct fuse location. Replace the blown fuse with one of the same rating.Then, examine the wiring. Loose or damaged wires can prevent lights from working. Ensure all connections are tight. Look for any visible damage to the wires. If you find any, you may need professional help.Flickering Issues
Flickering lights can be annoying and unsafe. Start by checking the bulb socket. A loose socket can cause flickering. Secure the bulb in the socket properly.Next, inspect the battery. A weak battery can lead to flickering lights. Test your battery’s voltage. Ensure it is within the recommended range. Replace the battery if it is weak.Then, check the alternator. The alternator supplies power to your lights. A failing alternator can cause flickering. Have a professional test your alternator. Replace it if needed.Lastly, look at the grounding. Poor grounding can cause flickering issues. Ensure all ground connections are secure. Clean any corrosion from the grounding points. “`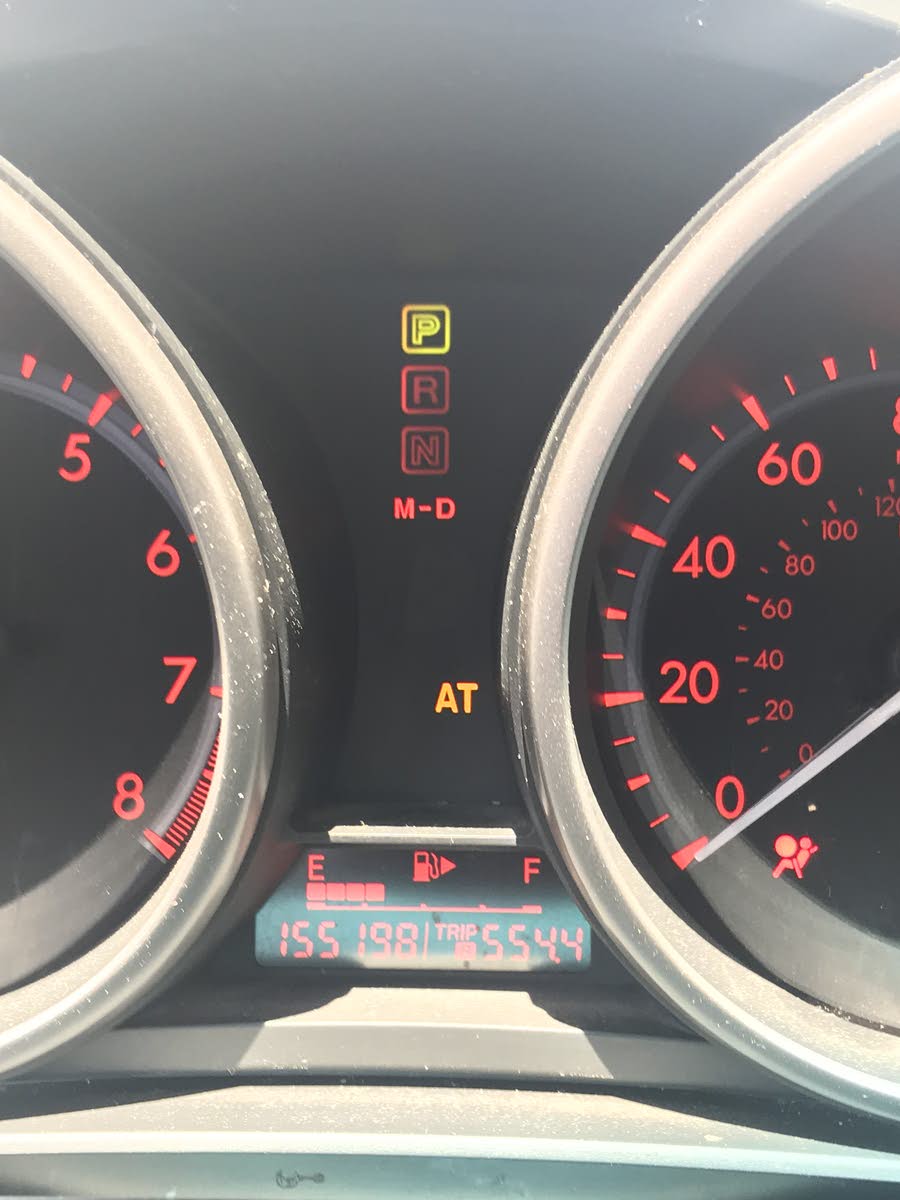
Credit: www.cargurus.com
Maintaining Your Mazda 3 Lights
Keeping the lights on your Mazda 3 in good condition is crucial. Properly working lights ensure safety and visibility. Regular maintenance can prevent potential issues and extend the life of your lights. In this section, we will discuss how to maintain your Mazda 3 lights effectively.
Regular Inspections
Conducting regular inspections is key to maintaining your lights. Check for any signs of damage or wear. Look for cracks, fogging, or other issues. Inspect the brightness and alignment of the lights. Ensure all bulbs are working properly. Regular checks can catch problems early.
Cleaning The Light Covers
Clean light covers improve visibility and ensure your lights shine bright. Use a soft cloth to wipe away dirt and grime. Avoid harsh chemicals that can damage the covers. A gentle cleaner or soapy water works best. Rinse thoroughly and dry with a clean cloth. Clean covers help your lights function at their best.
Frequently Asked Questions
How Do I Reset The Light On My Mazda 3?
To reset the light, turn the ignition on. Then, press the trip meter button until it resets. Finally, turn the ignition off.
Why Is My Mazda 3 Dashboard Light On?
The dashboard light usually indicates an issue. It could be a maintenance reminder or a system malfunction that needs attention.
Can I Drive My Mazda 3 With The Warning Light On?
It’s not recommended to drive with a warning light on. Check the issue immediately to avoid potential damage or safety concerns.
How Often Should I Service My Mazda 3?
Service your Mazda 3 every 12 months or 12,000 miles, whichever comes first. Regular maintenance ensures optimal performance and longevity.
Conclusion
Fixing the light on your Mazda 3 is easier than it seems. Follow the steps carefully and you will save time and money. Remember to check the manual for specific instructions related to your car model. Always ensure safety first while handling car parts.
Happy driving and keep your Mazda 3 lights shining bright!


