
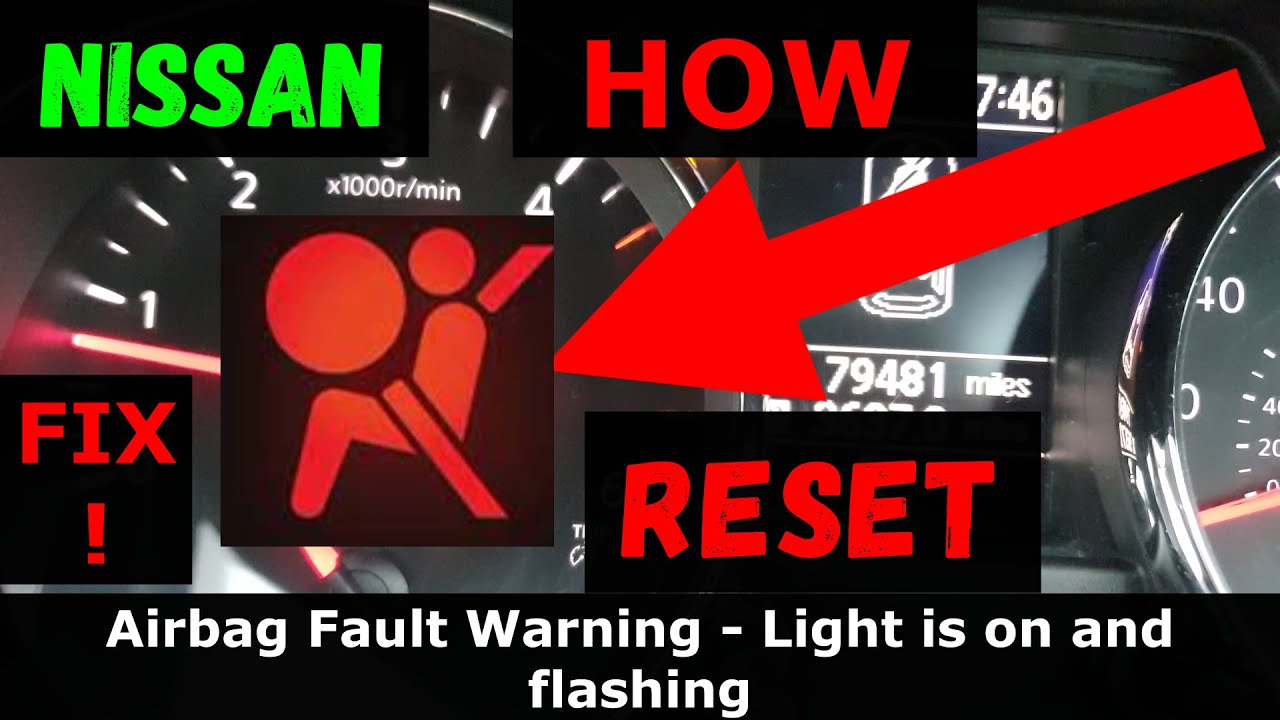
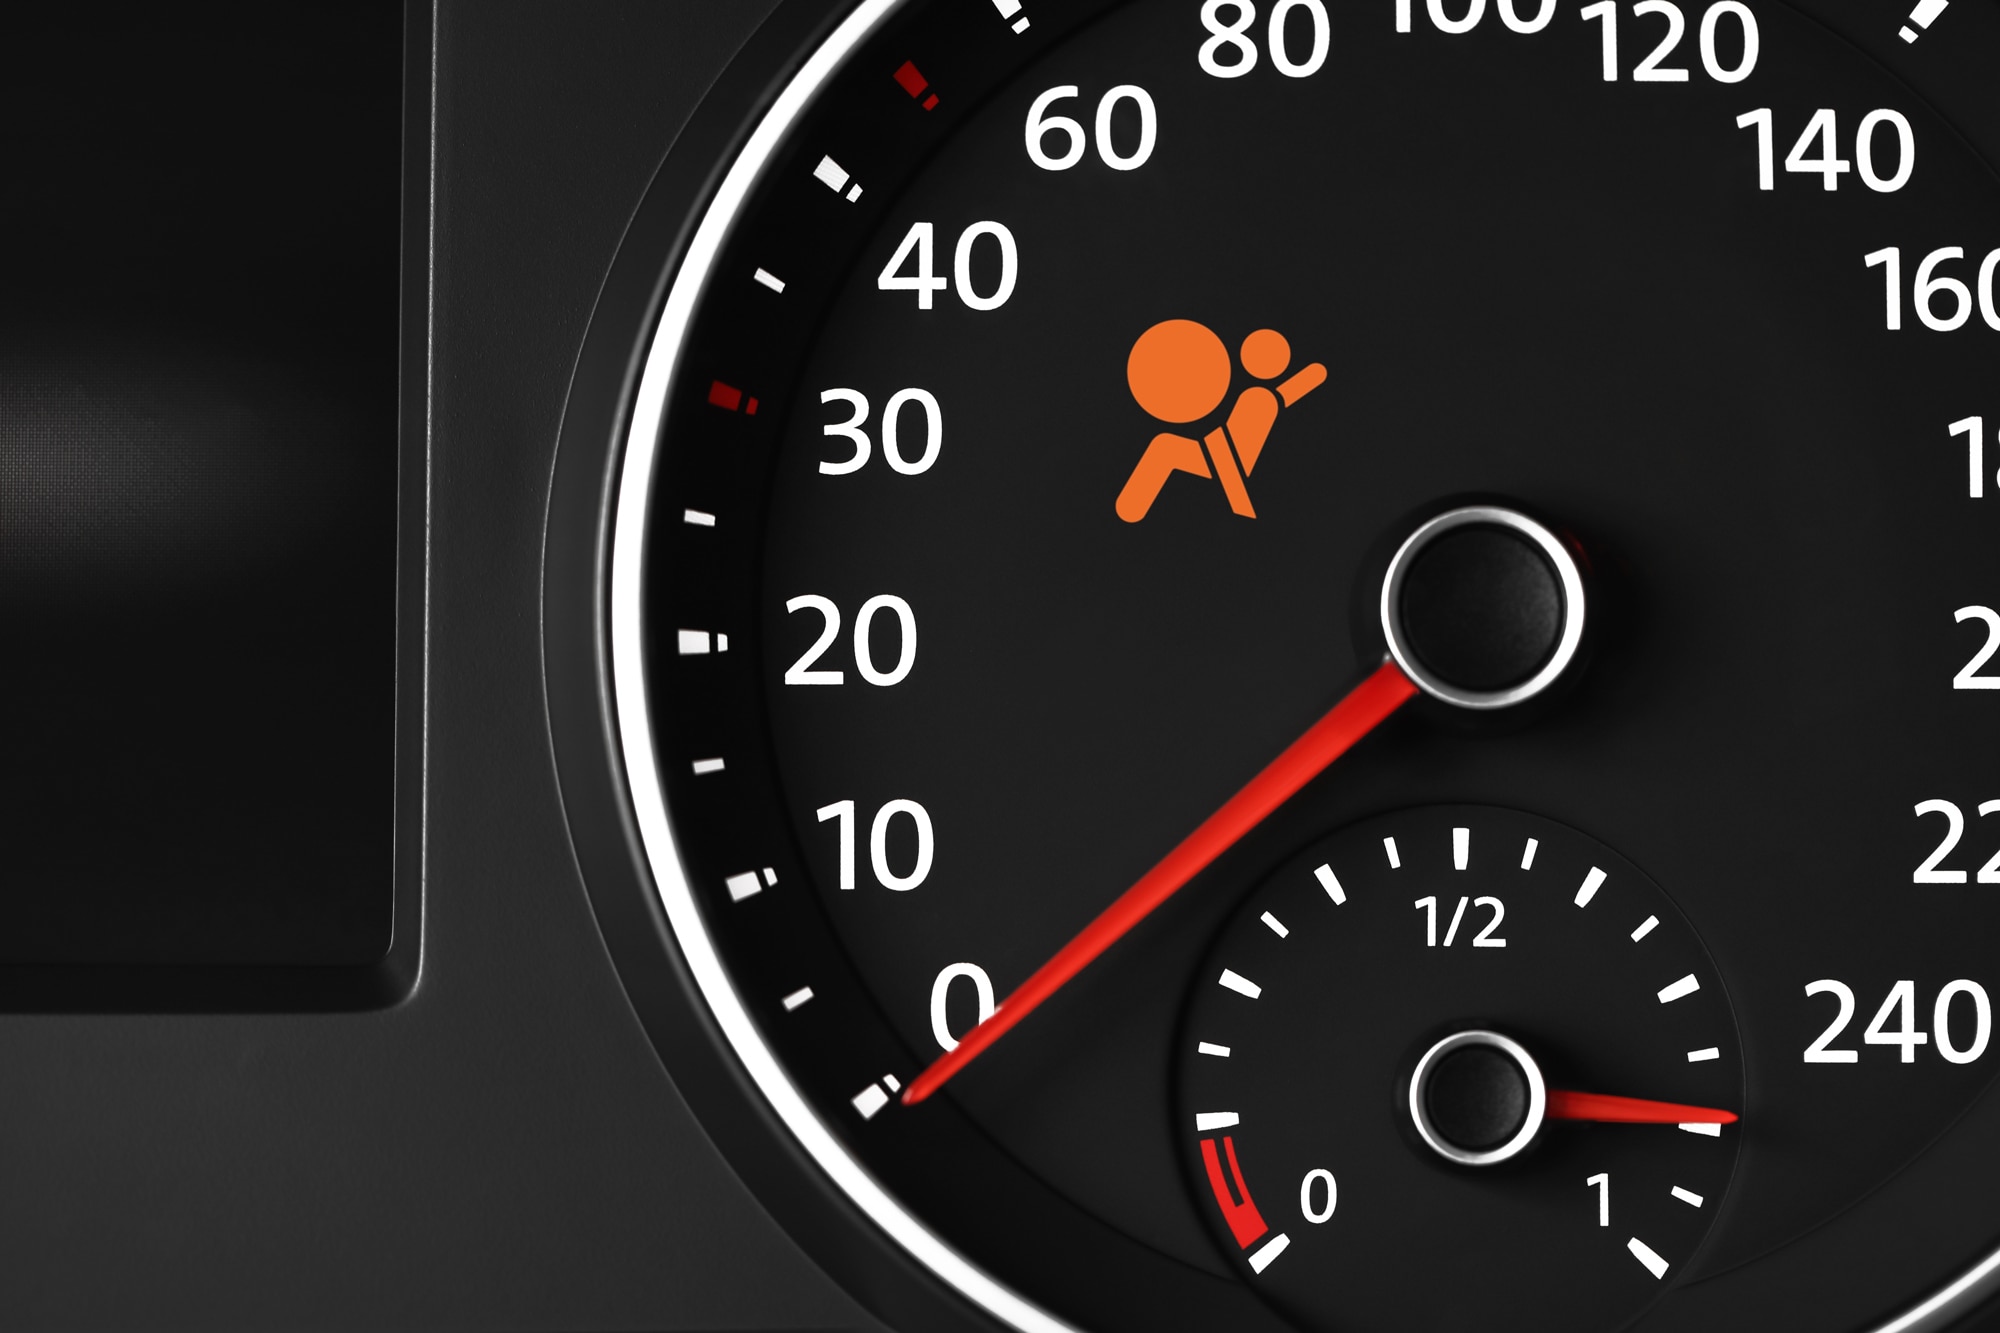
Seeing the airbag light on your dashboard can be alarming. It means there’s a problem with your vehicle’s safety system.
Fixing this light is crucial for your safety. The airbag system is designed to protect you in case of an accident. When the airbag light is on, it signals that the system might not work properly. This guide will help you understand why the light is on and how to fix it.
You’ll learn about common causes and simple steps to solve the issue. Knowing how to address this problem can keep you safe on the road. So, let’s explore how to fix the airbag light on your dashboard.
Common Causes
The airbag light on your dashboard can indicate a problem. Understanding the common causes helps in fixing it. Let’s explore the frequent issues.
Faulty Sensors
One common cause is faulty sensors. These sensors detect collisions and deploy airbags. If they malfunction, the airbag light turns on. Sensors can fail due to age or damage. Replacing or fixing them often solves the issue.
Damaged Wiring
Damaged wiring can also trigger the airbag light. Wires connect the airbag system to the car’s computer. If these wires get damaged, the signal gets disrupted. This disruption causes the warning light to activate. Inspecting and repairing the wiring can resolve this problem.
Safety Precautions
Fixing the airbag light on your dashboard can be a straightforward task. But, it is essential to follow safety precautions. This ensures you avoid injury and further damage to your vehicle. Here are some critical steps to keep in mind.
Disconnect The Battery
Before starting any repair work, always disconnect the battery. This step is crucial to prevent accidental deployment of the airbag. Follow these simple instructions:
- Locate the battery in your car.
- Use a wrench to loosen the negative terminal.
- Remove the terminal from the battery.
Wait for at least 10 minutes. This allows the car’s electrical system to discharge completely. This step ensures your safety while working on the airbag system.
Wear Protective Gear
Wearing the right protective gear is vital. This includes:
| Gear | Purpose |
|---|---|
| Safety Gloves | Protects hands from sharp objects and chemicals |
| Safety Glasses | Prevents debris from entering your eyes |
| Long Sleeves | Protects your arms from scratches and burns |
Always ensure you wear these items before starting your repair. Safety should always be your top priority.
Tools Needed
Is your airbag light on? It could signal a problem. Fixing this requires some tools. Knowing what tools you need is the first step. Below, we list the essential tools to fix the airbag light on your dashboard.
Basic Tools
Before starting, ensure you have these basic tools:
- Screwdrivers: Both flathead and Phillips are necessary.
- Wrenches: Different sizes may be needed.
- Socket Set: Essential for removing bolts and nuts.
- Gloves: Protect your hands while working.
- Multimeter: Check electrical connections and fuses.
These tools help in removing panels and accessing the airbag system.
Diagnostic Scanner
The most crucial tool is a diagnostic scanner. It reads trouble codes from your car’s computer. Here are key features to look for:
| Feature | Importance |
|---|---|
| Compatibility | Ensure it works with your car model. |
| Real-time Data | Provides live data for better diagnosis. |
| Clear Codes | Ability to reset the airbag light. |
A good scanner can save you time and money. It identifies the exact issue with the airbag system.
Remember to read the scanner’s manual for proper use. Proper use ensures accurate readings and fixes.

Credit: www.wikihow.com
Initial Inspection
The airbag light on your dashboard is a vital safety feature. It alerts you to potential issues with your airbag system. Addressing this light promptly is essential for your safety. Start with an initial inspection. This can help you identify and fix any basic issues.
Check Seatbelts
Begin by checking the seatbelts. A faulty or unfastened seatbelt can trigger the airbag light.
Follow these steps:
- Ensure all seatbelts are fastened correctly.
- Inspect the seatbelt buckles for any visible damage.
- Check the seatbelt pretensioners. These are part of the safety system and can cause the light to come on.
If any seatbelt parts are damaged, consider replacing them. This could resolve the issue.
Inspect Airbag Connections
Next, inspect the airbag connections. A loose or disconnected wire can cause the airbag light to illuminate.
Follow these steps:
- Turn off the vehicle and disconnect the battery. This step ensures safety while working on the airbag system.
- Locate the airbag connections. These are typically under the seats and in the dashboard.
- Check each connection for any loose or disconnected wires.
- Secure any loose connections by reconnecting them firmly.
Reconnect the battery and start the vehicle. If the light remains off, the problem might be solved.
| Inspection Point | Action |
|---|---|
| Seatbelts | Fasten and inspect for damage |
| Airbag Connections | Check and secure loose connections |
These initial inspection steps can help you diagnose and fix common issues with the airbag light. Always consult a professional if the light remains on after these checks.
Using A Diagnostic Scanner
Having your airbag light illuminate on the dashboard can be alarming. It indicates a potential issue with the airbag system. One of the simplest ways to diagnose the problem is by using a diagnostic scanner. This tool allows you to read error codes stored in the vehicle’s computer system. Let’s break down the process.
Connecting The Scanner
First, you need to locate the OBD-II port in your vehicle. This port is usually under the dashboard, near the steering wheel. Once found, plug the diagnostic scanner into the port.
Turn the vehicle’s ignition to the “ON” position, but do not start the engine. This will power up the scanner.
Reading Error Codes
After the scanner is connected and powered, follow the manufacturer’s instructions to begin the scan. The scanner will communicate with the vehicle’s computer to retrieve any stored error codes.
Once the scan is complete, the scanner will display the error codes. These codes are usually a combination of letters and numbers. For example, “B1234” or “P0455”.
Refer to the scanner’s manual or an online database to interpret the error codes. Each code corresponds to a specific issue in the vehicle’s airbag system.
Addressing the specific problem indicated by the error code is crucial for safety. If unsure about the repair, consult a professional mechanic.
Credit: www.youtube.com
Repairing Faulty Sensors
The airbag light on your dashboard indicates a potential problem. One common cause is faulty sensors. These sensors are crucial for the airbag system to work correctly. Repairing or replacing these sensors can solve the issue and ensure your safety. Below are steps to help you fix the sensors.
Replacing Sensors
Faulty sensors can trigger the airbag light. Replacing sensors might be necessary to fix the issue. Follow these steps:
- Locate the faulty sensor using a diagnostic tool.
- Disconnect the car battery to ensure safety.
- Remove the damaged sensor using appropriate tools.
- Install the new sensor in place of the old one.
- Reconnect the car battery and check the airbag light.
Make sure to use high-quality sensors for replacements. This ensures the longevity and reliability of your airbag system.
Calibrating New Sensors
After replacing the sensors, calibration is necessary. This ensures the new sensors work correctly. Follow these steps:
- Use a diagnostic tool to access the airbag system.
- Select the calibration option in the tool.
- Follow the on-screen instructions to complete calibration.
Proper calibration ensures the airbag system functions correctly. Always double-check the airbag light after calibration. If the light stays off, the repair was successful.
Fixing Damaged Wiring
Fixing damaged wiring is a common solution to resolve the airbag light issue. Damaged wires can disrupt the connection and trigger the warning light. Addressing this problem involves identifying and repairing or replacing the faulty wires.
Identifying Damaged Wires
Start by checking the wires under the dashboard. Look for any visible damage like cuts or fraying. Use a flashlight to get a clear view. Wiggle the wires gently to see if the airbag light flickers. This can indicate a loose connection. If you have a multimeter, you can test the continuity of each wire. No continuity means the wire is damaged.
Repairing Or Replacing Wires
Once you find the damaged wire, decide if it can be repaired. Small cuts can often be fixed with electrical tape. For larger damage, consider using a wire connector. First, strip the insulation off the ends of the wire. Then, twist the wires together and secure them with the connector.
If the wire is beyond repair, replace it. Cut out the damaged section. Measure and cut a new wire of the same type and length. Strip the insulation from both ends of the new wire. Connect it to the existing wires with connectors. Ensure the connection is tight and secure.
Credit: www.capitalone.com
Resetting The Airbag Light
Seeing the airbag light on your dashboard can be worrying. This light indicates an issue with your car’s airbag system. Sometimes, the light stays on even after fixing the problem. Resetting the airbag light can help. Below, we will discuss two methods to reset it.
Clearing Codes With Scanner
One effective way to reset the airbag light is by using an OBD2 scanner. This tool reads and clears error codes from your car’s computer. Follow these steps:
- Turn off your car and connect the OBD2 scanner to the port under the dashboard.
- Turn on the car but do not start the engine.
- Follow the scanner’s instructions to read the error codes.
- Write down the codes for future reference.
- Select the option to clear the codes.
- Turn off the car and disconnect the scanner.
- Restart your car to check if the airbag light is off.
Using an OBD2 scanner is the most straightforward method. It ensures that all error codes are cleared.
Manual Reset Procedures
If you do not have an OBD2 scanner, you can try manual reset procedures. These steps vary based on your car model. Here are general steps that work for many cars:
- Turn on the ignition without starting the engine.
- The airbag light should come on. Wait for it to go off. This takes around 7 seconds.
- Turn off the ignition within 1 second after the light goes off.
- Wait 3 seconds and turn the ignition on again. Do not start the engine.
- Repeat steps 2 and 3 two more times.
- Start the engine to see if the airbag light is off.
Manual reset procedures can be tricky. If the light does not reset, it might need professional help.
Remember, always refer to your car’s manual. It provides specific instructions for your car model.
Frequently Asked Questions
What Causes Airbag Light To Come On?
The airbag light can come on due to a faulty sensor, damaged wiring, or a malfunctioning airbag module.
Is It Safe To Drive With Airbag Light On?
No, it’s not safe. The airbag might not deploy in an accident, compromising your safety.
How To Reset Airbag Light At Home?
You can try disconnecting the battery, checking the wiring, or using an OBD-II scanner to reset it.
Can A Blown Fuse Cause Airbag Light?
Yes, a blown fuse can cause the airbag light to come on. Check and replace any blown fuses.
Conclusion
Fixing the airbag light on your dashboard is crucial for safety. Follow the steps outlined above to diagnose the issue. Check connections, fuses, and sensors. Seek professional help if needed. Ensure your car’s airbag system works properly. A functioning airbag can save lives in an accident.
Regular maintenance can prevent dashboard light issues. Keep your vehicle safe and reliable. Thanks for reading. Stay safe on the road.


