
Fixing a pull cord light can seem daunting. It’s simpler than you think.
Many homes still use pull cord lights. They are handy, especially in bathrooms and closets. But like all things, they can break. A pull cord light has a straightforward mechanism. When it stops working, you can usually fix it yourself.
This guide will help you understand the process. You don’t need to be an electrician. With a few tools and some patience, you can get it working again. Follow along to learn how to fix your pull cord light step-by-step.
Tools And Materials
Fixing a pull cord light can seem daunting, but it’s manageable with the right tools and materials. This section will guide you through the essential tools and required materials. This ensures you are prepared for the task at hand.
Essential Tools
Having the right tools is crucial for fixing a pull cord light. Here are the essential tools you’ll need:
- Screwdriver: A flathead or Phillips screwdriver will do.
- Wire Strippers: For cutting and stripping wires.
- Needle-Nose Pliers: Useful for bending and gripping wires.
- Voltage Tester: Ensures the electricity is off before you start.
Required Materials
Gathering the necessary materials beforehand will make the repair process smoother. Here are the required materials:
- New Pull Cord: Replace the old or broken cord.
- Wire Nuts: For connecting wires safely.
- Electrical Tape: To insulate and secure wire connections.
- Replacement Switch: If the original switch is faulty.
Credit: www.reddit.com
Safety Precautions
Fixing a pull cord light can be a straightforward task if done correctly. Before starting, it is crucial to prioritize safety. This section will guide you through essential safety precautions to ensure a smooth and secure repair process.
Turning Off Power
The first and most important step is to turn off the power. Locate your home’s fuse box or circuit breaker panel. Identify the switch that controls the electricity to the room where the pull cord light is located.
Switch it to the off position. Double-check that the power is off by attempting to turn on the light. If it does not turn on, you have successfully cut the power. This step will prevent electrical shocks during the repair.
Wearing Protective Gear
Always wear protective gear to safeguard yourself from potential hazards. Start with a pair of rubber-soled shoes to minimize the risk of electrical shocks. Make sure your footwear is dry and in good condition.
Additionally, wear safety goggles to protect your eyes from debris or accidental sparks. Gloves, preferably made of rubber or another non-conductive material, can provide an extra layer of protection. These simple precautions can make a significant difference in your safety.
Removing The Old Cord
Fixing a pull cord light requires removing the old cord first. This step is crucial for the new cord to work properly. Follow these easy steps to remove the old cord safely and effectively.
Accessing The Cord
To access the cord, start by turning off the power. This is important for safety. Use a screwdriver to remove the light cover. You can see the pull cord mechanism inside. Make sure you have a clear view before proceeding.
Detaching The Cord
Once you can see the mechanism, find where the cord attaches. It is usually tied in a simple knot or clipped in place. Carefully untie or unclip the cord. Keep any small parts in a safe place. You will need them later.
Sometimes, the cord may be tangled. Use a pair of pliers to gently pull it free. Be careful not to damage the mechanism. Once the old cord is detached, you are ready to install the new one.

Credit: diy.stackexchange.com
Preparing The New Cord
Repairing a pull cord light can seem tricky, but preparing the new cord is an important step. This part ensures the light works smoothly. Let’s break down the steps.
Measuring The Length
First, take the old cord as a reference. Measure its length carefully. This helps in cutting the new cord correctly. Use a measuring tape for accuracy. Make sure the new cord matches the old one. Too long or too short can cause problems.
After measuring, cut the new cord. Use sharp scissors. A clean cut prevents fraying. Double-check the length. Better to be sure now than to redo it later.
Attaching The Pull Handle
Next, attach the pull handle. Thread the new cord through the handle hole. Tie a knot to secure it. Make sure the knot is tight. It should not slip through the hole.
Pull the handle a few times. Check if it feels right. The handle should move freely. If it feels stiff, adjust the knot. Repeat until it feels smooth.
Now, your new pull cord is ready for the next steps. You’ve successfully prepared it.
Installing The New Cord
Replacing a pull cord light can seem daunting. But it’s quite simple with the right steps. Below, we guide you through the process of installing the new cord. This involves threading and securing the cord. Let’s dive in.
Threading The Cord
First, gather your tools. You will need a new pull cord, scissors, and a screwdriver. Ensure the power is off to avoid any accidents.
- Remove the old cord from the light fixture.
- Take your new cord and cut it to the desired length.
- Thread the new cord through the hole in the light fixture. You might need a needle or a small hook to pull it through.
Make sure the cord is not tangled. It should move freely when pulled. If it gets stuck, remove it and try again.
Securing The Cord
Once the cord is threaded, it’s time to secure it. This ensures it will work smoothly.
- Tie a knot at the end of the cord inside the fixture.
- Make sure the knot is tight and secure.
- Trim any excess cord beyond the knot.
- Reattach any covers or components you removed earlier.
Test the pull cord to ensure it operates correctly. If it’s not smooth, adjust the knot or re-thread the cord.
Testing The Light
Testing the light is a crucial step in fixing a pull cord light. This ensures that your efforts have paid off and that everything works correctly. Follow these steps to test the light and make sure it’s fully operational.
Restoring Power
First, turn the power back on at the circuit breaker. Carefully flip the switch to the ‘on’ position. This will restore electricity to the light fixture. Ensure the area around the breaker is safe.
Next, return to the room with the pull cord light. Be cautious as you handle electrical components. Safety is always a priority during this step.
Checking Functionality
Now, pull the cord to check if the light turns on. If it does, you have successfully fixed the light. Pull the cord again to make sure it turns off as well.
If the light does not work, double-check all connections. Ensure that wires are secure and the bulb is properly installed. Replace the bulb if necessary and test again.
If the problem persists, there might be an issue with the wiring or the fixture itself. Consider seeking professional help if you are unable to resolve the issue.
Maintenance Tips
Maintaining your pull cord light ensures its longevity and smooth operation. Regular upkeep can save you from sudden breakdowns. Here are some essential maintenance tips to keep your pull cord light in top condition.
Regular Inspections
Performing regular inspections is crucial. Check the pull cord for any visible signs of wear and tear. Look for fraying, breaks, or knots in the cord.
Inspect the housing and mechanism. Make sure there is no dust or debris that could hinder its operation. Use a soft cloth to clean the components gently.
| Inspection Area | What to Look For |
|---|---|
| Pull Cord | Fraying, breaks, knots |
| Housing | Dust, debris, cracks |
| Mechanism | Obstructions, loose parts |
Replacing Worn Parts
If you notice any worn parts, replace them immediately. Ignoring worn components can lead to further damage.
Pull Cord: If the pull cord is frayed or broken, get a new one. You can find replacements at most hardware stores.
- Cut the new cord to the desired length.
- Secure it in place following the light’s manual.
Mechanism: If the internal mechanism is faulty, consult the light’s manual. Some parts may be user-replaceable, while others may require a professional’s help.
- Identify the faulty part using the manual.
- Order the replacement part from a reliable source.
- Follow the instructions to replace the part.
Regular maintenance keeps your pull cord light functioning smoothly. Pay attention to small issues before they become big problems.
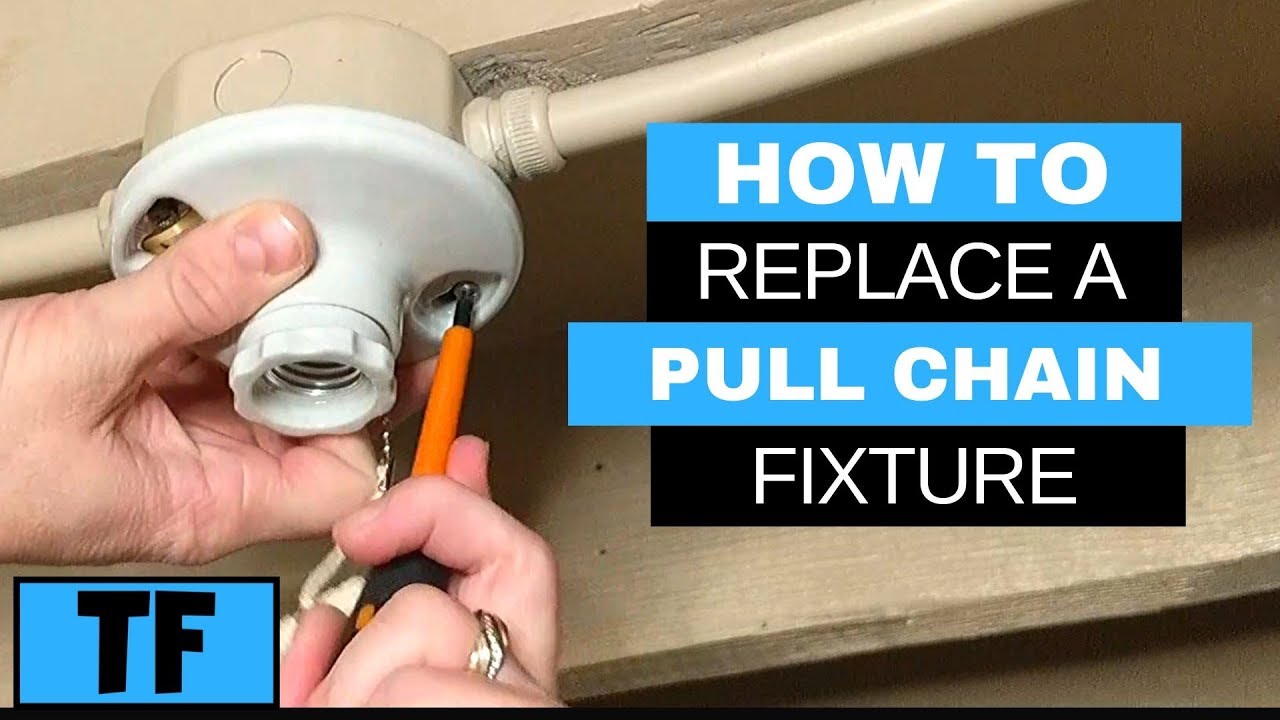
Credit: m.youtube.com
Frequently Asked Questions
How Do You Fix A Pull Cord Light?
First, turn off the power. Remove the light fixture. Replace the damaged pull cord. Reassemble the fixture and test.
Why Is My Pull Cord Light Not Working?
A pull cord light may not work due to a broken cord, faulty switch, or electrical issue. Inspect and replace parts as needed.
Can I Replace A Pull Cord Light Myself?
Yes, you can replace a pull cord light yourself. Ensure you follow safety precautions, like turning off the power first.
What Tools Do I Need To Fix A Pull Cord Light?
You need a screwdriver, replacement pull cord, wire cutters, and electrical tape. These tools help you safely complete the repair.
Conclusion
Fixing a pull cord light can be simple and satisfying. Follow the steps carefully. Gather the necessary tools. Disconnect the power for safety. Remove the light cover and inspect the cord. Replace or reattach the cord if needed. Test the light to ensure it works.
Regular maintenance prevents future issues. Save time and money with these easy fixes. Enjoy the convenience of a properly working pull cord light. Happy repairing!


