
Fixing a pilot light can seem tricky. But it’s simpler than you think.
A pilot light is a small flame that starts your gas appliance. When it goes out, your heater or stove won’t work. Understanding how to fix a pilot light can save you time and money. Often, it’s a quick fix that doesn’t need a professional.
In this guide, you’ll learn the basics of relighting a pilot light safely. You’ll also discover common reasons why it might go out. This knowledge can help you maintain your appliances better. So, let’s dive into the steps to get your pilot light working again!
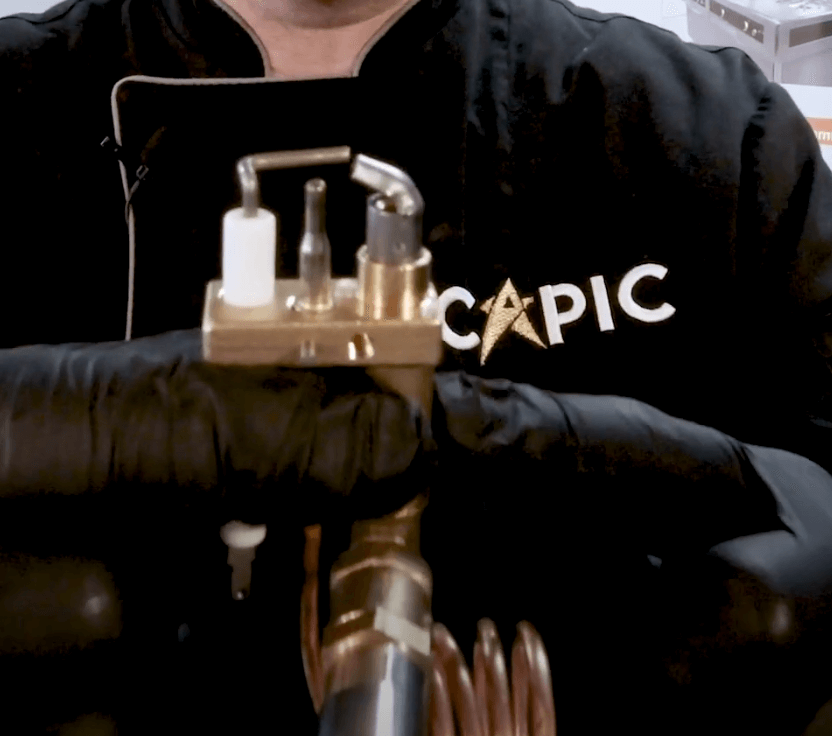
Credit: www.capic-fr.com
Safety Precautions
Fixing a pilot light can be a simple task. Yet, safety must be your top priority. Before you start, take some essential safety precautions. This section will guide you through the necessary steps to ensure a safe repair.
Turn Off Gas Supply
To prevent gas leaks, you must first turn off the gas supply. Locate the gas shut-off valve near your appliance. Turn the valve to the off position. This step is crucial to ensure no gas is flowing while you work.
Ventilate The Area
After turning off the gas, ventilate the area. Open windows and doors to allow fresh air to circulate. This reduces the risk of inhaling any residual gas. Proper ventilation is essential for your safety.

Credit: www.youtube.com
Gather Necessary Tools
Before fixing a pilot light, gather the necessary tools. This ensures a smooth and efficient repair process. Having the right tools on hand will save you time and frustration.
Basic Tools Needed
Start with a few basic tools. You will need a screwdriver. Both flathead and Phillips types. A wrench set is also important. Pliers and a wire brush will help as well. These tools are common in most households.
Protective Gear
Safety first. Wear protective gloves to protect your hands. Safety goggles are essential for eye protection. Use a face mask to avoid inhaling dust or debris. Proper gear prevents injuries and keeps you safe.
Locate The Pilot Light
Fixing a pilot light starts with locating it. This small flame is essential for gas appliances. It ignites the main burner when needed. Without it, your appliance won’t work. Follow these steps to find and fix it.
Find The Pilot Assembly
The pilot assembly is usually near the main burner. It includes the pilot light and ignition system. Look for a small metal tube. This tube leads to the pilot light. It’s often located inside the burner compartment.
Identify Control Knob
The control knob is near the pilot assembly. It regulates the gas flow. Look for a knob with settings like “Off,” “Pilot,” and “On.” This knob is crucial for lighting the pilot. Turn it to “Pilot” to begin the process.
Inspect The Area
Before fixing the pilot light, inspect the area around your appliance. This step ensures safety and helps identify any obvious issues. A thorough inspection can prevent further problems and save time in the repair process.
Check For Gas Leaks
First, always check for gas leaks. Gas leaks can be dangerous, so take this step seriously. Follow these instructions:
- Turn off the gas supply.
- Use a gas leak detector or soapy water.
- Apply soapy water to the gas connections.
- Watch for bubbles. Bubbles indicate a gas leak.
If you detect a gas leak, contact a professional immediately. Do not attempt to fix it yourself.
Clean The Pilot Orifice
The pilot orifice can get clogged with dust and debris. Clean the pilot orifice to ensure a steady flame. Follow these steps:
- Turn off the gas supply.
- Locate the pilot orifice. It’s near the pilot light.
- Use a needle or compressed air to clear the orifice.
- Reassemble the components and relight the pilot.
Keeping the pilot orifice clean ensures the flame remains steady and strong. Regular cleaning can prevent future issues.
Relight The Pilot Light
Is your pilot light out? Relighting it is essential to keep your heating system running smoothly. In this section, we will guide you through the simple steps to relight the pilot light.
Follow Manufacturer Instructions
First, check the manufacturer’s instructions for your heating system. Each system may have different steps to relight the pilot light. Find the manual or look for a label on the unit with instructions.
Typically, these steps involve:
- Turning off the gas valve.
- Waiting a few minutes for any gas to clear.
- Setting the valve to the ‘pilot’ position.
It is important to follow these steps carefully to avoid any issues.
Use A Long Lighter
Using a long lighter is safer for relighting the pilot light. It keeps your hands away from the flame. A long lighter is a must-have tool for this task.
Here’s how to use it:
- Hold the lighter near the pilot opening.
- Press the gas valve button to release gas.
- Click the lighter to ignite the pilot light.
Once lit, hold the gas button for a few more seconds to ensure the flame stays on.
Troubleshoot Relighting Issues
If your pilot light keeps going out, it’s frustrating. Fixing it might seem complicated. But don’t worry. You can troubleshoot and solve many of these issues yourself. Let’s focus on two main areas: thermocouple problems and pilot light won’t stay lit.
Thermocouple Problems
The thermocouple is a safety device. It senses the pilot light’s heat. If it’s faulty, the gas valve will close. This causes the pilot light to go out.
- Check if the thermocouple is aligned with the flame.
- Look for signs of damage or dirt.
- Clean it with a fine sandpaper.
- If damaged, replace the thermocouple.
Testing the thermocouple’s voltage can help. Use a multimeter for this task. If the reading is below 20 millivolts, the thermocouple is bad.
Pilot Light Won’t Stay Lit
Several factors might cause the pilot light to go out. Address these common issues:
| Possible Cause | Solution |
|---|---|
| Dirty Pilot Orifice | Clean with a needle or compressed air. |
| Faulty Gas Regulator | Check and replace if needed. |
| Air in Gas Line | Bleed the gas line to remove air. |
If the pilot light still won’t stay lit, check the gas supply. Ensure the gas valve is fully open. Look for any blockages in the gas line.
Regular maintenance helps prevent relighting issues. Keep all components clean and in good condition. This ensures your pilot light stays lit.
Maintenance Tips
Maintaining your pilot light is essential for ensuring safe and efficient operation. Regular upkeep can prevent unexpected issues and costly repairs. Below are some key maintenance tips to keep your pilot light in top condition.
Regular Cleaning
Regular cleaning of the pilot light ensures it burns properly. Dust and debris can clog the orifice, affecting the flame. Use a soft brush or compressed air to clean the area.
Steps for Cleaning:
- Turn off the gas supply.
- Wait for the pilot light to cool.
- Gently brush away any debris.
- Use compressed air to blow out the orifice.
- Relight the pilot light following the manufacturer’s instructions.
Cleaning should be done monthly or as needed. This keeps the pilot light functioning efficiently.
Annual Professional Inspection
Schedule an annual inspection by a professional technician. They have the tools and knowledge to identify potential issues. This proactive step can save you from unexpected problems.
What to Expect During an Inspection:
| Inspection Task | Purpose |
|---|---|
| Check for Gas Leaks | Ensure safety and prevent hazards. |
| Inspect the Pilot Assembly | Identify wear and tear. |
| Clean Components | Remove any buildup affecting performance. |
| Test the Flame | Ensure proper ignition and stability. |
Having your pilot light professionally inspected once a year keeps your system safe and reliable.

Credit: www.supertechhvac.com
Frequently Asked Questions
How Do I Know If My Pilot Light Is Out?
If your appliance isn’t heating, the pilot light might be out. Check for a small flame.
What Causes A Pilot Light To Go Out?
Pilot lights can go out due to drafts, dirt buildup, or a faulty thermocouple.
How Do I Relight My Pilot Light?
First, turn off the gas. Follow the manufacturer’s instructions for relighting. Usually, it involves holding a button and using a lighter.
Can I Fix A Pilot Light Myself?
Yes, you can fix a pilot light yourself. Follow safety precautions and the appliance’s manual.
Conclusion
Fixing a pilot light can seem tricky, but it’s manageable. Follow the steps, stay safe, and you’ll soon have it working. Regularly check your pilot light to avoid future issues. Always ensure proper ventilation. If problems persist, consult a professional.
With these tips, you can keep your appliance running smoothly. Your safety comes first, so take necessary precautions. Happy troubleshooting!


