
Fixing a light can be straightforward. You don’t need to be an expert.
Lights can stop working for various reasons. It might be a burnt-out bulb, a faulty switch, or a wiring issue. Knowing how to fix a light can save you time and money. In this blog post, you’ll learn simple steps to diagnose and fix common lighting problems.
From replacing a bulb to checking the wiring, each step is easy to follow. By the end, you’ll be able to handle most light issues on your own. Let’s get started on brightening up your home!
Credit: sewellelectric.com
Safety Precautions
Fixing a light can be a straightforward task. But always prioritize safety. Proper safety precautions prevent accidents and ensure a smooth repair process. Below are essential safety tips to follow.
Turn Off Power
Always turn off the power before starting. Locate the circuit breaker box. Identify the correct switch for the light. Flip the switch to cut off the power. Use a voltage tester to double-check. Ensure no electricity flows to the light fixture. This step is crucial. It prevents electric shock.
Use Proper Tools
Using the correct tools is vital. Gather all necessary tools before starting. Common tools include a screwdriver, pliers, and a voltage tester. Insulated tools are safer. They reduce the risk of electric shock. Keep tools within reach. This prevents unnecessary movements. It also helps you stay focused on the task. Always use tools as intended. Misusing tools can lead to accidents.
Gather Necessary Tools
Before you start fixing a light, gather the necessary tools. Proper tools make the job easier and safer. Having the right equipment ensures you can complete the task efficiently. Let’s explore the essential tools you need.
Screwdrivers
A set of screwdrivers is crucial for fixing a light. You will need both flat-head and Phillips-head screwdrivers. These tools help you remove and tighten screws. Ensure your screwdrivers fit the screws on your light fixture. Using the wrong size can strip the screws.
Voltage Tester
Safety is paramount when working with electricity. A voltage tester helps you check if the power is off. Use it to test wires and outlets. This tool prevents electric shocks. Always test the voltage before touching any wires.
Wire Strippers
Wire strippers are essential for preparing wires. This tool removes the insulation from the wires. Stripping wires correctly ensures a good connection. Choose a wire stripper that fits the wire gauge you are working with.
Identify The Problem
Identifying the problem is the first step in fixing a light. This process involves checking various components to find where the issue lies. By doing so, you can save time and money. Let’s break down the key areas to inspect.
Check The Bulb
The first thing you should do is to check the bulb. A burned-out bulb is often the culprit.
- Turn off the light and let it cool.
- Remove the bulb from the socket.
- Inspect the filament. If it’s broken, the bulb needs replacement.
- Replace the bulb with a new one of the same type and wattage.
Inspect The Switch
If the bulb is fine, the next step is to inspect the switch. A faulty switch can cause the light not to work.
- Turn off the power at the circuit breaker.
- Remove the switch cover plate.
- Check for any loose wires or connections.
- If the switch feels loose, tighten the screws.
- If the switch is damaged, replace it with a new one.
Examine The Wiring
If the bulb and switch are in good condition, it’s time to examine the wiring. Faulty wiring can be more complex to fix.
| Step | Action |
|---|---|
| 1 | Turn off the power at the circuit breaker. |
| 2 | Remove the light fixture. |
| 3 | Inspect the wires for any visible damage or wear. |
| 4 | Ensure all wire connections are secure. |
| 5 | If necessary, re-strip and re-connect the wires. |
If you are uncomfortable with electrical work, consult a professional.

Credit: www.familyhandyman.com
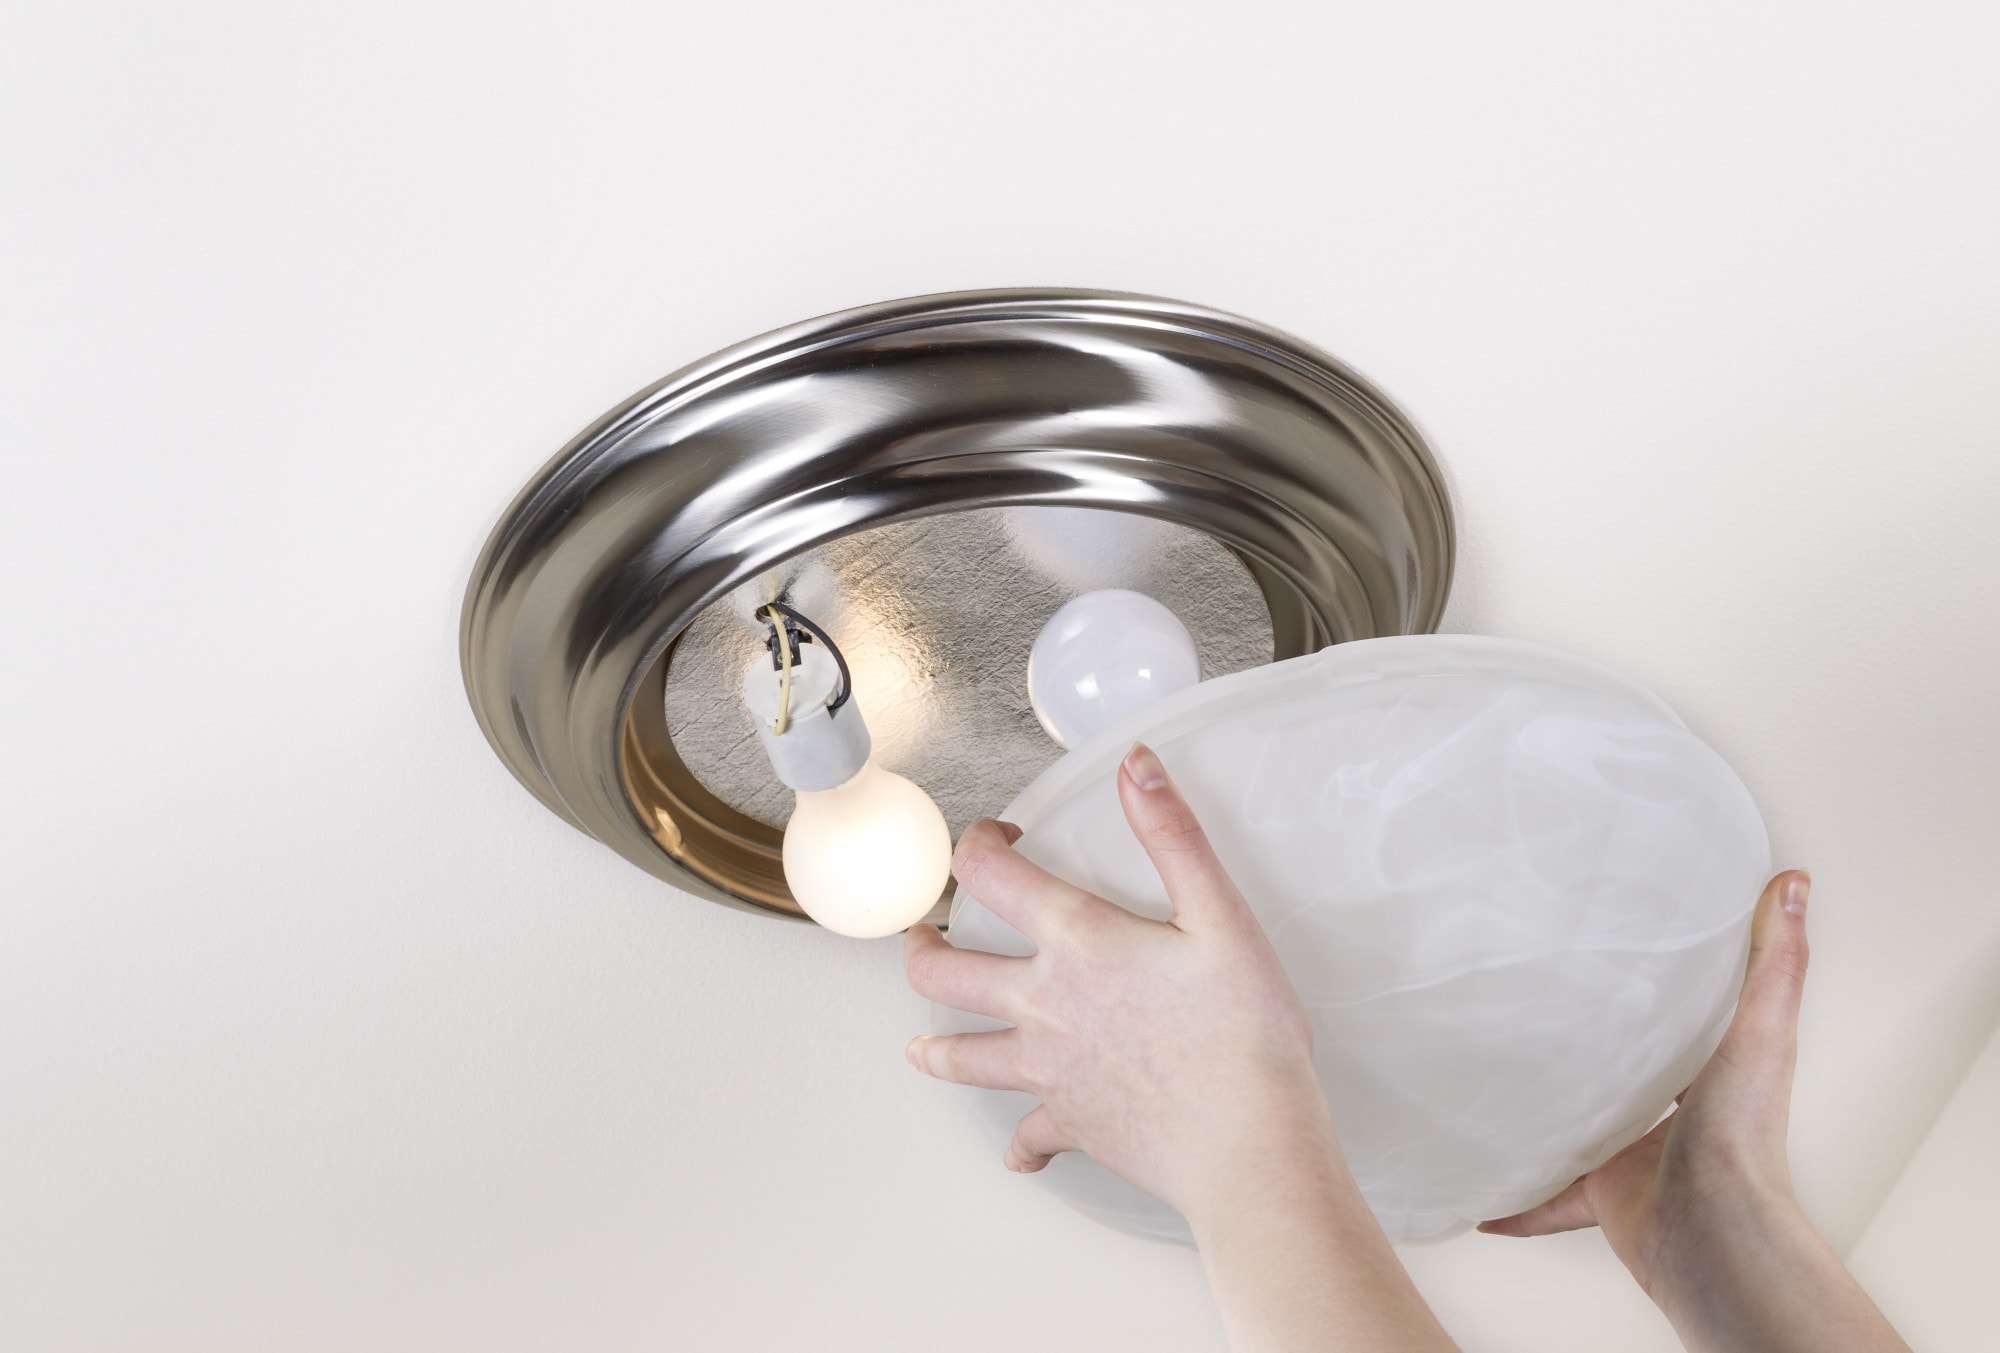
Replace A Burnt-out Bulb
Replacing a burnt-out bulb is a simple task. It can help maintain a well-lit space. Follow these steps for a quick and safe replacement.
Choose The Right Bulb
First, identify the type of bulb you need. Check the label on the old bulb. It will show the wattage and type. Use this information to buy the new bulb.
| Type | Common Uses |
|---|---|
| Incandescent | General lighting, lamps |
| LED | Energy-efficient, long-lasting |
| Halogen | Focused lighting, spotlights |
Choose a bulb with the same wattage. Higher wattage can cause overheating. Lower wattage can result in dim lighting.
Proper Installation
Ensure the power is off before starting. This prevents shocks. Turn off the light switch. Unplug the lamp if needed.
Remove the old bulb carefully. Use a cloth or glove. This prevents oil from your fingers from damaging the bulb.
- Insert the new bulb into the socket.
- Turn the bulb clockwise until snug.
- Do not over-tighten.
Turn the power back on. Test the new bulb. It should light up immediately. If it does not, check the socket or try a different bulb.
Safety Tip: Dispose of the old bulb properly. Some bulbs contain hazardous materials.
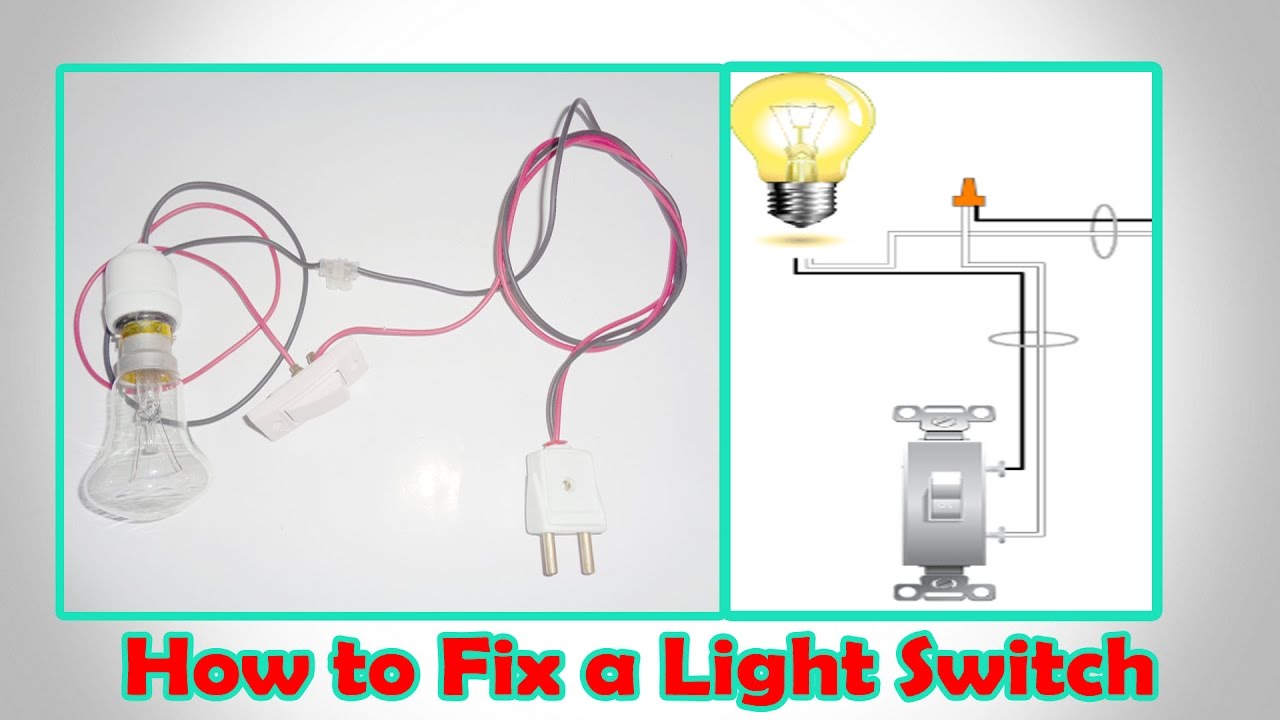
Fix A Faulty Switch
Dealing with a faulty switch can be frustrating. It’s a common problem that many face. Fortunately, fixing it is not as hard as it seems. In this guide, we’ll walk you through the steps to fix a faulty switch. Let’s get started!
Remove The Cover Plate
The first step is to remove the cover plate. This plate hides the screws holding the switch in place. Use a screwdriver to remove the screws. Gently pull off the cover plate and set it aside.
Test The Switch
After removing the cover plate, you need to test the switch. Ensure the power is off at the circuit breaker. Use a voltage tester to check for live wires. If the tester lights up, the power is still on. Ensure safety first.
Install A New Switch
If the switch is faulty, it’s time to install a new switch. Here are the steps:
- Remove the screws holding the old switch in place.
- Disconnect the wires from the old switch.
- Connect the wires to the new switch. Usually, the wires are black and white.
- Secure the new switch with screws.
- Replace the cover plate and screw it back in place.
Turn the power back on at the circuit breaker. Test the switch to ensure it works correctly.
And there you have it! Your light switch should now be functioning properly.
Credit: www.youtube.com
Repair Wiring Issues
Experiencing a light that won’t turn on can be frustrating. Sometimes, the issue lies with the wiring. Fixing wiring problems can seem daunting, but it’s quite manageable with the right steps. Follow these simple instructions to repair wiring issues and get your light working again.
Locate The Break
First, turn off the power at the circuit breaker. This prevents accidents. Inspect the wiring for visible breaks or damage. Check the connections at the switch and fixture. Use a voltage tester to ensure no power is flowing. Identifying the break is crucial before proceeding.
Reconnect Wires
Once you find the break, strip the insulation off the ends of the wires. Use a wire stripper for this task. Then, twist the exposed wires together. Secure them with wire nuts. Make sure the connection is tight and secure. Loose connections can cause the light to malfunction.
Use Electrical Tape
Wrap the connected wires with electrical tape. This prevents the wires from coming apart. It also provides an extra layer of safety. Ensure the tape covers all exposed wire. This step helps avoid short circuits and electrical hazards.
After completing these steps, turn the power back on. Test the light to ensure it works. If the issue persists, you may need to consult a professional. Simple wiring repairs can often solve the problem. Safety is key, so always take precautions.
Reassemble And Test
After fixing or replacing parts, it’s time to reassemble and test the light. This ensures all components work correctly and safely. Follow the steps below to complete the process.
Secure All Components
First, make sure all components are properly connected. This includes screws, wires, and any other loose parts. Use a screwdriver to tighten screws securely. Double-check connections to avoid any loose ends.
Refer to the table below for common components and their typical securing method:
| Component | Securing Method |
|---|---|
| Wires | Twist connectors |
| Screws | Screwdriver |
| Light bulb | Screw in place |
Turn On Power
After securing all components, turn the power back on. Go to the circuit breaker and flip the switch to the On position. Be cautious during this step.
If the circuit breaker is not labeled, use a voltage tester to ensure power is flowing correctly. Safety first!
Test The Light
Finally, test the light to ensure it works. Flip the light switch to the On position. Observe if the light turns on and functions as expected.
- If the light doesn’t turn on, check connections again.
- If there is flickering, inspect the bulb and connections.
Testing the light in different conditions can help identify any remaining issues. Try turning the light on and off several times to ensure stability.
Prevent Future Problems
Fixing a light is one step. Ensuring it continues to work well is another. Preventing future problems will save time and money. It also helps to keep your home safe and well-lit. Here are some tips to keep your lights in top condition.
Regular Maintenance
Regular maintenance is key to preventing light issues. Check bulbs and fixtures monthly. Replace any that are flickering or dim. Dust light fixtures and bulbs. Clean fixtures to ensure they work efficiently. Tighten any loose screws or connections. This simple routine can prevent many common problems.
Use Quality Components
Using quality components is essential. Cheap bulbs and fixtures can fail quickly. Invest in well-known brands. They last longer and perform better. Look for energy-efficient options. They save money and are better for the environment. Quality components reduce the risk of future issues.
Frequently Asked Questions
How Do I Identify A Faulty Light Bulb?
First, check if the bulb is securely screwed in. Then, try replacing it with a new one to see if it works.
What Tools Do I Need To Fix A Light?
You will need a screwdriver, a voltage tester, and a replacement light bulb. These tools are essential for fixing most light issues.
How Can I Safely Change A Light Bulb?
Turn off the power at the switch and circuit breaker. Use a ladder if needed and wear gloves for safety.
Why Is My Light Flickering?
A flickering light can be caused by a loose bulb, faulty wiring, or an issue with the switch. Check these areas first.
Conclusion
Fixing a light can be simple with the right steps. Always prioritize safety. Turn off the power before starting. Gather necessary tools in advance. Follow the instructions carefully. Test the new light to ensure it works. Fixing a light can save time and money.
Practice makes the process easier each time. With patience, anyone can do it. Happy fixing!


