
Fixing a ceiling fan light chain is a simple task. It just requires basic tools and a bit of patience.
A broken light chain on your ceiling fan can be frustrating. It’s a common issue many homeowners face. The good news? You don’t always need a professional to fix it. With a few steps, you can get your fan light working again.
This guide will walk you through the process. It’s easy to follow and perfect for beginners. So, if your ceiling fan light chain is broken, read on. You’ll soon have it fixed and shining bright again. Whether you’re a DIY enthusiast or just looking to save some money, this guide is for you. Let’s get started!

Credit: www.reddit.com
Tools And Materials
To successfully fix a ceiling fan light chain, you need the right tools and materials. Having the correct tools ensures a smooth repair process. The right materials help ensure the repair is durable. Below are the essential tools and required materials you need.
Essential Tools
You will need several tools to fix the ceiling fan light chain. These tools help you access and repair the chain efficiently.
- Screwdriver: A Phillips or flat-head screwdriver is essential.
- Pliers: Use needle-nose pliers for gripping small parts.
- Wire Strippers: Useful for handling electrical wires safely.
- Voltage Tester: Ensures the power is off before you start.
Required Materials
Apart from tools, certain materials are also needed. These materials ensure the repair lasts and functions well.
| Material | Purpose |
|---|---|
| Replacement Chain | To replace the broken chain |
| Wire Nuts | For connecting electrical wires |
| Electrical Tape | To secure wire connections |
| Light Bulbs | In case you need new bulbs |
Make sure to have all tools and materials ready before you start the repair. Being prepared saves time and ensures you can fix the ceiling fan light chain without interruptions.
Safety Precautions
Fixing a ceiling fan light chain is a common household task. But safety should always be your top priority. Taking proper safety precautions ensures that you can complete the job without harm.
Turning Off The Power
Before starting, make sure to turn off the power. Locate your home’s main electrical panel. Flip the switch that controls the ceiling fan. This step prevents any risk of electric shock.
Double-check that the power is off. Try turning on the fan and light. If they do not work, it is safe to proceed.
Using Safety Gear
Always use safety gear when working on electrical fixtures. Wear safety goggles to protect your eyes. Gloves provide a barrier between your skin and electrical components. They also offer a better grip.
Use a sturdy ladder to reach the ceiling fan. Ensure the ladder is stable and placed on a flat surface. Do not overreach while on the ladder. Move the ladder as needed to maintain balance.
Removing The Light Fixture
Is your ceiling fan light chain broken? It’s a common issue. Fixing it involves removing the light fixture. This process might seem daunting. But with the right steps, it’s quite simple. Let’s walk through the steps.
Accessing The Light Chain
First, turn off the power. Safety always comes first. Use a ladder to reach the ceiling fan. Now, locate the light chain. It’s usually in the center of the light fixture. Gently tug on it to find its connection point.
Unscrewing The Fixture
Next, grab a screwdriver. Unscrew the screws holding the light fixture. Keep these screws safe. You will need them later. Carefully lower the fixture. Support it with one hand while you work. Now, you can see the light chain mechanism. Examine it for any visible issues.
Credit: www.youtube.com
Replacing The Light Chain
Is your ceiling fan light chain broken or stuck? Replacing it is easier than you think. Follow these simple steps to get your fan working perfectly again.
Detaching The Old Chain
First, turn off the power to the fan. Safety is always the priority.
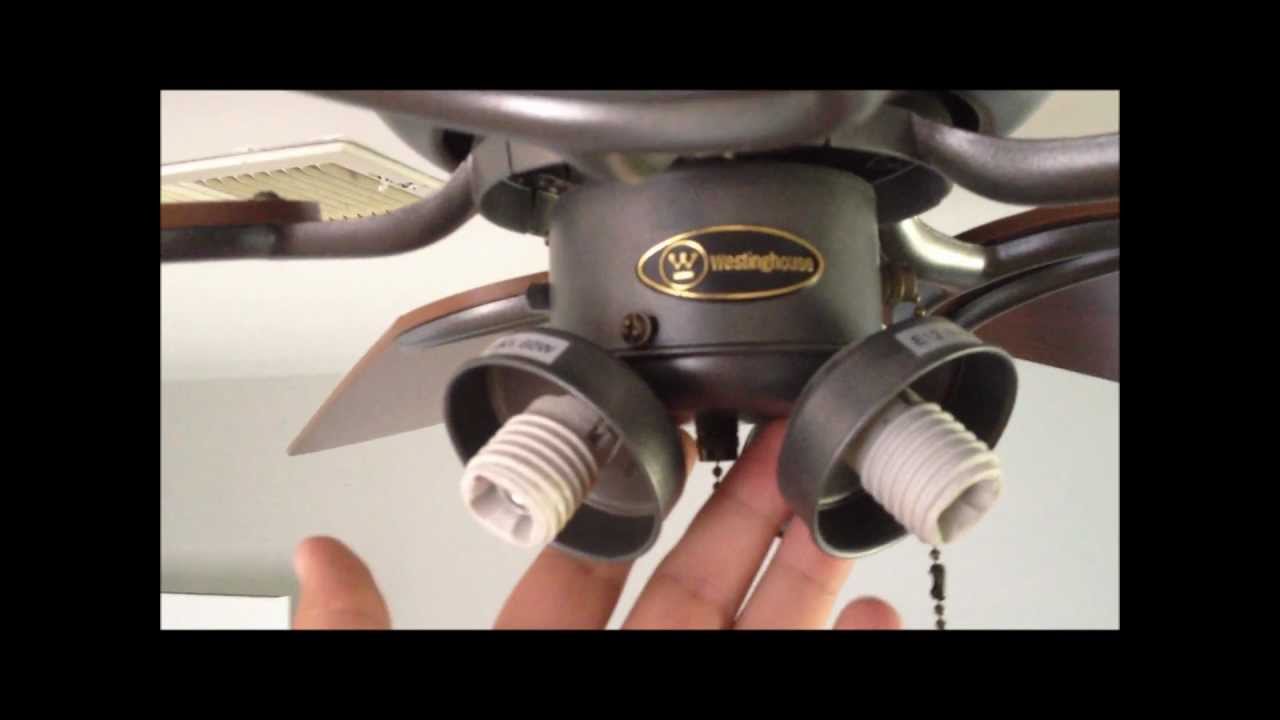
Use a ladder or a sturdy chair to reach the light fixture. Remove the light cover carefully. Some covers unscrew, while others may have clips. Keep the screws or clips in a safe place.
Once the cover is off, find the base of the light chain. It is usually a small metal piece connected to the switch. Use pliers to detach the old chain from the switch. Be gentle to avoid damaging the switch.
Attaching The New Chain
Take your new light chain and attach it to the switch. Ensure it clicks into place securely. If needed, use pliers for a tight fit.
After attaching the new chain, test the switch to ensure it works. Pull the chain to see if the light turns on and off. If it works, you can move on to the next step.
Replace the light cover by screwing it back on or securing the clips. Make sure it is fastened tightly to avoid any accidents.
Turn the power back on and test the light chain again. Your ceiling fan light should now be working perfectly.
| Step | Description |
|---|---|
| 1 | Turn off the power |
| 2 | Remove the light cover |
| 3 | Detach the old chain |
| 4 | Attach the new chain |
| 5 | Replace the light cover |
| 6 | Turn the power back on |
Reassembling The Fixture
Reassembling the fixture is the final step in fixing your ceiling fan light chain. This process ensures everything is back in place and functioning properly. It can seem challenging, but it’s actually straightforward. Follow these steps to complete the reassembly.
Securing The Light Fixture
First, hold the fixture close to the ceiling fan. Align the screw holes on the fixture with those on the fan. Insert the screws into the holes. Tighten them with a screwdriver. Ensure each screw is snug but not over-tightened. This prevents damage.
Next, attach any decorative parts. These might include globes or shades. Position them correctly. Secure them using the provided screws or clips. Double-check that they are firmly in place.
Testing The Light Chain
Now, it’s time to test the light chain. Pull the chain gently. Observe if the light turns on and off smoothly. If the light flickers, check the connections. Ensure everything is secure. Try the chain again.
If the light works correctly, your job is done. If not, recheck your steps. Make sure all connections are tight. Test the chain once more. This process ensures your ceiling fan light chain works perfectly.

Credit: www.reddit.com
Troubleshooting
Ceiling fan light chains can sometimes act up. Understanding common issues helps in troubleshooting and fixing them. This section focuses on identifying problems and knowing when to call a professional.
Common Issues
Many people face common problems with ceiling fan light chains. The chain may break or get stuck. Sometimes, the light doesn’t turn on even after pulling the chain. These issues often arise due to wear and tear.
Another common problem is a loose chain. A loose chain may not connect properly inside the switch. This leads to the light not working as expected. Dust and debris can also cause the chain to get stuck. Regular cleaning can help prevent this.
When To Seek Professional Help
Some issues need professional help. If the light doesn’t work after checking the chain, it might be an electrical problem. Electrical issues can be dangerous. It’s best to call an electrician in such cases.
If the chain is broken inside the switch, fixing it might be complex. A professional can replace the switch safely. Also, if the fan makes unusual noises, it might be a sign of a bigger problem. Professionals can diagnose and fix these issues efficiently.
Maintenance Tips
Maintaining your ceiling fan light chain ensures its longevity and smooth operation. Regular upkeep prevents unexpected issues and saves you from costly repairs. This section covers crucial maintenance tips to keep your fan light chain in top shape.
Regular Inspections
Check your ceiling fan light chain every few months. Look for any visible damage or wear. Ensure the chain moves freely without sticking. A quick inspection can help you catch problems early. If you notice any issues, address them promptly.
Proper Usage
Use the light chain gently. Avoid pulling it too hard. A gentle tug is enough to switch the light on or off. Rough handling can damage the chain or its mechanism. Educate all family members about proper usage.
Keep the area around the fan clear. Ensure the chain does not get tangled. This prevents unnecessary strain on the chain. A well-maintained chain ensures your ceiling fan light functions smoothly.
Frequently Asked Questions
How Do You Fix A Ceiling Fan Pull Chain?
First, turn off the power. Then, remove the fan housing. Replace the broken chain switch. Reassemble the fan and test.
Why Did My Ceiling Fan Chain Break?
Ceiling fan chains can break due to wear and tear, rough pulling, or old age. Regular maintenance helps.
Can I Replace A Ceiling Fan Pull Chain Myself?
Yes, you can replace it yourself with basic tools and following instructions. Always ensure safety first.
What Tools Do I Need To Fix A Fan Chain?
You need a screwdriver, needle-nose pliers, and a replacement pull chain switch. Always ensure you have the correct parts.
Conclusion
Fixing a ceiling fan light chain is simpler than it seems. Follow the steps carefully. Ensure the power is off for safety. Gather your tools and a replacement chain. Disassemble the fan light unit. Replace the broken chain with a new one.
Reassemble the unit securely. Turn the power back on. Test the light to ensure it works. With patience, you can fix it yourself. Save money and time by avoiding a professional. Enjoy your fan’s light once again.


