
Fixing a tail light usually takes 30 minutes to an hour. The exact time depends on your car model and your experience.
A broken tail light can be a real hassle. It’s not just a cosmetic issue; it affects your safety and can result in a ticket. The good news is that fixing it often doesn’t take long. With the right tools and a bit of patience, you can handle this task yourself.
Even if you’re not mechanically inclined, the process is straightforward. In this post, we’ll explore the steps and factors that determine how long it takes to fix a tail light. Whether you’re a DIY enthusiast or just curious, this guide will help you understand what to expect.
Introduction To Tail Light Repair
Tail lights play a crucial role in vehicle safety. They signal your presence to other drivers, especially in low visibility conditions. Fixing a tail light may seem daunting, but it is often a straightforward task. Understanding the basics can save you time and money. This guide will help you navigate the process with ease.
Importance Of A Working Tail Light
A working tail light is essential for road safety. It helps other drivers see you at night or in bad weather. Properly functioning tail lights reduce the risk of accidents. They also keep you compliant with traffic laws. Driving with a broken tail light can result in fines or penalties.
Common Reasons For Tail Light Failure
Several factors can cause tail light failure. Knowing these can help you diagnose the problem quickly.
| Reason | Description |
|---|---|
| Burnt-Out Bulb | Most common cause. Easily fixed by replacing the bulb. |
| Blown Fuse | A fuse may blow due to a power surge. Check and replace if needed. |
| Faulty Wiring | Wires can wear out or get damaged. Requires checking the connections. |
| Switch Issues | The switch controlling the tail lights may malfunction. |
Identifying the cause is the first step to fixing the issue. Regular maintenance can prevent many of these problems. Always check your tail lights before long trips.
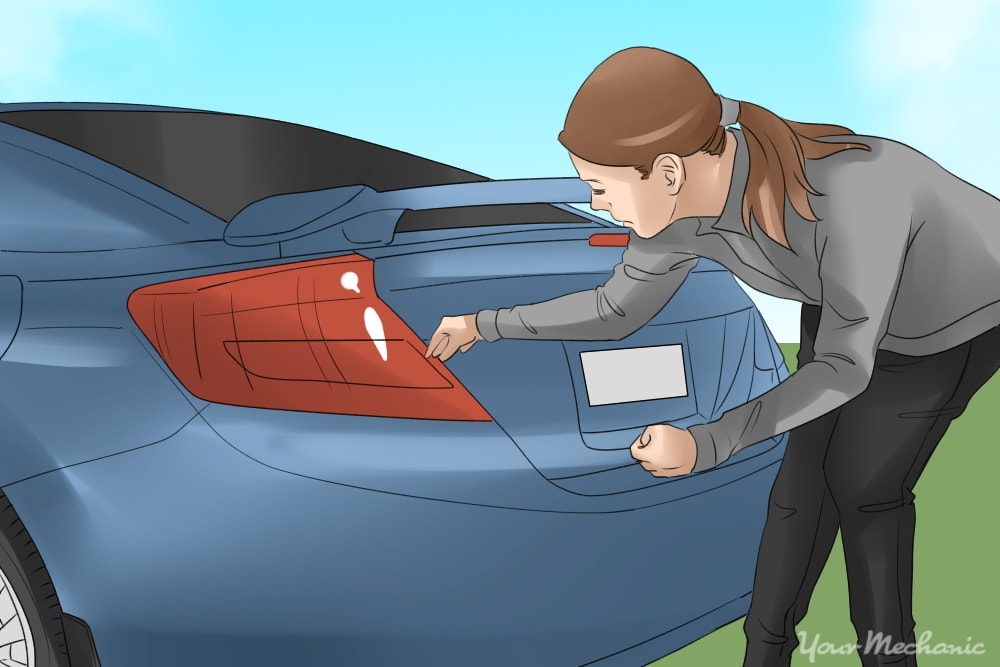
Credit: www.yourmechanic.com
Required Tools And Materials
Fixing a tail light can seem daunting, but with the right tools and materials, it’s a straightforward task. Having the proper equipment on hand ensures the process goes smoothly and quickly. Let’s break down the essential tools and where to find replacement parts for your tail light repair.
Essential Tools For The Job
You’ll need a few basic tools to fix a tail light. A screwdriver is necessary to remove screws holding the tail light assembly. You may need both Phillips and flathead screwdrivers. Pliers can help with any stubborn screws or components. A socket wrench set is useful for unscrewing bolts. Ensure you have the correct size for your car model.
Electrical tape is handy for securing wires. A wire stripper is useful if you need to expose wire ends. A multimeter can test the electrical current, ensuring no issues with the wiring. Lastly, a clean cloth or rag helps keep the area tidy and free of debris.
Where To Find Replacement Parts
Replacement parts for your tail light can be found in various places. Your local auto parts store is a good starting point. They often carry parts for many car models. Online retailers offer a wide range of options. Websites like Amazon and eBay have extensive selections. Always check the compatibility with your vehicle before purchasing.
You can also visit the dealership for your car brand. They provide genuine parts, ensuring the best fit and quality. Junkyards or salvage yards are budget-friendly options. You can find used but functional tail lights there. Remember to inspect the parts thoroughly before buying.
Preparation Steps
Fixing a tail light might seem simple, but preparation is key. Proper steps ensure a smooth and safe process. Below are the essential preparation steps.
Safety Precautions
Always start by ensuring your car is parked on a level surface. Engage the parking brake to prevent any movement. Turn off the engine and remove the keys. This prevents accidental electric shocks. Wear gloves to protect your hands from sharp edges. Use safety glasses to shield your eyes from debris.
Gathering Necessary Items
Before you begin, gather all required tools. You will need a screwdriver, replacement bulbs, and a clean cloth. A flashlight can be handy in low light conditions. Check your car manual for specific instructions. This ensures you have all you need. Having everything nearby will save time and frustration.
Removing The Old Tail Light
Removing the old tail light is the first step in replacing it. This process involves a few simple steps. Most people can do it with basic tools. Let’s break it down into easy steps.
Locating The Tail Light Assembly
First, find the tail light assembly on your car. It is usually at the rear corners of the vehicle. Check your car’s manual if you are unsure. Once you find it, you can move to the next step.
Unscrewing And Disconnecting
Next, remove the screws holding the tail light in place. You will need a screwdriver for this. Keep the screws safe, you will need them later. After unscrewing, gently pull the tail light out. Be careful, as it is still connected to wires.
Disconnect the wires by pulling out the connectors. Do this gently to avoid damage. Now, the old tail light is completely removed.
Installing The New Tail Light
Installing the new tail light is a crucial step in fixing a broken tail light. This process involves a few key steps that ensure your new tail light works properly and stays in place. Let’s dive into the essential tasks involved in this process.
Connecting Wires And Bulbs
First, connect the wires to the new tail light. Each wire has a specific slot. Match the colors of the wires to the corresponding slots. This step ensures the lights function correctly.
Next, insert the bulbs into their sockets. Ensure they fit snugly. A loose bulb can cause the tail light to fail. Check the bulbs to ensure they are not damaged before installation.
Securing The New Assembly
Once the wires and bulbs are in place, secure the new tail light assembly. Align the assembly with the mounting holes. Use screws or bolts to fasten it securely.
Test the tail light to ensure it is working correctly. Turn on the lights and check the brake lights and turn signals. This final check ensures your installation is successful.

Credit: www.youtube.com
Testing The New Tail Light
Once you have installed the new tail light, the next step is to test it. This ensures that the tail light functions correctly and enhances road safety. Proper testing involves several steps, which we will discuss in detail below.
Checking For Proper Functionality
Turn on your vehicle and check if the tail light illuminates properly. Ensure it lights up when you press the brake pedal. Also, verify if the turn signals and reverse lights work.
- Brake Lights: Press the brake pedal and see if the tail light brightens.
- Turn Signals: Activate the turn signals and check if the tail light blinks.
- Reverse Lights: Put the car in reverse and observe if the tail light illuminates.
These checks help ensure that all functions of the tail light are working as intended. A malfunctioning tail light can be a safety hazard and may result in a traffic violation.
Adjustments If Needed
If you notice any issues, adjustments might be necessary. Sometimes, the light may not fit perfectly or fail to illuminate properly.
- Recheck Connections: Ensure all wires are connected securely.
- Adjust the Position: Make sure the tail light is aligned correctly.
- Replace Bulbs: If the bulbs are faulty, replace them immediately.
Making these small adjustments can resolve most issues. This will ensure your tail light functions perfectly, keeping you safe on the road.
Common Issues And Troubleshooting
Fixing a tail light can seem simple. But common issues can make it tricky. Knowing these issues and how to troubleshoot them helps save time. Let’s dive into the common problems and their solutions.
Problems During Installation
Loose connections often cause problems. Ensure wires connect firmly. Poorly fitted bulbs can also be an issue. Always check the fit before securing the light. Damaged sockets might not hold the bulb well. Inspect sockets for any damage or corrosion. Wrong bulbs can cause issues too. Use the correct type and size for your vehicle.
Solutions For Common Issues
If connections are loose, tighten them. Use pliers if needed. For poorly fitted bulbs, adjust the fit. Ensure the bulb sits correctly. Replace damaged sockets. You can find them at auto parts stores. Always use the right bulb type. Check your vehicle manual or ask a professional. If a bulb still doesn’t work, check the fuse. Replace it if blown.
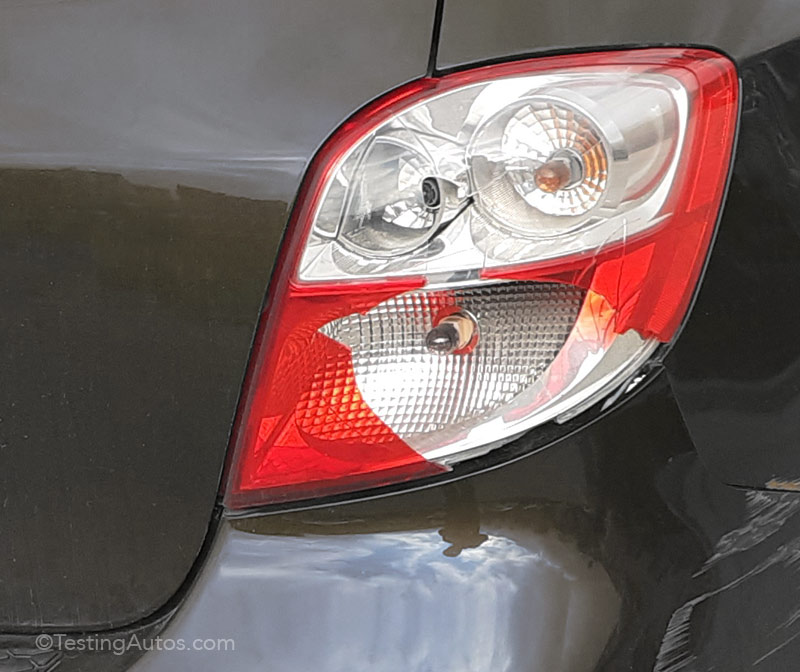
Credit: www.testingautos.com
Maintenance Tips
Regular maintenance of your tail light can save you from unexpected issues. Consistent checks help ensure your lights work when needed. Here are some tips to keep your tail lights in top shape.
Regular Inspection
Check your tail lights every few weeks. Look for any cracks or damage. Make sure the lights turn on and off properly. This simple step can prevent bigger problems down the road.
Pay attention to any dimming or flickering. These signs may indicate that a bulb is about to fail. Immediate action can save you from fines or accidents.
Ensuring Long-term Functionality
Clean your tail lights regularly. Dirt and grime can reduce their brightness. Use a soft cloth and mild cleaner for best results.
Replace bulbs in pairs to ensure even lighting. This practice keeps both lights at the same brightness. It also extends the life of your tail lights.
Check the wiring and connections. Loose wires can cause intermittent issues. Secure any loose connections to maintain consistent performance.
Frequently Asked Questions
How Long Does A Tail Light Repair Take?
Fixing a tail light usually takes 30 minutes to an hour. This depends on the car model and the complexity of the repair.
What Tools Are Needed To Fix A Tail Light?
Basic tools required include a screwdriver, socket wrench, and replacement tail light bulb or assembly. Always check your car’s manual.
Can I Drive With A Broken Tail Light?
Driving with a broken tail light is unsafe and illegal. It can result in fines and increase the risk of accidents.
How Much Does It Cost To Fix A Tail Light?
The cost to fix a tail light ranges from $20 to $100. This depends on whether you replace just the bulb or the entire assembly.
Conclusion
Fixing a tail light is simple and quick. It usually takes about 20 minutes. This task doesn’t require advanced skills. With basic tools, anyone can do it. Ensure your car is safe and road-legal. Save money by doing it yourself.
Keep your vehicle in top shape. Regular maintenance is key. Always check your lights before driving. It’s easy and important. Remember, a functioning tail light ensures safety.


