
Pull string lights are handy and simple to use. But what happens when they break?
Fixing a pull string light can seem tricky, but it’s doable with some basic knowledge and tools. Light fixtures with pull strings are common in many homes. They provide easy access to light in places where a wall switch isn’t available.
Over time, the pull string can wear out or break. This can leave you in the dark, literally. Knowing how to fix a pull string light can save you time, money, and frustration. In this guide, you’ll learn step-by-step how to repair your pull string light and get it working again. So, let’s dive into the process and shed some light on your situation!

Credit: www.ifixit.com
Common Issues
Fixing a pull string light can be a common household task. These lights often face a few typical issues. Understanding these problems can help you fix them quickly and easily. Below are some common issues you might encounter.
Broken String
A broken string is one of the most frequent problems. Over time, the string can wear out or snap. This makes it impossible to turn the light on or off. Replacing the string is usually the best solution. You can find replacement strings at most hardware stores.
To replace the string, first, turn off the power to the light. Remove the light cover and locate the broken string. Carefully remove the old string and attach the new one. Ensure it is secure before testing the light.
Faulty Mechanism
Another common issue is a faulty mechanism. The internal parts of the pull string light can wear out. This can cause the light to malfunction. If the mechanism is faulty, the light may not respond to the pull string.
Fixing this often requires replacing the internal switch mechanism. Turn off the power before starting any repairs. Remove the light cover to access the switch. Replace the faulty part with a new one. Ensure everything is properly secured before turning the power back on.
By addressing these common issues, you can keep your pull string light working efficiently. Regular maintenance can prevent these problems from occurring.
Necessary Tools
Fixing a pull string light may seem like a daunting task. With the right tools, it becomes a simple DIY project. This guide will cover the necessary tools to fix a pull string light effectively.
Basic Tools
To start, gather a few basic tools. You will need a screwdriver. A flathead or Phillips will work, depending on your light fixture. A pair of pliers is also essential. They help grip and twist wires. A wire stripper is useful for removing insulation from wires. Lastly, have a replacement pull string switch on hand.
Safety Gear
Safety is crucial when working with electricity. Wear insulated gloves to protect against shocks. Safety glasses shield your eyes from debris. A voltage tester ensures the power is off before you start. Always follow these safety precautions to prevent accidents.
Power Safety
Power safety is crucial when fixing a pull string light. Working with electricity requires caution. Taking necessary precautions ensures safety and prevents accidents. Let’s dive into the essential steps to follow.
Turn Off Power
Always turn off the power before starting. Locate the circuit breaker. Flip the switch for the room where you will work. Double-check that the power is off. This step helps prevent electric shocks.
Test For Live Wires
Use a voltage tester to check for live wires. Place the tester on the wires. If the tester lights up, the wires are live. If it doesn’t, you are safe to proceed. Always confirm no current is running through the wires.

Credit: diy.stackexchange.com
Remove Light Fixture
If your pull string light is broken, the first step is to remove the light fixture. This process is straightforward and can be done with basic tools. Follow these steps carefully to ensure safety and success.
Unscrew Fixture
Begin by turning off the power supply to the light fixture. This prevents any risk of electric shock. Use a screwdriver to remove the screws holding the fixture to the ceiling or wall. Keep the screws in a safe place as you will need them later.
Once the screws are removed, gently pull the fixture away from the mounting surface. Be careful not to damage the wires connected to the fixture.
Detach Wires
After removing the fixture, you will see wires connected to it. These wires supply power to the light. Use a screwdriver to loosen the wire nuts or screws connecting the wires. Carefully separate the wires and make sure not to let them touch each other.
Label the wires if necessary, to remember their connections. This makes it easier to reconnect them later. Once the wires are detached, you can safely remove the fixture.
Fixing The String
Having trouble with your pull string light? It’s a common issue. The pull string might break or detach. Fixing it is simple. This guide will help you through the process. Follow these steps to make your light work again.
Replacing String
First, you need a new string. Choose a durable one. Cut it to the right length. Remove the old string. Attach the new string to the light’s mechanism. Ensure it’s secure. Test the length to make sure it works.
Reattaching Mechanism
Locate the mechanism inside the light fixture. Open it carefully. Find where the string connects. Attach the new string to the mechanism. Make sure it is tight. Close the fixture and test the light. Ensure it works smoothly.
Reinstall Light Fixture
Sometimes, a pull string light needs more than a simple fix. You may need to reinstall the light fixture. This involves several steps. Let’s break it down into easy tasks.
Reconnect Wires
First, ensure the power is off. Use a voltage tester to confirm. Safety first! Now, you’ll see three wires: black, white, and green or bare copper.
- Black Wire: Connect it to the black or red wire from the fixture.
- White Wire: Attach it to the white wire from the fixture.
- Green/Bare Copper Wire: This is your ground wire. Connect it to the green screw or wire from the fixture.
Use wire nuts to secure the connections. Twist them tightly. Then, wrap electrical tape around each nut. This ensures a strong connection.
Secure Fixture
After reconnecting the wires, it’s time to secure the fixture. Carefully tuck the wires into the electrical box. Align the fixture with the mounting holes.
Use screws provided with the fixture. Tighten them until the fixture is flush against the ceiling or wall. Ensure it’s stable and secure.
- Place the fixture in position.
- Insert and tighten the screws.
- Check for stability.
Once secure, turn the power back on. Test the pull string. The light should work perfectly now!
Testing Functionality
Testing the functionality of a pull string light is crucial. This ensures the light works properly. Follow these steps to test your pull string light.
Turn On Power
First, turn on the power to the light fixture. Ensure the circuit breaker is on. Check if the room switch is in the correct position.
Check Light Operation
Next, pull the string to turn on the light. Observe if the light turns on immediately. If it does not, check the bulb. Replace it if necessary.
Pull the string again to turn off the light. Make sure the light turns off without any delay. Repeat this step a few times. This ensures the switch works consistently.
Preventive Maintenance
To keep your pull string light in top condition, preventive maintenance is key. Regular upkeep ensures longevity and optimal performance. Here are some essential steps for maintaining your pull string light.
Regular Checks
Performing regular checks on your pull string light is crucial. Inspect the string and the light socket for any signs of wear and tear. Look for frayed or damaged strings. Replace them immediately to avoid accidents.
- Check the light bulb for any signs of blackening or dimming.
- Ensure the socket is free from dust and debris.
- Test the pull mechanism to ensure it operates smoothly.
These simple checks can prevent bigger issues down the line.
Avoiding Common Issues
Understanding and avoiding common issues can save time and money. Here are a few tips:
| Issue | Solution |
|---|---|
| Frayed String | Replace the string with a new one. |
| Loose Socket | Tighten the socket to ensure a secure fit. |
| Flickering Light | Check the bulb and socket connections. |
By being proactive, you can avoid these common issues and extend the life of your pull string light.
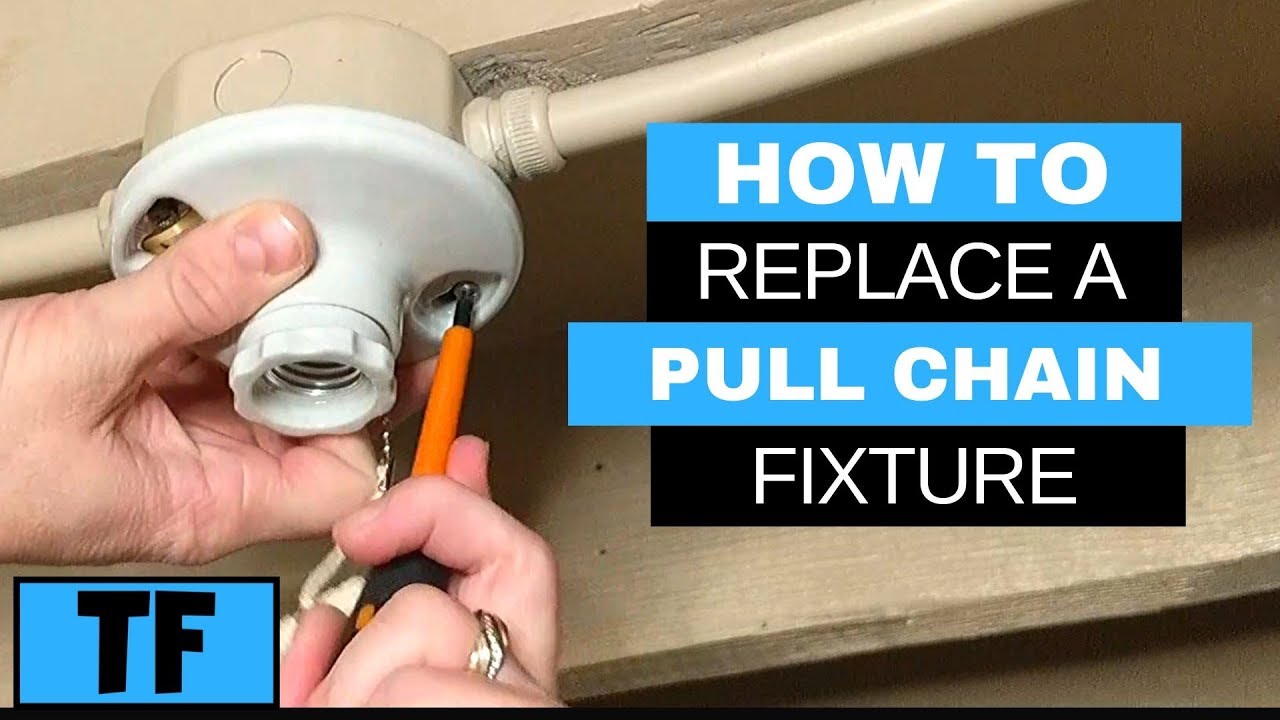
Credit: m.youtube.com
Frequently Asked Questions
How To Fix A Pull String Light?
To fix a pull string light, turn off the power first. Remove the fixture, inspect the string mechanism, and replace any damaged parts.
Why Won’t My Pull String Light Turn On?
Your pull string light might not turn on due to a broken string, faulty switch, or electrical issue.
Can I Replace A Pull String Light Switch Myself?
Yes, you can replace a pull string light switch yourself. Ensure the power is off before starting.
What Tools Do I Need To Fix A Pull String Light?
You will need a screwdriver, replacement parts, and possibly a voltage tester to fix a pull string light.
Conclusion
Fixing a pull string light can be easy with the right steps. Begin by identifying the problem. Most issues are simple to repair. Always turn off the power first. Replace the string if it’s broken. Check the mechanism for any blockages.
Test the light after making adjustments. Regular maintenance helps prevent future problems. Now you can enjoy a properly working pull string light. This guide makes the task simple and safe. Happy fixing!


