
Fixing a pull chain light fixture can be daunting. But it’s simpler than you think.
Pull chain light fixtures are common in homes. They provide easy lighting solutions for various spaces. Over time, the chain can break or stop working. This leaves you in the dark, literally and figuratively. Understanding how to fix this issue can save you money and hassle.
In this post, we’ll guide you through the steps. You’ll learn how to identify the problem and fix it. No need for professional help. With basic tools and patience, you can do it yourself. Ready to shed some light on the subject? Let’s get started!

Credit: www.familyhandyman.com
Tools And Materials Needed
Fixing a pull chain light fixture can seem daunting. But with the right tools and materials, it becomes a straightforward task. Preparing ahead will save time and frustration. Let’s look at what you need.
Essential Tools
Having the right tools is crucial. Here are the essential ones:
- Screwdriver: A flathead or Phillips will work best.
- Wire Stripper: For cutting and stripping the wires.
- Voltage Tester: Ensures the power is off before you start.
- Pliers: Useful for gripping and bending wires.
- Ladder: To reach the light fixture safely.
Required Materials
You will also need some specific materials. Gather these before starting:
- Replacement Pull Chain: Choose one that matches your fixture.
- Wire Connectors: For connecting the new pull chain.
- Electrical Tape: Secures wire connections.
- Light Bulbs: In case you need to replace them.
With these tools and materials, you are ready to fix your pull chain light fixture. Ensuring you have everything on hand will make the process smooth and efficient.
Safety Precautions
When fixing a pull chain light fixture, safety is paramount. Always prioritize your well-being by following essential safety precautions. This section covers key safety measures to ensure a secure repair process.
Turning Off Power
Before working on the light fixture, always turn off the power. Locate the circuit breaker panel. Switch off the breaker corresponding to the light fixture. This step prevents electrical shocks and accidents.
Use a voltage tester to confirm there is no electricity flowing. Place the tester on the fixture wires. Double-check for peace of mind.
Safety Gear
Wearing proper safety gear is crucial. It provides protection from potential hazards. Always wear insulated gloves. These gloves prevent electric shock.
Use safety goggles to protect your eyes from debris. If you need to climb, use a sturdy ladder. Ensure it is on a flat, stable surface.
Table of Essential Safety Gear:
| Gear | Purpose |
|---|---|
| Insulated Gloves | Prevent electric shock |
| Safety Goggles | Protect eyes from debris |
| Sturdy Ladder | Ensure safe climbing |
By following these safety precautions, you can confidently fix your pull chain light fixture without risks. Always prioritize your safety first.
Removing The Old Fixture
Removing an old pull chain light fixture is the first step to installing a new one. Follow these simple steps to ensure a safe and efficient removal. Let’s dive into the process of removing the old fixture with ease.
Unscrewing The Fixture
First, turn off the power at the circuit breaker. This step is crucial for safety. Use a screwdriver to remove the screws holding the fixture to the ceiling or wall.
- Locate the screws on the base of the fixture.
- Hold the fixture with one hand to prevent it from falling.
- Use the screwdriver to unscrew each screw.
Once all screws are removed, gently pull the fixture away from the ceiling or wall.
Disconnecting Wires
Now, you need to disconnect the wires. This step is essential before you can completely remove the old fixture.
- Identify the wires connected to the fixture.
- Use a voltage tester to ensure the power is off.
- Twist the wire nuts counterclockwise to remove them.
- Carefully separate the fixture wires from the house wires.
After disconnecting the wires, the old fixture can be fully removed. Set it aside or dispose of it properly.
With these steps, you have successfully removed the old pull chain light fixture. You are now ready to install the new one.

Credit: diy.stackexchange.com
Preparing For Installation
Getting ready to fix your pull chain light fixture involves some important steps. Proper preparation ensures safety and makes the installation process smoother. Let’s look at two critical steps: inspecting the wiring and cleaning the area.
Inspecting The Wiring
First, turn off the power at the circuit breaker. This step is crucial for safety. Next, remove the light fixture cover to access the wiring. Look for any damaged or frayed wires. These need fixing before you proceed. Check the wire connections to ensure they are secure. Loose connections can cause problems later. If the wiring looks old or worn, consider replacing it. This ensures your fixture works well and lasts longer.
Cleaning The Area
Once the wiring is inspected, clean the area around the fixture. Use a dry cloth to remove dust and debris. Cleaning helps improve the fixture’s efficiency and lifespan. Make sure the mounting surface is clean and dry. This ensures the fixture can be securely attached. If there is any old paint or residue, gently scrape it off. A clean surface provides a better grip for screws and brackets.
Now, you are ready to move on to the actual installation. A clean, well-inspected setup makes the process smoother and safer.
Installing The New Fixture
Installing a new pull chain light fixture can be a straightforward task. It only requires basic tools and a bit of patience. Follow these steps to ensure a safe and successful installation.
Connecting The Wires
First, make sure the power is turned off at the circuit breaker. This step is crucial for your safety. Use a voltage tester to double-check that no electricity is flowing to the light fixture.
Next, connect the wires from the new light fixture to the existing wires in the ceiling. Usually, you will find a black wire, a white wire, and a green or bare copper wire. Connect the black wire from the fixture to the black wire in the ceiling. Do the same with the white wires. Finally, connect the green or bare copper wire to the ground wire.
| Fixture Wire | Ceiling Wire |
|---|---|
| Black | Black |
| White | White |
| Green or Bare Copper | Ground Wire |
Use wire nuts to secure the connections. Make sure there are no exposed wires.
Securing The Fixture
Now, attach the new fixture to the ceiling. Follow the manufacturer’s instructions for this step. Usually, you will need to align the fixture base with the mounting bracket and secure it with screws.
Once the fixture is securely in place, attach the light bulb and the pull chain. Make sure everything is tight and secure.
Finally, turn the power back on at the circuit breaker. Test the pull chain to ensure the light works properly.
If you followed these steps, you should have a fully functional pull chain light fixture. Enjoy your new light!
Testing The New Fixture
After installing your new pull chain light fixture, testing it is essential. This ensures everything works correctly and confirms the installation was successful. Let’s walk through the steps to test your new fixture.
Restoring Power
First, you need to restore power to the fixture. Go to your circuit breaker panel and flip the switch back on. This will allow electricity to flow to the new light fixture.
Checking Functionality
Now it’s time to check the functionality of your pull chain light fixture. Follow these steps:
- Pull the chain: Stand below the fixture and gently pull the chain.
- Observe the light: Check if the light turns on when you pull the chain.
- Turn off: Pull the chain again to see if the light turns off.
If the light turns on and off smoothly, your installation is successful. If not, you may need to revisit some steps or check for loose connections.
Troubleshooting Tips
Fixing a pull chain light fixture can be simple. Start by checking the chain for any visible damage. Ensure all connections are secure and the bulb is functional.
Fixing a pull chain light fixture may seem simple. But sometimes, issues arise. The light may not turn on. Or the chain may stick. Knowing how to troubleshoot can save time and frustration.Common Installation Problems
One common issue is a loose connection. Check if the wires are secure. Loose wires can prevent the light from working. Another problem is a faulty pull chain switch. If the chain does not click, the switch may be broken. Replacing the switch can fix this.When To Call A Professional
Some problems require an expert’s touch. If you have checked the basics and the light still does not work, it is time to call a professional. Electrical work can be dangerous. A licensed electrician can safely diagnose and fix the issue. If you are unsure about any step, seek help. Safety should always come first. “`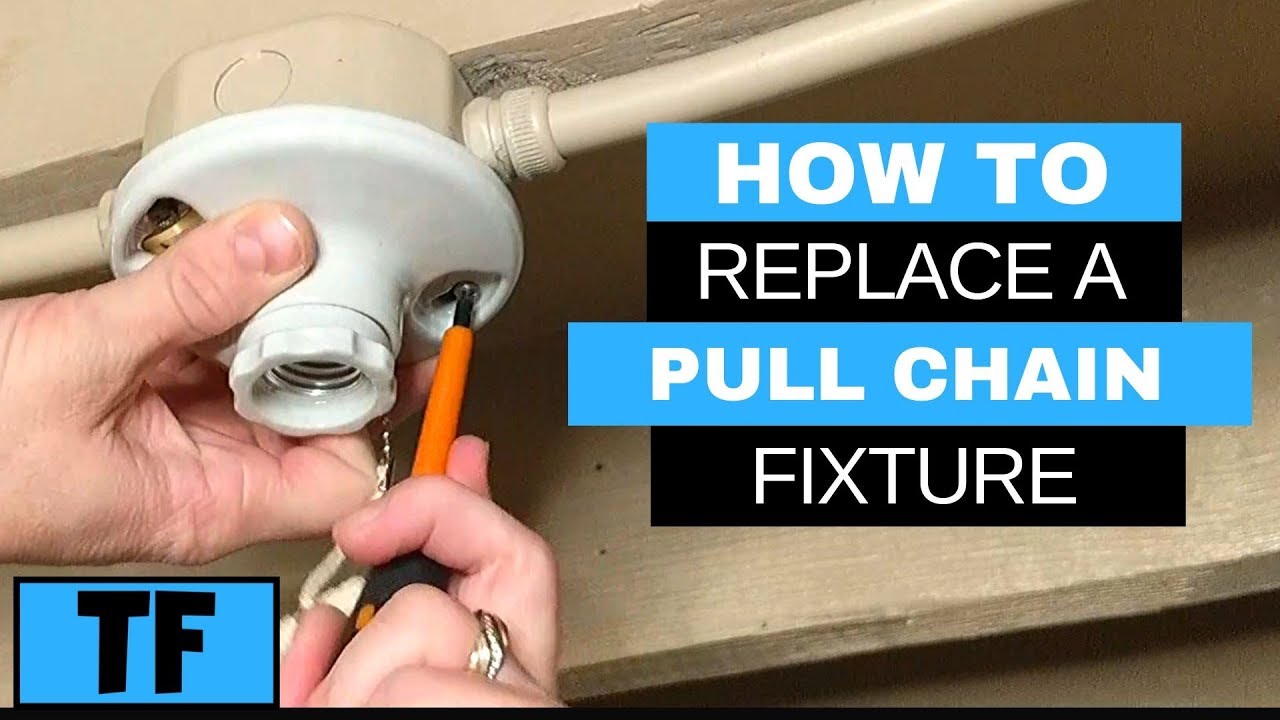
Credit: m.youtube.com
Frequently Asked Questions
How Do I Fix A Pull Chain Light?
To fix a pull chain light, first, turn off the power. Then, remove the fixture cover, and replace the chain mechanism. Finally, reassemble the fixture and turn the power back on.
Why Is My Pull Chain Light Not Working?
A pull chain light might not work due to a broken chain, faulty switch, or loose wiring. Inspect and replace any faulty parts to restore functionality.
Can I Replace A Pull Chain Myself?
Yes, you can replace a pull chain yourself. Turn off the power, remove the fixture cover, replace the chain mechanism, and reassemble the fixture.
What Tools Are Needed To Fix A Pull Chain Light?
To fix a pull chain light, you’ll need a screwdriver, wire cutters, pliers, and a new pull chain mechanism. Ensure you have these tools before starting the repair.
Conclusion
Fixing a pull chain light fixture is simpler than it seems. With basic tools and clear steps, you can do it yourself. This guide makes the task easy and quick. Remember to always turn off the power first. Safety is crucial.
So, gather your tools and start fixing your light fixture today. Your home will be bright and functional again in no time. Enjoy the satisfaction of a job well done. Happy fixing!


