
A check engine light can be alarming. Often, a loose gas cap is the cause.
Your car’s check engine light is a warning. It could mean several things, but a common reason is a loose or damaged gas cap. Many drivers overlook this simple fix. Ignoring it may lead to unnecessary stress and costly repairs.
In this blog post, we will explore how a gas cap can trigger the check engine light and how you can easily fix it. Understanding this can save you time and money. So, let’s dive in and see how you can address this issue quickly and efficiently.

Credit: www.autonationmobileservice.com
Check Engine Light Basics
The check engine light (CEL) can be a driver’s worst nightmare. This little light signals that something is wrong with your vehicle. It can be something minor or a sign of a serious issue. Understanding the basics can help you stay calm and take the right steps.
Common Causes
There are many reasons why your check engine light might come on. One common cause is a loose or damaged gas cap. This might seem trivial, but it can affect your car’s performance. Other common causes include faulty sensors, spark plug issues, or problems with the catalytic converter. It’s important to identify the cause to fix it quickly.
Importance Of Addressing
Ignoring the check engine light can lead to bigger problems. A small issue can become a costly repair if left unattended. The light is your car’s way of telling you something is wrong. Addressing it promptly can save you time and money. It also ensures your vehicle runs smoothly and safely. Always take the check engine light seriously and get your car checked by a professional.
Role Of The Gas Cap
The gas cap plays a crucial role in your vehicle’s performance. It’s not just a lid for your fuel tank. It ensures the fuel system works efficiently. A loose or damaged gas cap can cause significant issues. One common issue is the check engine light.
Function In Fuel System
The gas cap seals the fuel system. It prevents fuel vapors from escaping. These vapors are harmful to the environment. They can also reduce fuel efficiency. The gas cap keeps contaminants out. Dirt and debris can damage the fuel system. A proper seal is essential for engine performance. Without it, your car can experience various issues.
Impact On Check Engine Light
A loose or damaged gas cap can trigger the check engine light. This light signals a problem with your vehicle. The onboard diagnostics system detects a leak. It sees the lack of a proper seal. This issue can mimic more serious problems. Drivers often worry when the check engine light comes on. It might just be the gas cap.
It’s simple to fix. First, check the gas cap. Ensure it’s tight and undamaged. Replacing a faulty gas cap is inexpensive. It can save time and money. Ignoring this issue can lead to bigger problems. Always start with the easiest solution.
Identifying A Loose Or Faulty Gas Cap
A loose or faulty gas cap can cause the check engine light to turn on. Knowing how to identify and fix this issue can save you time and money. This guide will help you spot the signs and inspect your gas cap properly.
Signs And Symptoms
- Check Engine Light: The most obvious sign. A loose gas cap can trigger this light.
- Fuel Odor: A strong gasoline smell around your car.
- Poor Fuel Economy: A loose gas cap can lead to decreased fuel efficiency.
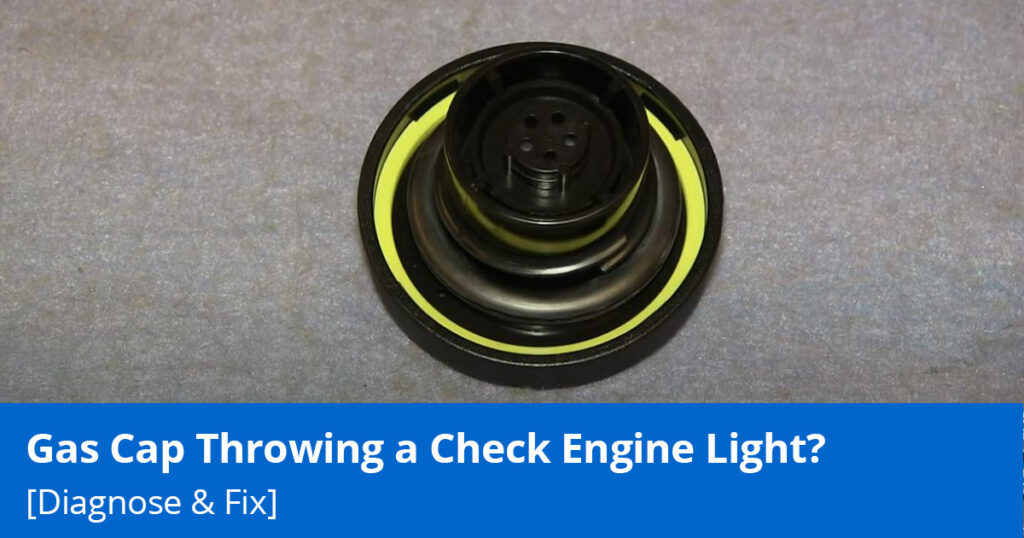
Visual Inspection Tips
- Check the Seal: Look at the rubber seal on the gas cap. Ensure it is intact and not cracked.
- Cap Tightness: Make sure the gas cap clicks when you tighten it. A loose cap can cause issues.
- Cap Appearance: Inspect the gas cap for any visible damage. Replace it if it looks worn out.
Inspecting your gas cap regularly can prevent the check engine light from coming on. Remember to replace a faulty gas cap to avoid further problems.
Credit: blog.1aauto.com
How To Tighten The Gas Cap
The check engine light turning on can be stressful. Often, a loose gas cap causes this warning. Knowing how to properly tighten your gas cap can save you a trip to the mechanic.
Proper Tightening Technique
Start by ensuring the gas cap is clean. Dirt can prevent a tight seal. Place the gas cap on the fuel tank opening. Turn it clockwise until you hear a click. This click signals that the cap is secure.
You might need to turn it more than once. If you don’t hear a click, the cap may not be tight enough. Repeat the process. A loose cap can cause fuel vapors to leak, triggering the check engine light.
Ensuring A Secure Fit
A secure gas cap fit is vital. Check the cap’s gasket for wear or damage. A worn gasket can’t form a tight seal. Replace the cap if necessary. Make sure the threads are aligned correctly. Misalignment can prevent a proper fit.
You can also use a torque wrench to ensure the cap is tight enough. This tool helps you apply the right amount of pressure. Avoid over-tightening. It can damage the cap or fuel tank opening.
If the check engine light remains on, the gas cap might not be the issue. Consult a professional for further diagnosis. Regularly inspect and tighten your gas cap to avoid problems.
Replacing A Damaged Gas Cap
The Check Engine Light can be triggered by a damaged gas cap. Replacing this small yet crucial part can often fix the issue. A faulty gas cap can lead to fuel evaporation, causing environmental and performance issues. Let’s explore how to replace a damaged gas cap effectively.
Choosing The Right Replacement
Not all gas caps are the same. It’s essential to select the right one for your vehicle. Here are some tips:
- Check your vehicle’s manual for the correct part number.
- Consider the material. Plastic caps are common, but metal ones last longer.
- Ensure it has a proper seal to prevent fuel evaporation.
Choosing the right gas cap ensures a proper fit and function.
Step-by-step Replacement Guide
Replacing a gas cap is a simple process. Follow these steps:
- Turn off your vehicle and open the fuel door.
- Remove the old gas cap by twisting it counterclockwise.
- Inspect the fuel neck for any debris or damage.
- Take the new gas cap and align it with the fuel neck.
- Twist the new cap clockwise until it clicks into place.
- Close the fuel door and restart your vehicle.
Check the dashboard. The Check Engine Light should turn off within a few drives.
Resetting The Check Engine Light
The Check Engine Light can be triggered by a loose gas cap. Fixing it is simple, but sometimes the light stays on. You need to reset it. This guide will help you reset the light easily.
Manual Reset Methods
There are a few manual methods to reset the Check Engine Light.
- Turn the car off and on: Start the car, then turn it off. Repeat this three times.
- Disconnect the battery: Remove the negative terminal of the battery. Wait 15 minutes, then reconnect.
- Use an OBD-II scanner: Plug the scanner into the car’s port. Follow the instructions on the device.
These methods usually work. If the light remains, further action is needed.
When To Seek Professional Help
Sometimes, the light doesn’t reset. You may need a mechanic.
- If the light stays on after manual reset.
- If the car shows other signs of trouble.
- If you are unsure about the problem.
Professional help ensures safety and prevents future issues.
Preventative Measures
The check engine light can cause worry. Often, a simple fix involves tightening the gas cap. Preventative measures can save time and money. Regular care keeps your car running well. Follow these tips to avoid the dreaded check engine light.
Regular Maintenance Tips
Check the gas cap often. Make sure it’s tight after refueling. Replace worn or cracked gas caps. This prevents leaks and avoids triggering the check engine light.
Clean the gas cap area. Dirt can cause a poor seal. Use a clean cloth to wipe the cap and the tank opening.
Monitoring For Future Issues
Install a new gas cap every few years. Even the best caps wear out. Keep an extra gas cap in the car. This helps if you lose or damage the current one.
Pay attention to the check engine light. If it comes on again, get your car checked. This can prevent bigger problems down the road.
When The Problem Persists
So, you tightened your gas cap, but the check engine light is still on. Frustrating, right? This is a common scenario for many car owners. While a loose gas cap is a frequent cause, it’s not the only one. Let’s explore what else might be going on.
Other Potential Causes
Several other issues can cause the check engine light to stay on. Here are some common culprits:
- Faulty Oxygen Sensor: This sensor measures the amount of unburnt oxygen in the exhaust. A faulty sensor can affect your car’s fuel efficiency.
- Bad Spark Plugs: Worn-out spark plugs can lead to engine misfires and trigger the check engine light.
- Malfunctioning Catalytic Converter: This component helps reduce harmful emissions. If it fails, the check engine light will alert you.
- Defective Mass Airflow Sensor: This sensor helps manage the air-fuel ratio in your engine. A malfunction can disrupt this balance.
Consulting With A Mechanic
If the check engine light remains on, it might be time to visit a mechanic. They have the tools to diagnose the issue accurately. Here are some steps a mechanic might take:
- Use an OBD-II Scanner: This tool reads the error codes from your car’s computer.
- Perform a Visual Inspection: The mechanic will check for obvious issues like disconnected wires.
- Test Specific Components: Based on the error codes, they might test certain parts of your engine.
Addressing the problem promptly can save you money and prevent further damage. So, don’t ignore that check engine light. It’s your car’s way of asking for help.

Credit: blog.1aauto.com
Frequently Asked Questions
What Does A Check Engine Light Mean?
A check engine light indicates an issue with your vehicle’s engine or emissions system. It is crucial to diagnose it promptly.
Can A Loose Gas Cap Cause The Check Engine Light?
Yes, a loose or damaged gas cap can trigger the check engine light. Ensure the cap is properly tightened.
How Do I Fix A Gas Cap Issue?
First, tighten the gas cap securely. If the light persists, replace the gas cap with a new one.
How Long Until Check Engine Light Resets?
After tightening or replacing the gas cap, the check engine light may reset after several driving cycles.
Conclusion
Fixing the check engine light caused by a loose gas cap is easy. Tighten the gas cap first. If the light stays on, replace the cap. Save time and avoid costly repairs. Regularly check your gas cap to ensure it’s secure.
This simple fix can prevent bigger issues. Always keep an eye on your car’s dashboard lights. They often signal minor problems that are easy to fix. Maintain your vehicle to keep it running smoothly. A little attention goes a long way.


