
A faulty pilot light on a water heater can be a real hassle. Fixing it is simpler than you think.
When your water heater’s pilot light goes out, it can leave you with cold water. This common issue often has simple solutions. In this guide, you’ll learn how to fix a pilot light on your water heater. We’ll cover easy steps to get your hot water running again.
Whether you’re a DIY novice or have some experience, this guide will help. Say goodbye to cold showers and hello to warm comfort. Ready to dive in? Let’s get started on fixing that pilot light!
Safety Precautions
Fixing the pilot light on a water heater requires careful attention. Safety is the top priority. You must follow safety precautions to avoid accidents. Below are some essential steps to ensure your safety.
Turn Off Gas Supply
First, turn off the gas supply. Locate the gas valve on your heater. Turn it to the “off” position. This step prevents gas leaks. Never skip this step. It is crucial for your safety.
Ventilation Tips
Ensure proper ventilation in your working area. Open windows or doors. This allows any gas to escape. Good ventilation reduces the risk of gas buildup. Breathe safely while working.
Credit: www.familyhandyman.com
Tools Needed
Fixing the pilot light on your water heater may seem daunting. But with the right tools, the task becomes manageable. This section will outline the tools needed to get the job done efficiently.
Essential Tools
Having essential tools on hand is crucial. These tools will help you safely and effectively fix the pilot light.
- Adjustable Wrench: Useful for loosening and tightening connections.
- Screwdrivers: Both Phillips and flathead screwdrivers will be needed.
- Multimeter: Helps to check electrical connections and ensure safety.
- Long-Reach Lighter: Necessary to relight the pilot light safely.
- Work Gloves: Protects your hands from burns and cuts.
Optional Tools
Optional tools can make the job easier but are not strictly necessary. Consider these if you want to be thorough.
- Wire Brush: Useful for cleaning the pilot light assembly.
- Vacuum Cleaner: Helps remove dust and debris around the heater.
- Pipe Tape: Ensures a tight seal on gas connections.
- Flashlight: Handy for seeing into dark or hard-to-reach areas.
Locate The Pilot Light
Understanding how to locate the pilot light on your water heater is essential. It is the first step in fixing issues and ensuring your system works efficiently. This guide will help you find the pilot light quickly.
Accessing The Water Heater
First, ensure your water heater is off for safety. Locate your water heater, typically found in a basement or utility room. Clear any obstructions around the unit to get easy access.
Check the area for any signs of damage or wear. This step will help you identify potential issues early.
Identifying The Pilot Light
Once you have access, look for the control knob on the front of the water heater. This knob usually has settings like “Off,” “Pilot,” and “On.”
Next, find the pilot assembly, a small tube leading to the pilot light burner. This is where you will see the pilot light when it is on.
If you need help, refer to your water heater’s manual for specific instructions. Manuals often provide diagrams to make the process easier.

Credit: plumbing-united.com
Inspect The Pilot Light
Inspecting the pilot light on your water heater is crucial. A functioning pilot light ensures your water heater operates efficiently. If the pilot light goes out, you might experience cold water or other issues. Let’s delve into the steps to inspect the pilot light.
Signs Of Problems
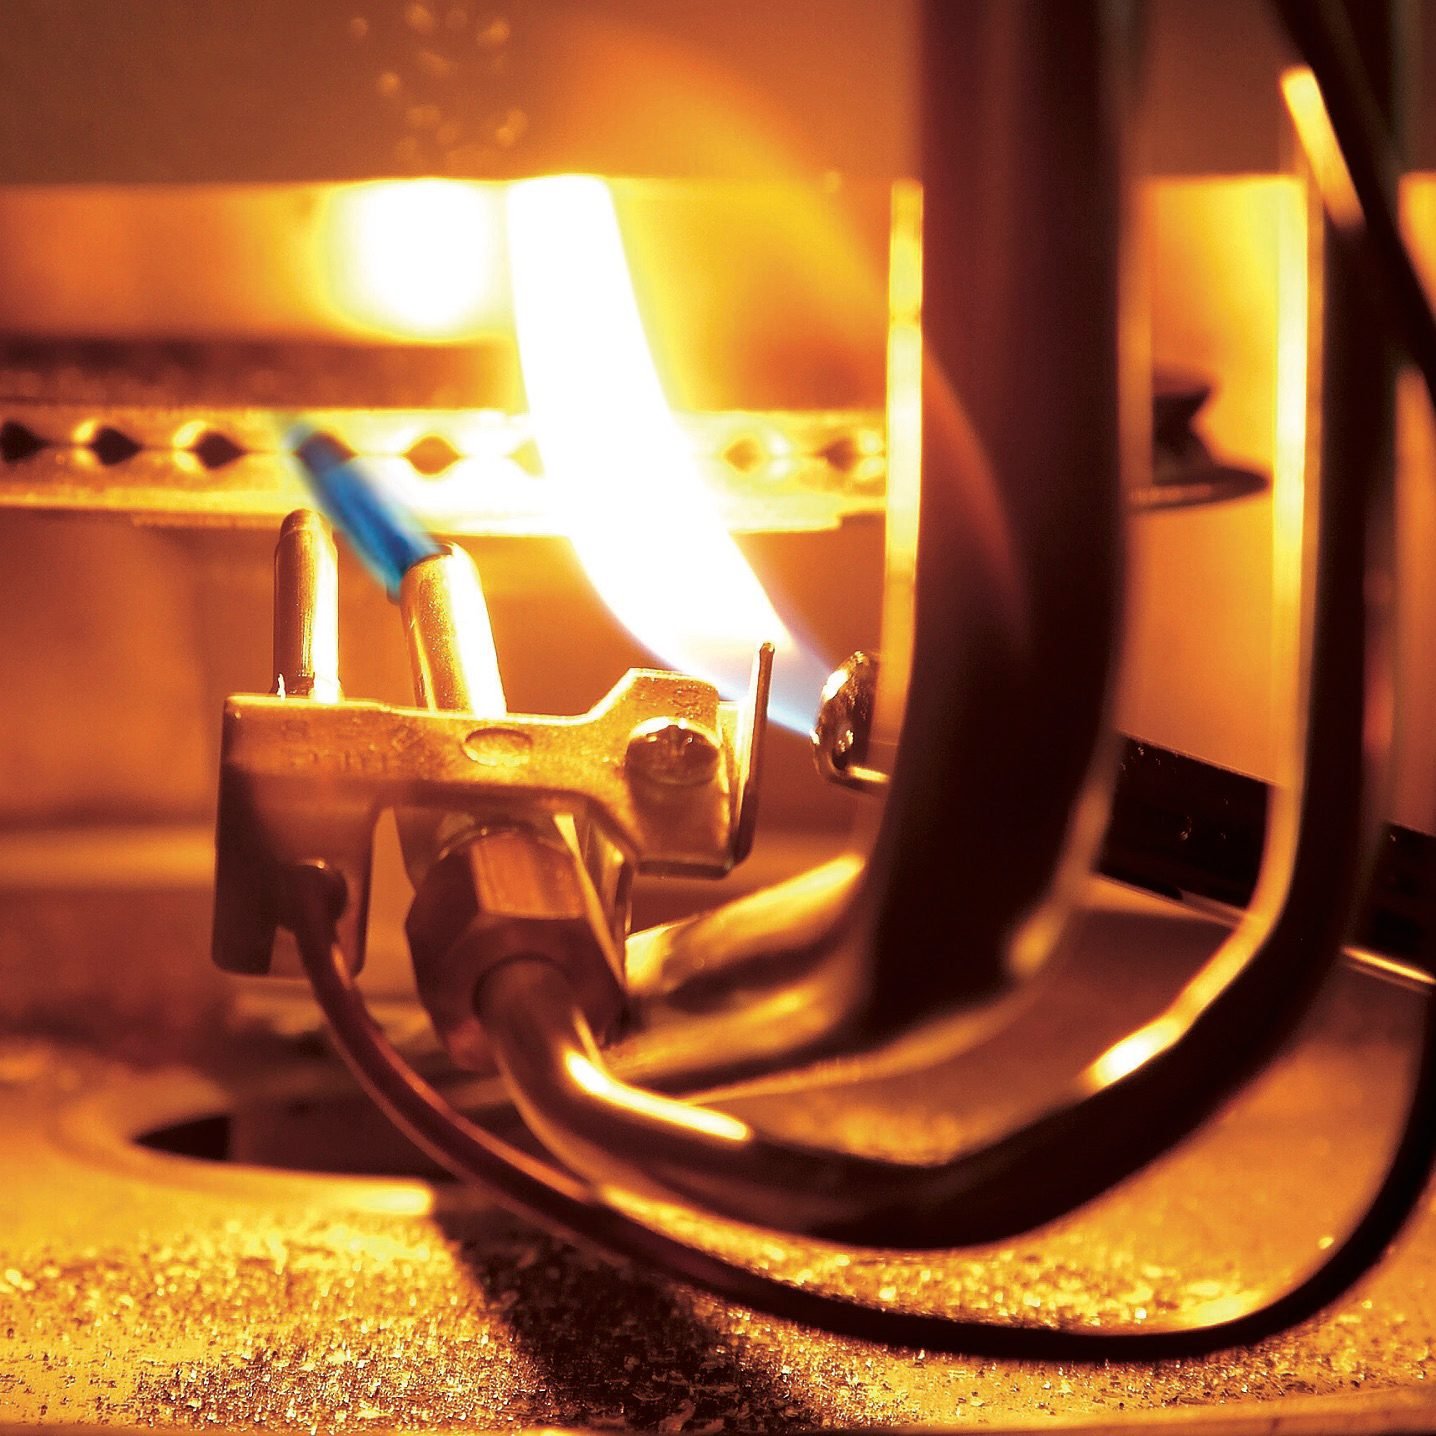
First, look for visible signs of problems. Is the pilot light out completely? A lack of flame indicates an issue. Another sign is an irregular or weak flame. The flame should be blue and steady. A yellow or flickering flame could signal a problem. These signs need immediate attention.
Cleaning The Area
Next, clean the area around the pilot light. Dirt and debris can block the flame. Turn off the gas supply before cleaning. Use a soft brush to remove dust and dirt. Ensure the area is completely clean. A clean pilot light area helps maintain a steady flame. Regular cleaning prevents future issues.
Relight The Pilot Light
Relighting the pilot light on your water heater can seem daunting. But with a clear guide, you can do it easily. This section will cover the steps to relight the pilot light and common mistakes to avoid.
Step-by-step Guide
- First, turn off the gas valve. Wait five minutes. This clears any gas.
- Next, locate the pilot light assembly. It is near the gas burner.
- Turn the control knob to the “Pilot” setting. Hold it down.
- Use a long lighter to ignite the pilot light.
- Keep holding the control knob for 30 seconds. This allows the thermocouple to heat up.
- Release the control knob. If the pilot light stays lit, turn the knob to the “On” position.
- Finally, turn the thermostat to your desired temperature.
Common Mistakes
- Not waiting long enough: Ensure you wait five minutes after turning off the gas valve.
- Incorrect lighter: Use a long lighter. Matches can be unsafe.
- Releasing the knob too soon: Hold the knob for a full 30 seconds.
- Thermocouple issues: If the pilot light does not stay lit, the thermocouple may be faulty.
By following these steps and avoiding common mistakes, you can relight the pilot light safely and effectively.
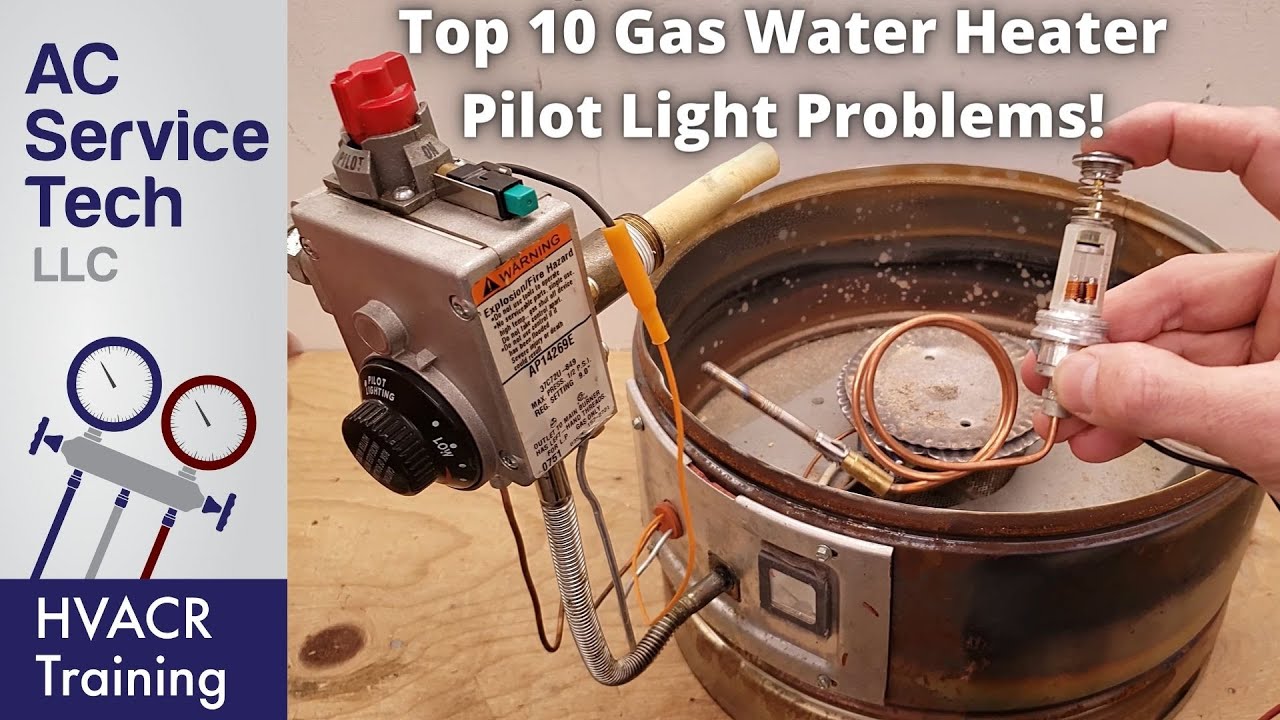
Credit: www.youtube.com
Troubleshooting
Having trouble with your water heater pilot light? This guide will help you. Fixing the pilot light involves checking several parts. Let’s go through the troubleshooting steps.
Pilot Light Won’t Stay Lit
If your pilot light won’t stay lit, there might be a few reasons. The most common cause is a faulty thermocouple. The thermocouple senses the pilot flame. It tells the gas valve to stay open. If the thermocouple is dirty or broken, it won’t work right.
- Clean the thermocouple: Use fine sandpaper. Remove any dirt or soot.
- Check the thermocouple connection: Make sure it is tightly connected to the gas valve.
- Replace the thermocouple: If cleaning and tightening don’t help, you may need a new one.
Gas Supply Issues
Another reason the pilot light won’t stay lit is gas supply issues. If there’s no gas, the pilot light can’t stay on. Here are steps to check the gas supply:
- Check the gas valve: Make sure the gas valve is fully open.
- Inspect the gas line: Look for any kinks or blockages.
- Test the gas pressure: You may need a professional for this. Low pressure can cause issues.
If the gas supply is not the problem, there may be an issue with the gas control valve. This part regulates the flow of gas to the pilot and burner. If it is faulty, it might need replacement.
| Issue | Solution |
|---|---|
| Dirty Thermocouple | Clean it with sandpaper |
| Loose Thermocouple | Tighten the connection |
| No Gas Supply | Check and open the gas valve |
| Low Gas Pressure | Consult a professional |
By following these steps, you can identify and fix the problem with your pilot light. Regular maintenance helps keep your water heater working well.
Maintenance Tips
Maintaining your water heater is crucial for its efficiency and longevity. Regular checks and timely interventions can save you from unexpected cold showers. Below are some essential maintenance tips to help you keep your water heater in top shape.
Regular Inspections
Regular inspections of your water heater can prevent major problems. Check the pilot light every few months. A stable blue flame indicates a healthy light. If the flame is yellow or orange, it may signal a problem. Inspect the area around the heater for any signs of leaks. Leaks can damage the unit and your property.
Ensure the venting system is clear and functional. Blockages can cause harmful gases to build up. Listen for any unusual noises from the heater. Strange sounds can indicate sediment buildup or mechanical issues.
When To Call A Professional
Sometimes, professional help is necessary. If you can’t relight the pilot light, call a technician. Difficulty lighting the pilot may indicate a deeper issue. Also, if you smell gas, contact a professional immediately. Gas leaks are dangerous and need urgent attention.
Noticing rust or corrosion on the heater? It’s another sign to get professional help. Regular maintenance checks by a certified technician can prevent many issues. Don’t ignore small problems; they can become big headaches.
Frequently Asked Questions
Why Is My Water Heater Pilot Light Not Staying Lit?
The pilot light might not stay lit due to a faulty thermocouple. Dirt or debris could also block the gas supply. Ensure the area is free from drafts.
How Do I Relight My Water Heater Pilot Light?
Turn off the gas and wait a few minutes. Locate the pilot light and follow the manufacturer’s instructions to relight it. Use a long lighter or match.
What Tools Do I Need To Fix A Pilot Light?
You’ll need a long lighter or match, a screwdriver, and possibly a replacement thermocouple. Always check your heater’s manual for specific tools required.
Can A Dirty Pilot Light Cause Issues?
Yes, a dirty pilot light can cause the flame to be weak or unstable. Cleaning it ensures proper gas flow and steady ignition.
Conclusion
Fixing your water heater’s pilot light is simpler than it seems. Follow these steps to ensure your heater runs smoothly. Regular maintenance can prevent future issues. Always prioritize safety when working with gas appliances. If unsure, consult a professional. Keep your home warm and your water hot by addressing pilot light problems promptly.
Don’t let a small issue disrupt your daily routine. Taking these steps helps save time and money. Remember, a working pilot light means comfort and convenience. Stay warm and enjoy reliable hot water every day.


